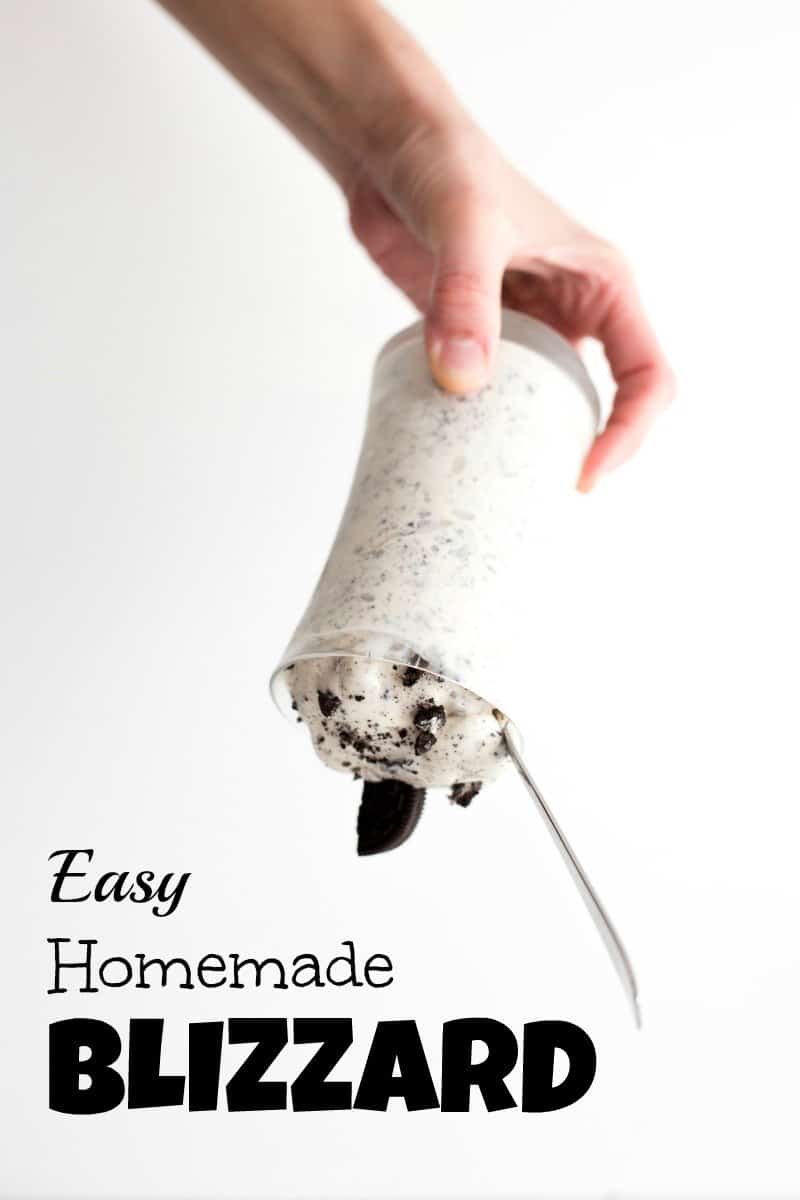
Make your own thick blizzard treat at home with just ice cream, your favorite mix-in(s) and a few key steps!
Let’s take it back to my high school days when I was on the Dairy Queen blizzard-a-day diet. I was 16 and free to roam around town on my own, so where did I go?! Why the DQ, of course! Like every day.
I kid you not. I would drive through DQ nearly every day and get a blizzard. Sometimes, I even brought my own mix-ins (think homebaked cookies, brownies and even granola…say what?!). I’m pretty sure they shouldn’t have been letting me bring my own mix-ins or using the machines to mix them into my blizzard for that matter, but what happens in small town Oklahoma, happens in small town Oklahoma, y’all. Oh and they even let me come behind the counter and make my own blizzard every once in a while. Talk about a highlight of my life! ?
With my daily blizzard diet for nearly two years, I think I kept our small town DQ in business. Seriously! You’ll never believe it, but a few months after I moved away to college, the Dairy Queen closed. Gasp!
So with no DQ back home and no DQ in my college town, I started making my own blizzards…
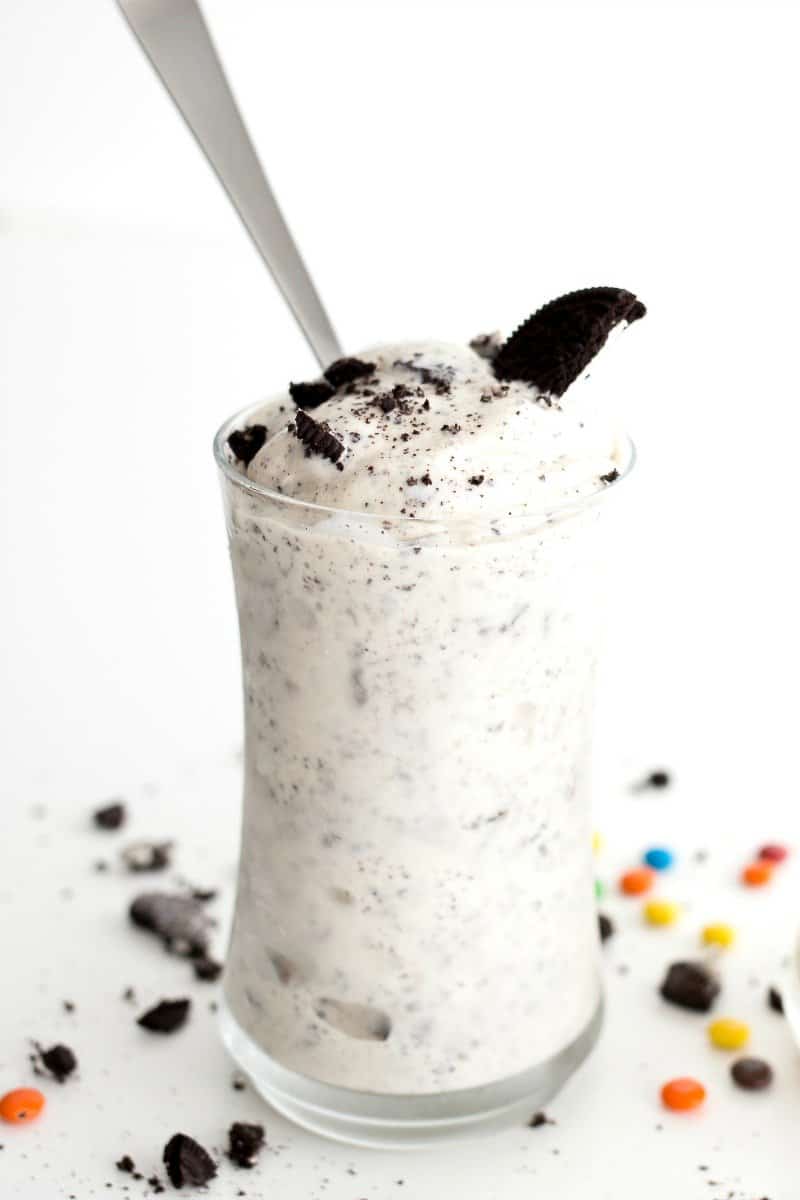
And they’re just as tasty, if not tastier. Thick and creamy and filled with whatever mix-in(s) your blizzard loving heart desires.
Here’s all you need:
- Your favorite ice cream…I usually use vanilla, but sometimes chocolate or strawberry depending on the blizzard flavor I’m creating. And sometimes I’ll use a healthier ice cream or frozen yogurt and it still turns out great!
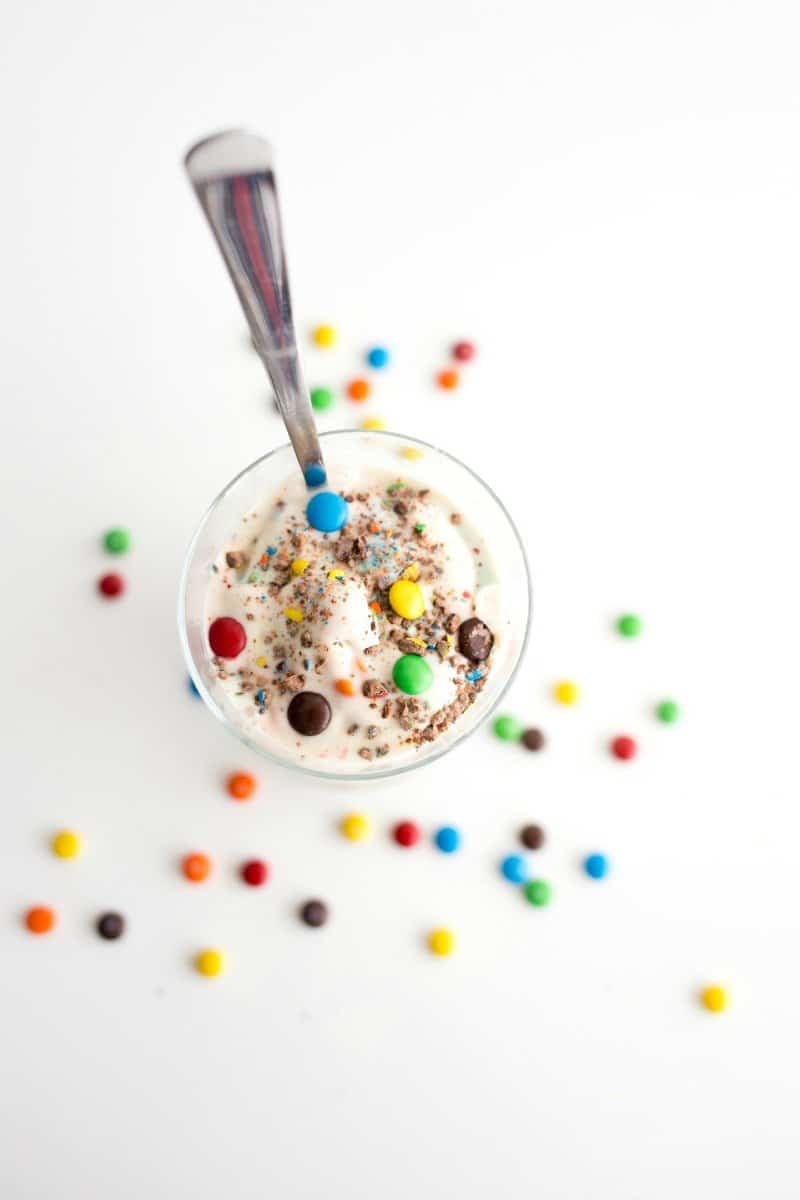
- Whatever mix-in(s) you want. Oreos are my go-to with mini M&M’s a close second.
A few very important tips:
- Use an electric stand mixer with the paddle attachment or a handheld mixer. DO NOT use a blender. I repeat, do not use the blender!
- Do not add milk. We’re not making a milkshake here, my friends. We’re making a blizzard! And a blizzard should be thick. No need to thin it out with milk. Just let the ice cream do its thing.
- Place your mixing bowl in the freezer for at least 10 minutes beforehand. This will help keep the ice cream thick and frosty.
Okay, I think we’re all set. Don’t blink because you might miss the steps involved. It’s that quick and easy.
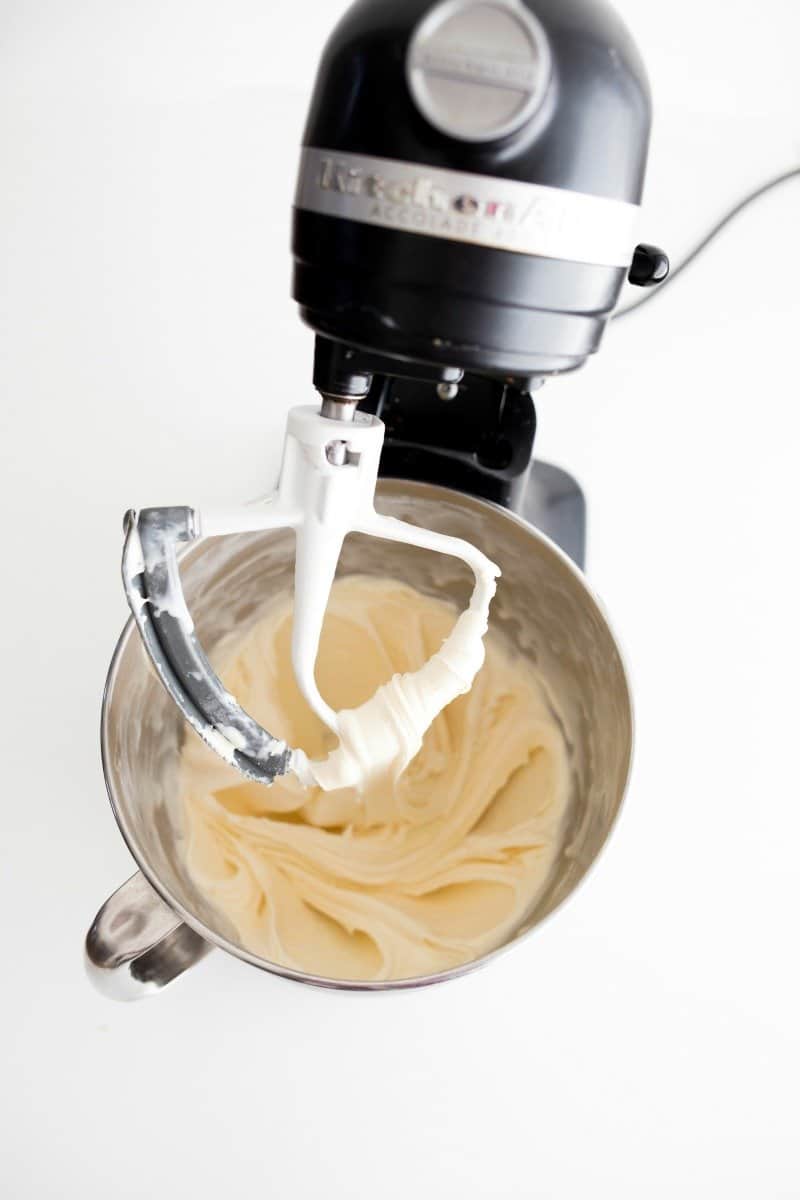
Scoop the frozen ice cream into the bowl of the stand mixer and beat on medium speed for about a minute until creamy, scraping down the sides of the bowl a few times with a spatula so all ice cream is incorporated…
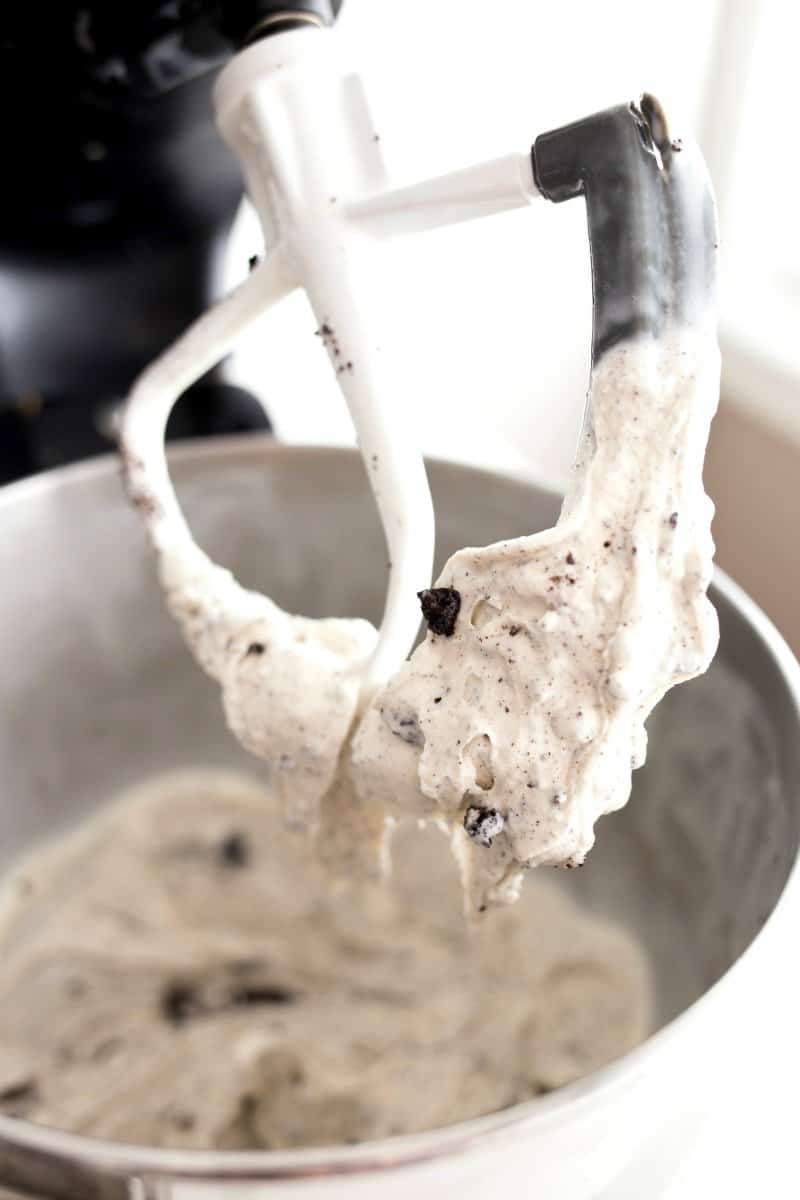
Add whatever mix-in(s) you want and beat on low speed until mixed evenly throughout the ice cream…
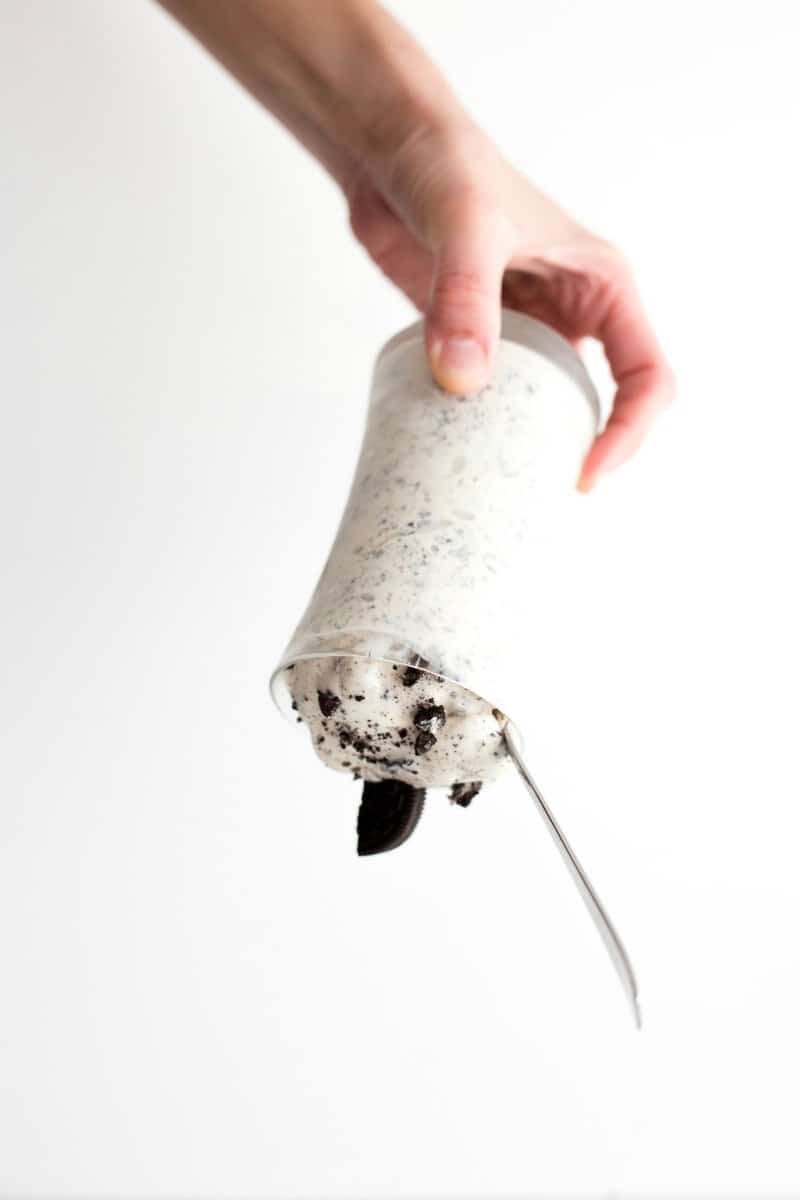
Scoop into serving cups and dig in. You won’t believe how deliciously similar these homemade blizzards are to the DQ originals and the beauty is you can make them in the comfort of your own home, in a matter of minutes, for a lot cheaper than driving there to buy one.
Let the homemade blizzard making begin! ? Enjoy!
xoxo,
Maegan
Easy Homemade Blizzard
Author: Maegan – The BakerMama
Recipe type: Dessert
- 6 scoops vanilla ice cream or frozen yogurt (or any ice cream flavor)
- ⅓ cup crushed mix-ins (Oreos, M&M’s, Butterfinger, Snickers, Reese’s Pieces, peanut butter cups, Nutter Butters, granola, homemade chocolate chip cookies, brownie, cake, cupcake, etc.)
- Place mixing bowl in the freezer for at least 10 minutes before using.
- Scoop ice cream into the bowl of an electric stand mixer with the paddle attachment. Beat on medium speed until ice cream is creamy, about a minute, scraping down the sides of the bowl with a spatula as needed.
- Add mix-ins and beat on low speed just a few times until mix-ins are mixed evenly throughout the ice cream.
- Scoop mixture into serving cups and dig in!
3.5.3226

