This Easy Popovers Recipe only calls for 5 ingredients! They’re flaky, fluffy buttery rolls that pair wonderfully with every meal! They also happen to be super fun to make.
If you’re looking for a more traditional roll recipe, try my Sweet Dinner Rolls Recipe or Parker House Rolls!
This Is the Easiest and Fluffiest Popover Recipe EVER
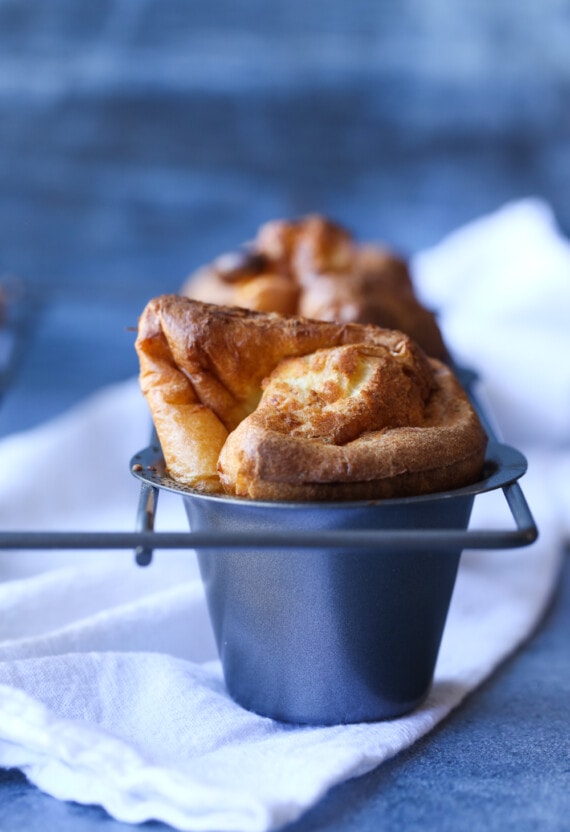
This recipe is a blessing to have in your back pocket. You can make the softest, fluffiest rolls in under 45 minutes! Popovers go great with both sweet and savory toppings. They can be served as a side dish, a snack or even a light breakfast.
Here’s the Popover Pan I have, but if you don’t have a Popover pan, don’t stress. You can make these in a standard muffin tin too! You just have to slightly reduce the baking time since you won’t be using as much batter.
What is a Popover?
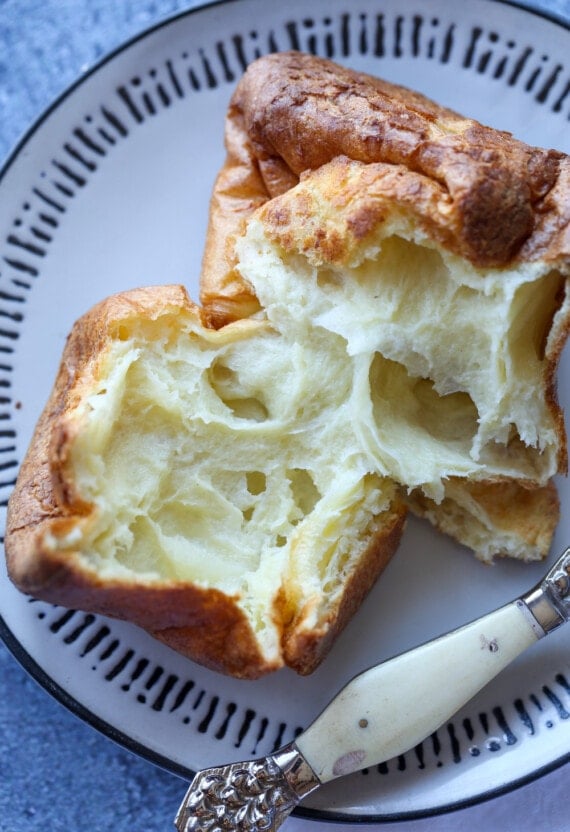
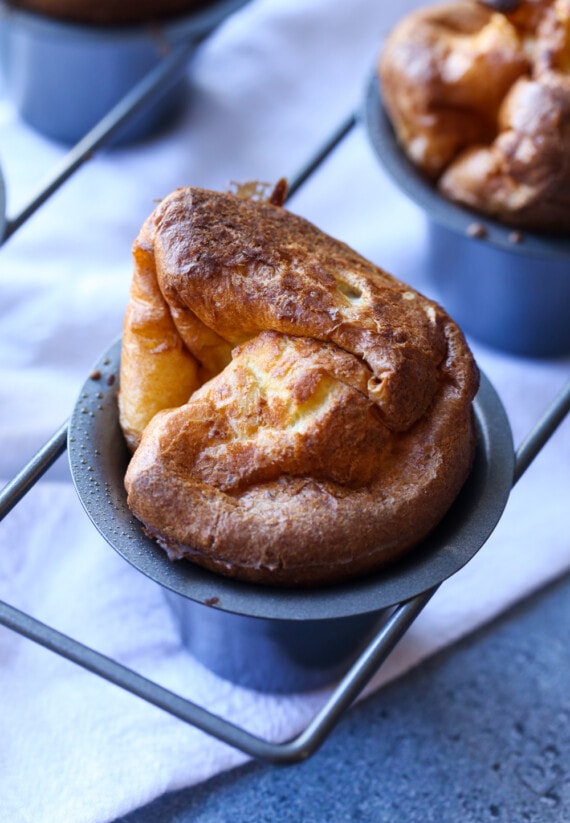
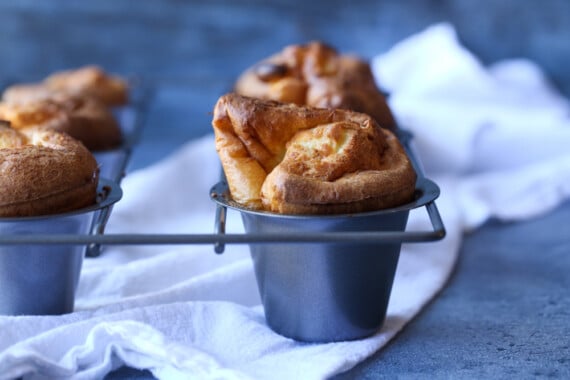
A Popover is a light, airy and fluffy roll that has a touch of crispiness on the outer layer. The inside is literally made of air – as these bake the steam pushes the batter up the sides of the popover mold. The result? Very moist, tall, buttery rolls that are crazy delicious!
Recipe Ingredients
You can count the ingredients needed for these popovers on one hand! This classic recipe sticks with the basics:
- Eggs: Make sure your eggs are at room temperature.
- Kosher Salt
- All-Purpose Flour
- Milk
- Butter: Melt the butter before making your popovers.
How to Make Popovers
This recipe is simple – just make the batter, grease the popover pan and let your oven do the rest. After cooling off for a few minutes, they’re ready to serve.
- Make Batter: In a large bowl, whisk together the eggs and salt. Whisk in the milk and flour, in alternating portions until combined. Batter will be very thin and might have small lumps, which is okay. Finally, whisk in the butter. Set the batter aside for 10-15 minutes while the oven preheats.
- Prepare for Baking: Preheat the oven to 425°F. Once preheated, place your empty popover pan in the oven for 2 minutes to heat up. Remove from the oven and coat liberally with non-stick spray. Gently whisk the batter once more and fill each tin halfway with batter.
- Bake: Place the pan back in the oven and bake for 30 minutes on the middle rack. Do not open the oven during baking.
- Let Cool & Serve: When done, remove the pan from the oven and let the popovers cool for 4-5 minutes. Remove them from the pan, serve them warm and enjoy!
Tips For the Best Popovers
- Bring Ingredients to Room Temperature: You don’t want to use cold eggs or milk for this recipe. Room temperature ingredients make the fluffiest rolls!
- Let the Batter Rest: The resting time is important for your batter, so wait until you’re done making it to preheat the oven. The batter needs to rest for at least 10 minutes.
- Grease Pan Well: Don’t be afraid to grease your popover pan generously, including the rims. This will help your rolls slide right out.
- Don’t Open the Oven: Do not open the oven before your popovers are done! This will disrupt the baking process and your popovers wont rise as high.
My Favorite Serving Suggestions
- Add Jam or Jelly: Honor the English roots of these rolls by slathering them with your favorite jam or jelly.
- Serve With Ham: Since popovers go so well with sweet and savory flavors, you have to try serving them with Pineapple Baked Ham!
- Add Herbs to the Batter: You can easily spice up these rolls by mixing some herbs into the batter.
- Top With Butter: You simply can’t go wrong with fluffy rolls that are topped with melty butter!
- Stuff with Scrambled Eggs: I love tearing popovers in half and stuffing them with scrambled eggs. If I’m really feeling crazy, I might even slide some cheese in there to melt on top of the eggs. So good.
How to Store Extras
Popovers are best when fresh, but leftovers are easy to store if necessary. Keep them at room temperature in a sealed plastic bag with all the air squeezed out. Enjoy them within 2-3 days and warm them up in the oven at 350°F, if desired.
Can You Freeze Homemade Popovers?
Freezing your popovers is also an option. Once they’re cooled, store them in an airtight freezer bag and freeze them for up to 2 months.
To reheat your rolls, bake them at 350°F for 7-8 minutes, until warm. You don’t even need to thaw them out first!
Description:
Homemade bread can be a hassle to make, which is why I love these easy 5-ingredient Popovers. They’re flaky, buttery rolls that pair wonderfully with every meal!
Ingredients:
- 4 large eggs, room temperature
- 1/2 tsp kosher salt
- 1 1/2 cups all-purpose flour
- 1 1/2 cups milk
- 2 tbsp butter, melted
Instructions
- In a large bowl, whisk together the eggs and salt. Whisk in the milk and flour, in alternating portions until combined. Batter will be very thin and might have small lumps, which is okay. Finally, whisk in the butter. Set the batter aside for 10-15 minutes while the oven preheats.
- Preheat the oven to 425°F. Once preheated, place your popover pan in the oven for 2 minutes to heat up. Remove from the oven and coat liberally with non-stick spray. Gently whisk the batter once more and fill each tin halfway with batter.
- Place the pan back in the oven and bake for 30 minutes on the middle rack. Do not open the oven during baking.
- When done, remove the pan from the oven and let the popovers cool for 4-5 minutes. Remove them from the pan, serve them warm and enjoy!
Notes:
Recipe yields 8 large popovers.
If you don’t have a popover pan, you can use a muffin tin instead. Follow the instructions as written, but reduce the bake time by 7 minutes. This will yield about 12 smaller popovers.
Keywords:: popovers, popover recipe, popover pan, how to make popovers, no yeast rolls, what is a popover, easy popovers
Want To Save This Recipe?
PIN for later:
