If you’ve been doing a lot of AK baking this year you’ve probably noticed a special ingredient that I’ve *slightly* fallen in love with.
Say hello to beautifully simple oat flour.
I’ve been adding oat flour to some incredible breads, muffins, cookies and more and it’s truly one of my new favorite flours to bake with. It creates light and fluffy textures that you’ll absolutely love, which keeping your favorite baked goodies gluten free.
Don’t take my word for it, take a scroll to see exactly how to make oat flour right at home, plus tips, tricks and your most common questions about using it.

What is oat flour?
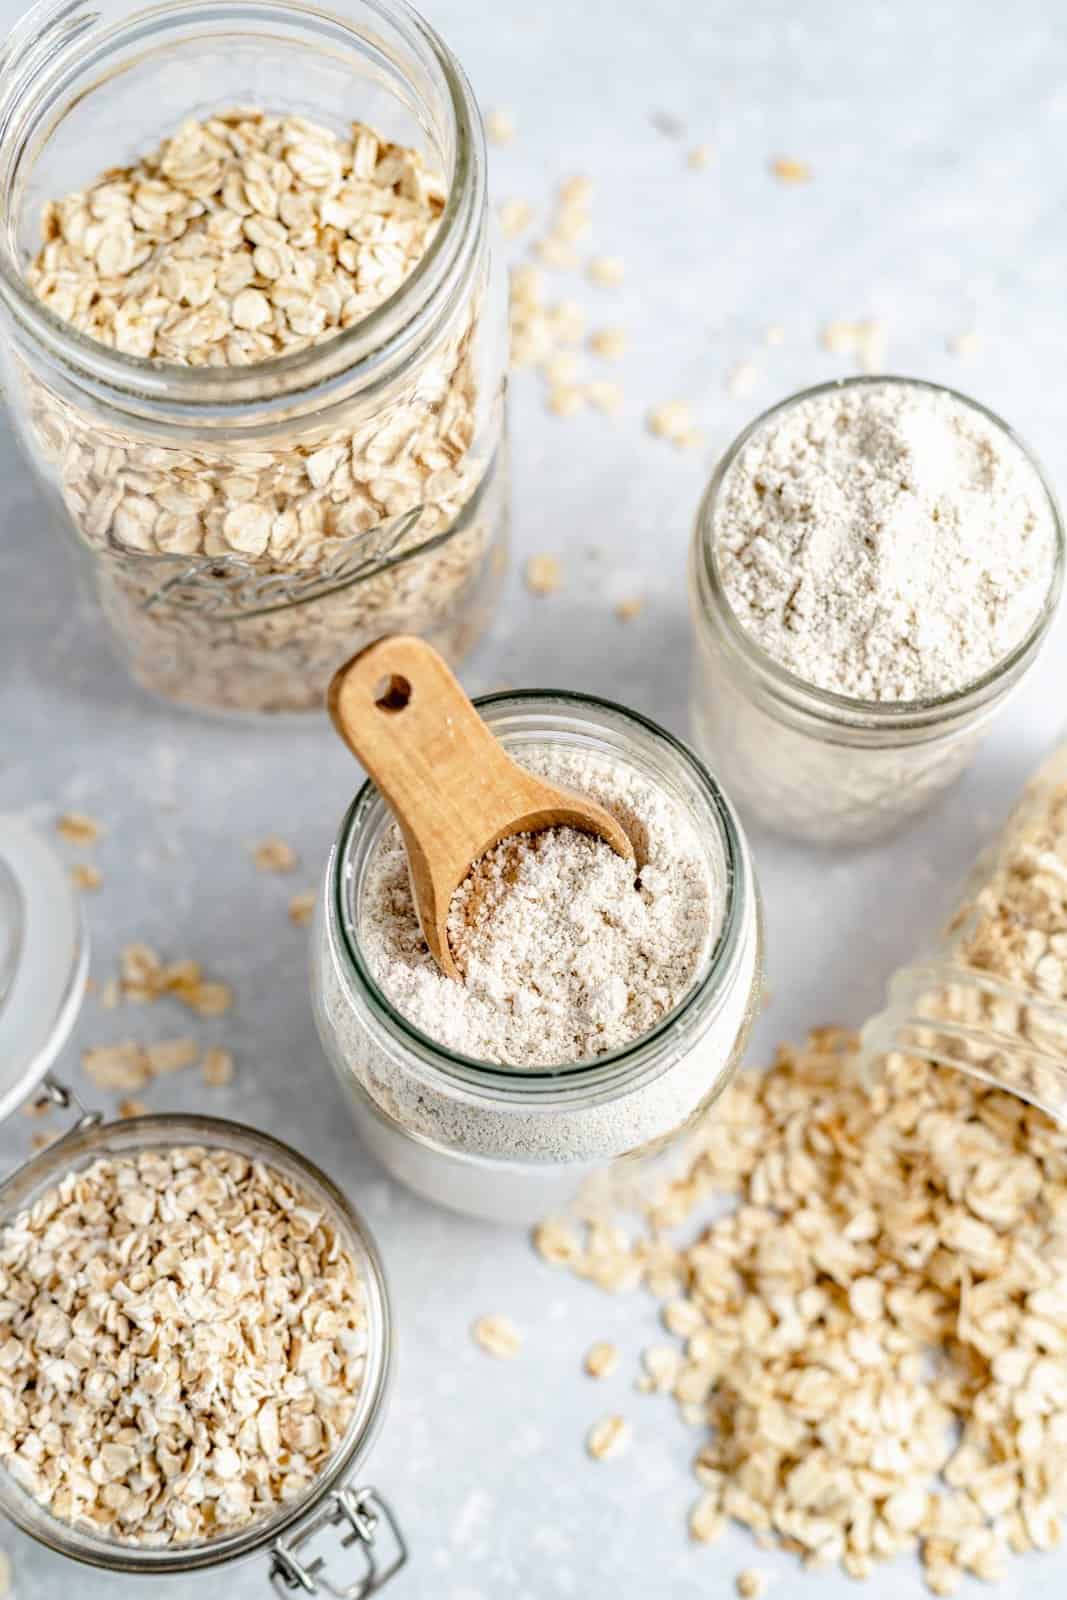
Oat flour is a finely ground flour made, of course, from oats! It’s very light in texture and has a similar absorbency to coconut flour, making it much more absorbent than all purpose flour.
Is oat flour gluten free?
If you buy oat flour made from certified gluten free oats or make your own with these, then the oat flour will be gluten free. Be sure to double check your packaging to be sure!

The best type of oats to use to make oat flour
I recommend using old fashioned rolled oats or quick oats (gluten free if desired) to make your homemade oat flour so that it’s light and fluffy. Steel cut oats may result in grittier oat flour. Learn about more types of oats, plus plenty of recipes in our guide here!
Benefits of using oat flour
- Tons of health benefits. Oats are a whole grain food, which means they pack vitamins, minerals, antioxidants, fiber and are even a great source of protein.
- It will fill you up. Because oats are fiber & protein packed, they’ll keep you feeling satisfied for longer. That means with recipes using oat flour (as opposed to white, refined flour) you’re less likely to spike your blood sugar and experience that 3pm hanger later.
- Versatility. Oat flour is extremely versatile. You’ll see that I use oat flour in tons of baking recipes and even savory ones because it provides the perfect texture and holds recipes together.

How to make homemade oat flour
The best part about oat flour? It can be made with just one ingredient in one simple step:
Simply place your rolled oats in a blender or food processor and blend or pulse them until they’re smooth and resemble flour. This should only take a minute or two and is the most affordable. Check out this video to see how it’s done!

Can I use oat flour in place of all purpose flour?
Unfortunately, no, I would not recommend using oat flour in place of all purpose flour. The texture and liquid ratios will be very different when making this swap.
I recommend only using oat flour in recipes that specifically call for it within the recipe or in the notes section.

Tips on measuring oat flour
- After blending your oats and before adding oat flour to a recipe, be sure to measure it out to what the recipe calls for.
- 1 cup of rolled oats equals about 3/4 cup oat flour, so you’ll need a bit more rolled oats if you need a full cup of oat flour in your recipe.
Storing tips
Store your homemade oat flour in an airtight container for up to 3 months.

Recommended tools for making oat flour
Recipes using oat flour
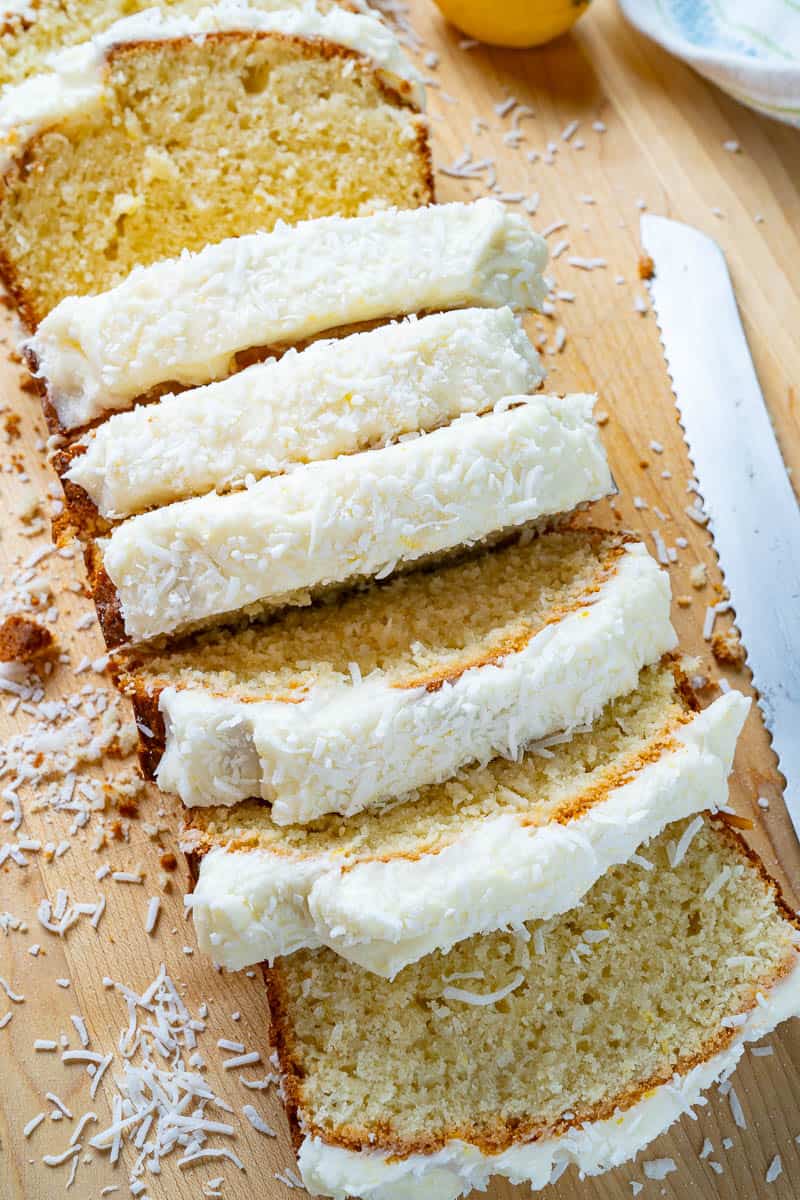
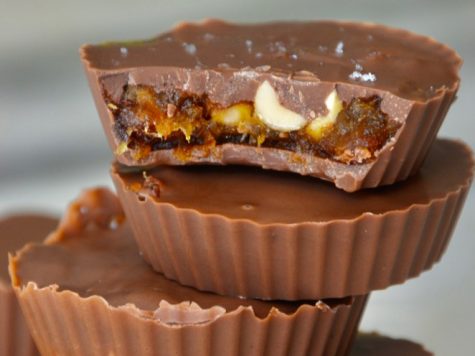
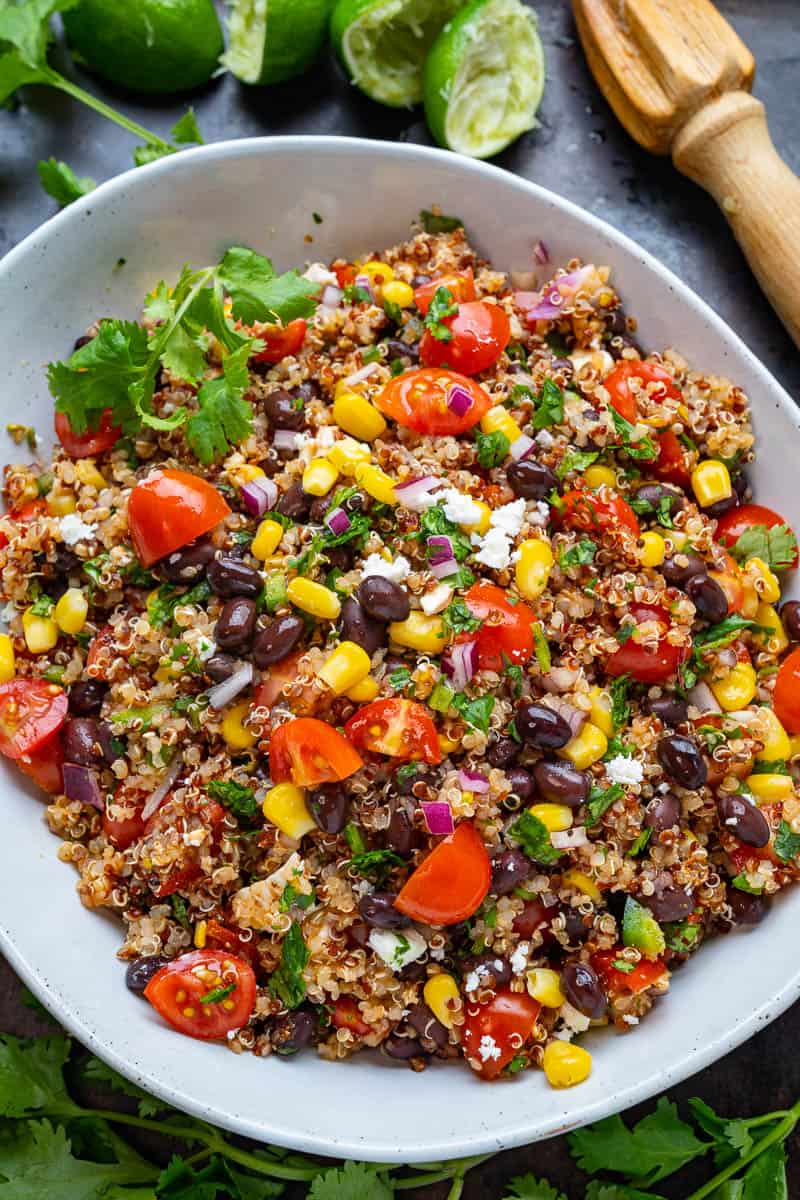
The possibilities are truly endless with oat flour! Here are some of my favorites:
Get all of our amazing oat flour recipes here!
I hope you love this easy guide for making your own oat flour! If you try it be sure to leave a comment and let me know how it went. Enjoy, xo!
Learn how to make oat flour right at home with just one simple ingredient and one step! In about 5 minutes you’ll have homemade oat flour to use in your favorite breads, muffins, desserts and more. Skip the store-bought version and make a batch of oat flour for your fav recipes!
- 1 1/4 cups old fashioned rolled oats (gluten free if desired)
-
Place oats into a blender or food processer and blend or pulse until smooth and the mixture resembles flour.
-
Before using in recipes, be sure to measure out the desired amount of oat flour. Store in an airtight container for up to 3 months.
Store your homemade oat flour in an airtight container for up to 3 months.
Recipe by: Monique Volz // Ambitious Kitchen | Photography by: Eat Love Eats

