Quick Summary
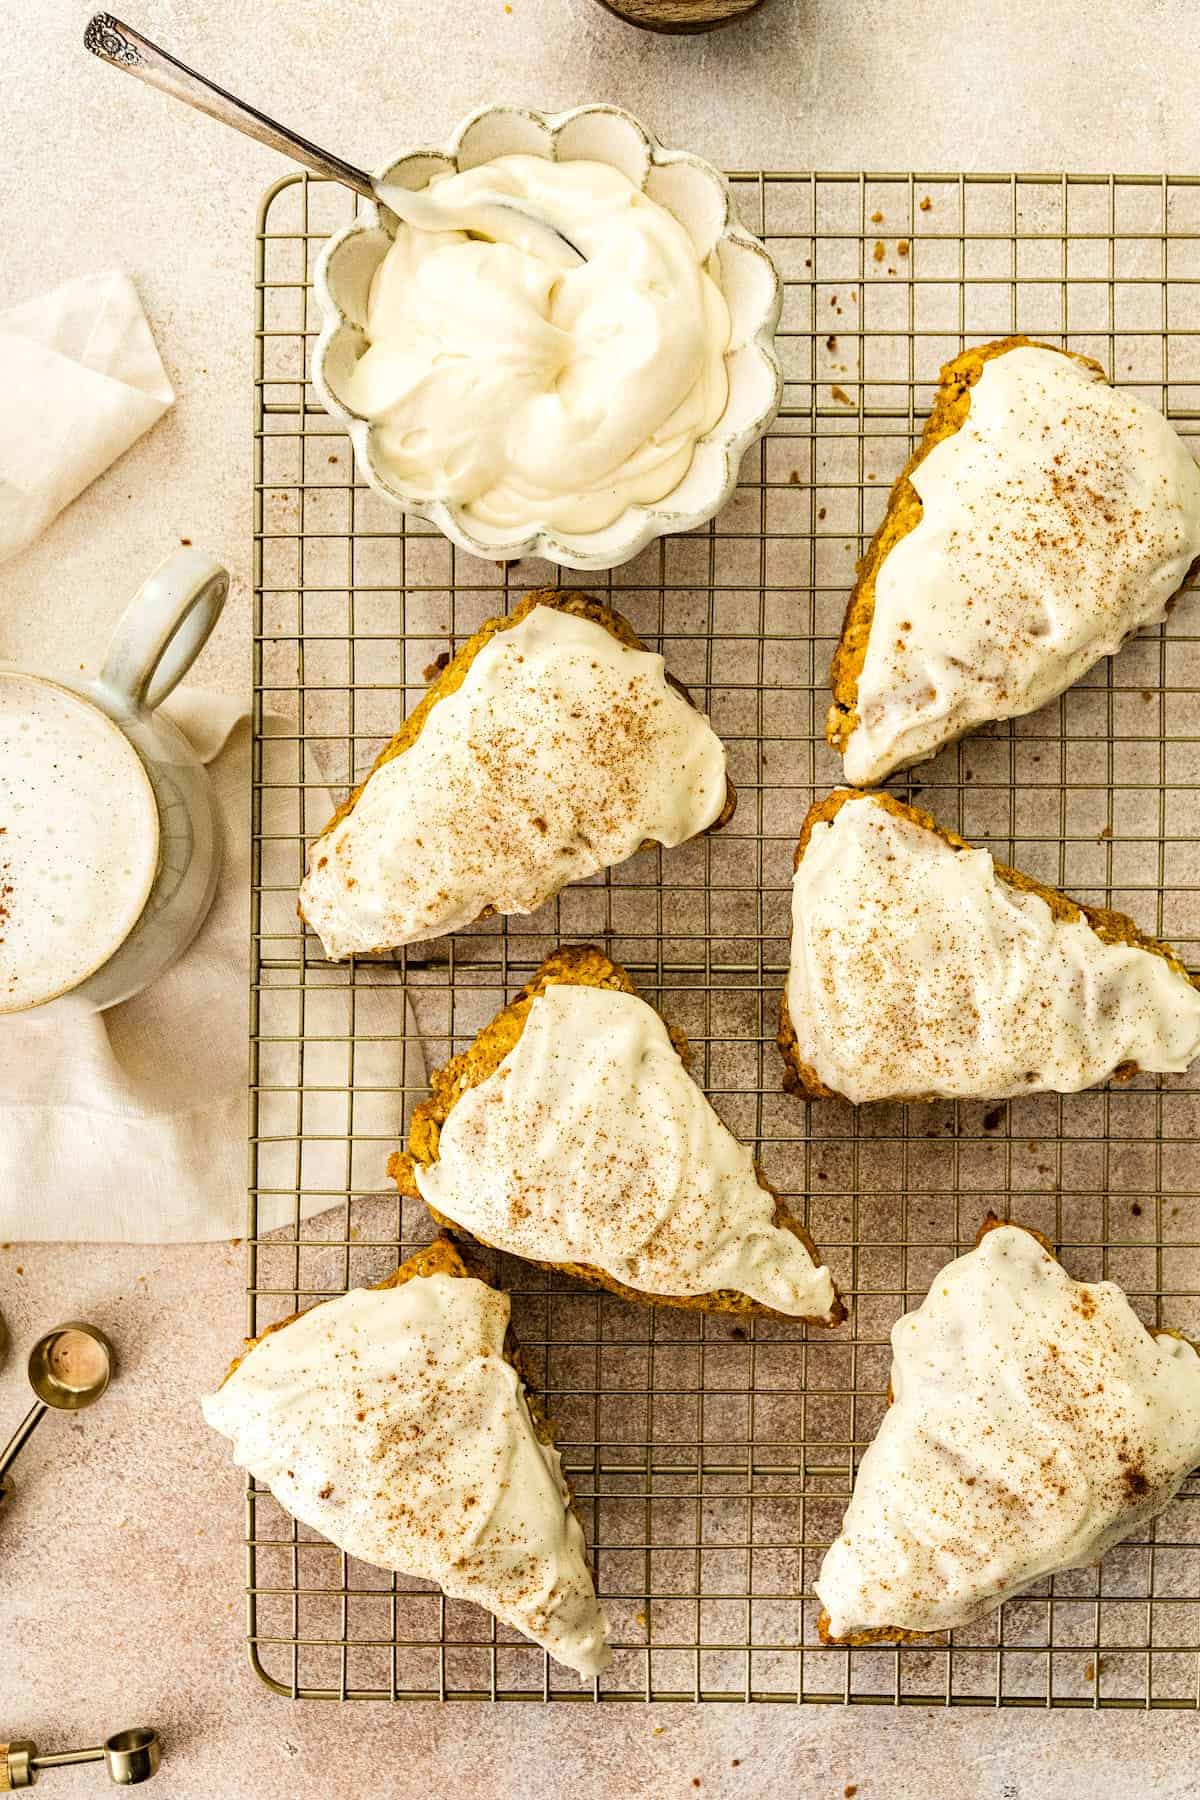
Pumpkin Scones with a sweet cream cheese icing are easy to make at home and better than Starbucks! Enjoy for breakfast, brunch, or a snack! They are the perfect fall treat!
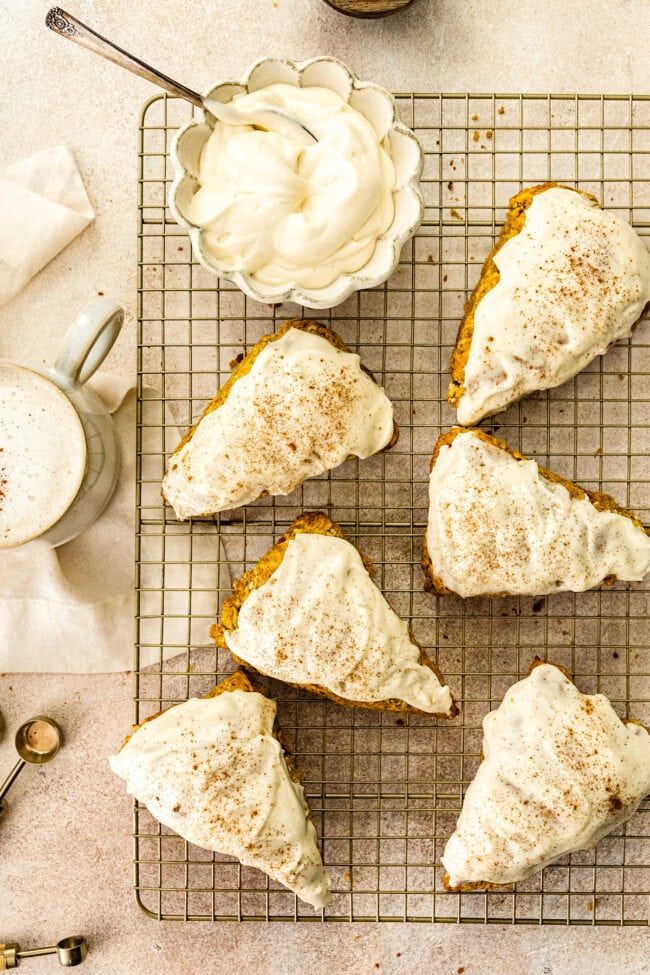
I love a GOOD scone. Strawberry, blueberry, chocolate chip, and peach scones are a few of my favorites, they are all so delicious. But during the fall months, I am all about Pumpkin Scones.
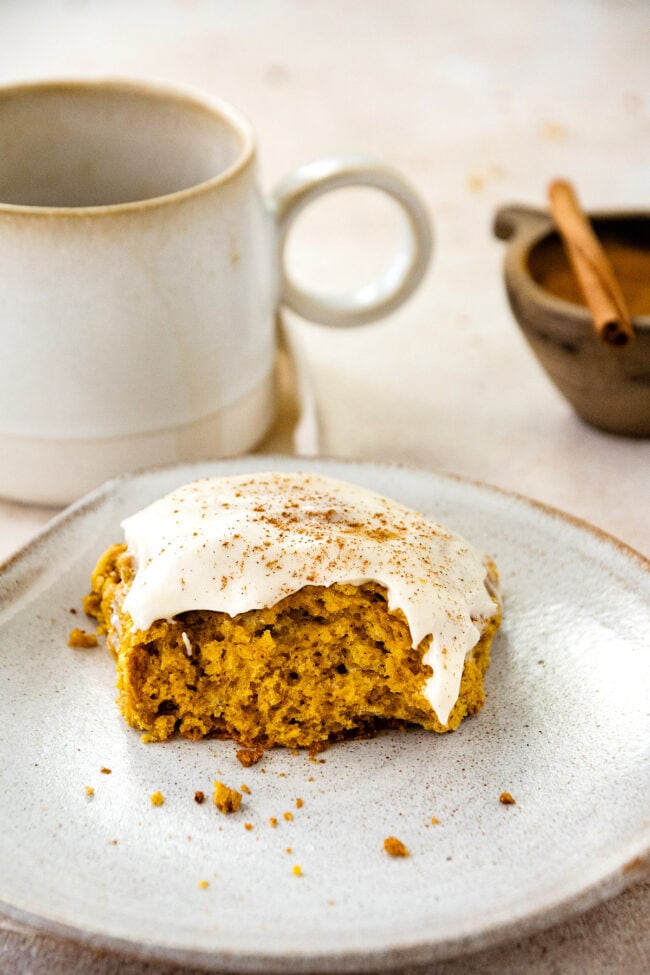
The pumpkin scones are soft, moist, and spiced with the perfect mixture of cinnamon, nutmeg, ginger, and cloves. The scones also have a luxurious cream cheese icing that is incredibly delicious. Pumpkin and cream cheese, basically the best combo ever!
If you like Starbucks pumpkin scones, you are going to LOVE this recipe. I promise they are easy to make and taste even better! Homemade is always best!
Enjoy for breakfast, brunch, or a sweet snack. You can enjoy these scones anytime of day. They are the perfect fall treat!
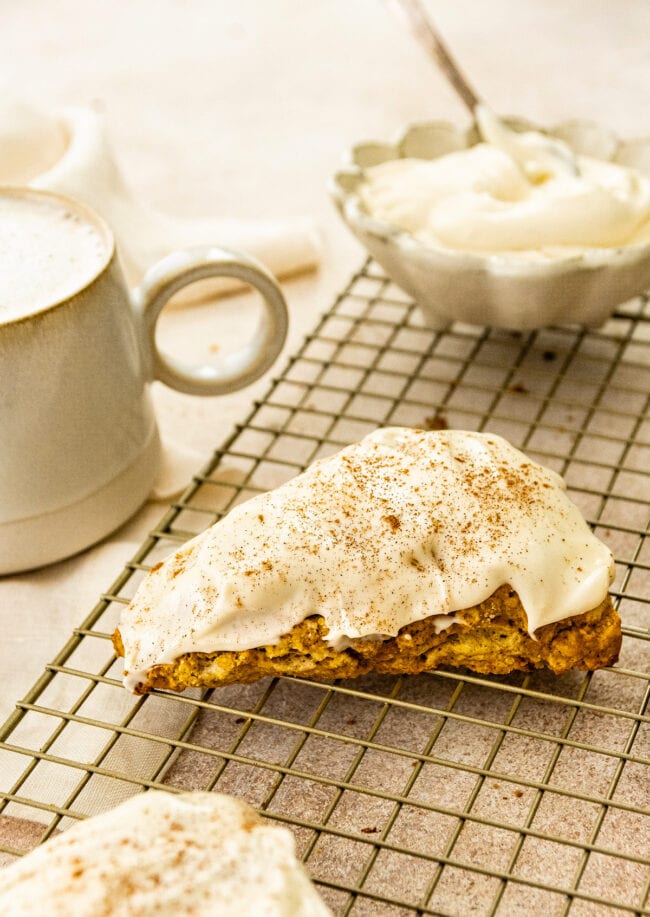
Pumpkin Scone Ingredients
The scones may look fancy, but I promise they are made with basic ingredients.
- Flour– regular all-purpose flour is perfect!
- Brown sugar– to sweeten the scones.
- Baking powder– make sure it is fresh so your scones rise.
- Salt– to balance out the sweet.
- Spices– cinnamon, nutmeg, ginger, and cloves! The best fall combo!
- Pumpkin– I use canned pumpkin puree. Make sure you get 100% pure pumpkin and not pumpkin pie filling.
- Heavy cream– use cold heavy cream in the scones and
- Egg– you need one large egg to help bind everything together.
- Vanilla extract– I always use pure vanilla extract, it’s the best!
- Butter– use unsalted COLD butter. Cut it into small pieces and place it in the freezer until you are ready to use! Cold butter creates pockets of air that lift the scones.
Cream Cheese Icing
Pumpkin and cream cheese are a match made in heaven so after the scones cool, I add a thick cream cheese icing on top that takes the scones to a whole new level.
For the icing, you will need:
- Cream cheese– make sure it is softened so it’s easier to mix.
- Butter– I add a little butter to make the icing super rich.
- Confectioner’s sugar– to sweeten the icing!
- Heavy cream or whole milk– add a little at a time until you get the consistency you want. I like a thick consistency.
- Vanilla extract– just a splash!
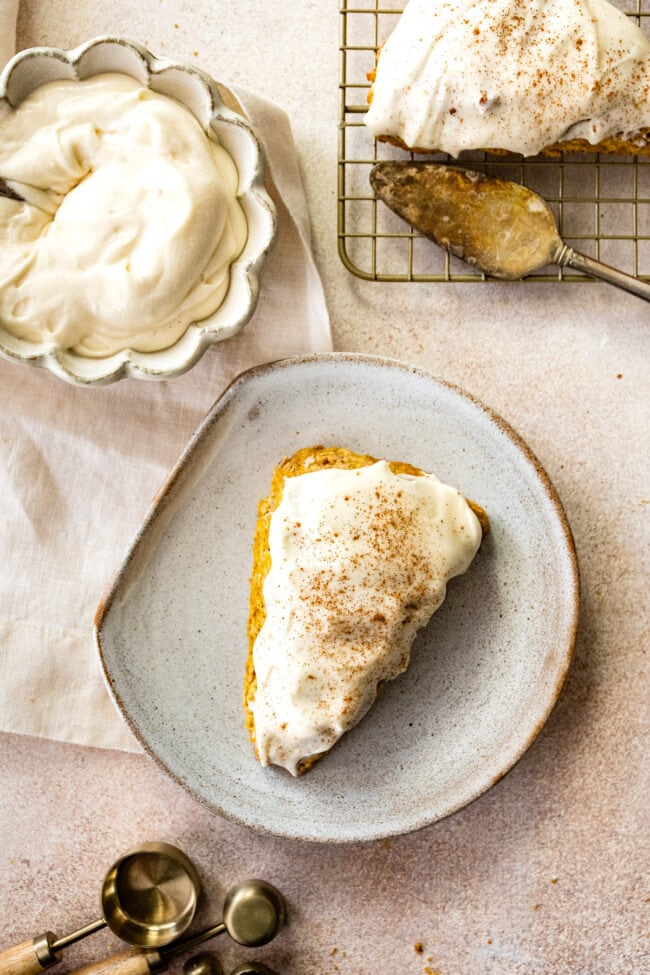
How to Make Pumpkin Scones
You can whip up a batch of homemade scones in no time!
- Line a large baking sheet with parchment paper or a Silpat baking mat. Set aside.
- In a medium bowl, whisk together the dry ingredients.
- In a medium bowl, combine the wet ingredients and whisk until smooth.
- Add the pieces of cold butter to the dry ingredients and lightly toss until all the pieces are coated. Using a pastry cutter or your fingers, quickly cut the butter into the flour mixture until the mixture is pebbly. You want there to still be little chunks of butter, about pea size. Don’t over mix, you don’t want the butter to get too warm.
- Pour the pumpkin mixture over the dry ingredients and use a spatula to gently stir together. Don’t over stir, the mixture will be wet and sticky. Still in the bowl, knead the dough a few times until the dough comes together.
- Transfer the dough to a lightly floured surface. Gently pat and shape the dough into a circle, about 1-inch thick. Be careful to not over work the dough. Cut the scones into 8 even triangles.
- Place the scones on the prepared baking sheet. Put the scones in the freezer for 15 to 20 minutes so the butter can chill. This will prevent the scones from spreading.
- Preheat the oven while the scones are chilling.
- Remove from the freezer and brush the scones with the remaining heavy cream. Bake until the tops and edges are golden brown and the scones are set but still slightly soft in the center.
- Remove from the oven and let the scones cool on the baking sheet for 5 minutes. Transfer to a wire cooling rack and cool completely.
- While the scones are cooling, make the cream cheese icing. Whisk all of the ingredients together until smooth. I like a thick cream cheese icing, but if you want it thinner, you can add more heavy cream or milk.
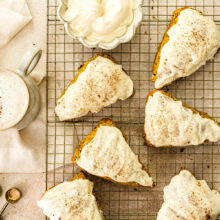
- Use a spoon to generously frost the scones with the cream cheese icing.
- Eat and enjoy every single bite!
How to Store Pumpkin Scones
The pumpkin scones are best the day they are made. You can’t beat a fresh scone. The recipe makes 8 scones so it’s not hard to eat all in one day, especially if you are sharing with family and friends.
If you’re not going to eat all of these scones the day they are made, it’s best to wait to frost them until you are ready to eat. Store the scones at room temperature in an airtight container and keep the cream cheese icing in the fridge. Make sure you stir the icing well before frosting so it is nice and smooth.
You can freeze the scones (frosted or unfrosted) for up to 3 months. Thaw and enjoy!
More Pumpkin Recipes
Pumpkin Scones with Cream Cheese Icing
Pumpkin Scones with a sweet cream cheese icing are easy to make at home and better than Starbucks! Enjoy for breakfast, brunch, or a snack! They are the perfect fall treat!
For the scones:
- 2 cups all-purpose flour
- 1/3 cup brown sugar
- 1 tablespoon baking powder
- 1/2 teaspoon kosher salt
- 1 1/2 teaspoons ground cinnamon
- 1/2 teaspoon ground nutmeg
- 1/2 teaspoon ground ginger
- 1/4 teaspoon ground cloves
- 1/2 cup pumpkin
- 1/3 heavy cream, plus 1 tablespoon for brushing on scones
- 1 large egg
- 1 teaspoon vanilla extract
- 1/2 cup cold unsalted butter, cut into small pieces
For the cream cheese glaze:
- 2 ounces cream cheese, softened
- 2 tablespoons unsalted butter, softened
- 1 1/2 cups confectioner’s sugar
- 1 to 2 tablespoons heavy cream or whole milk
- 1/2 teaspoon pure vanilla extract
-
Line a large baking sheet with parchment paper or a Silpat baking mat. Set aside.
-
In a medium bowl, whisk together the flour, brown sugar, baking powder, salt, cinnamon, nutmeg, ginger, and cloves. Set aside.
-
In a medium bowl, combine the pumpkin, heavy cream, egg, and vanilla extract. Whisk until smooth.
-
Add the pieces of cold butter to the dry ingredients and lightly toss until all the pieces are coated. Using a pastry cutter or your fingers, quickly cut the butter into the flour mixture until the mixture is pebbly. You want there to still be little chunks of butter, about pea size. Don’t over mix.
-
Pour the pumpkin mixture over the dry ingredients and use a spatula to gently stir together. Don’t over stir, the mixture will be wet and sticky. Still in the bowl, knead the dough a few times until the dough comes together.
-
Transfer the dough to a lightly floured surface. Gently pat and shape the dough into a circle, about 1-inch thick. Use a sharp knife to cut the scones into 8 even triangles.
-
Place the scones on the prepared baking sheet. Put the scones in the freezer for 15 to 20 minutes so the butter can chill. This will prevent the scones from spreading. While the scones are chilling, preheat the oven to 400 degrees F.
-
Remove from the freezer and brush the scones with the remaining heavy cream. Place the baking sheet in the oven, on the middle rack, and bake for 15-22 minutes or until the tops and edges are golden brown and the scones are set but still slightly soft in the center.
-
Remove from the oven and let the scones cool on the baking sheet for 5 minutes. Transfer to a wire cooling rack and cool completely.
-
While the scones are cooling, make the Icing. In a medium bowl, whisk together the cream cheese, butter, confectioner’s sugar, heavy cream or milk, and vanilla. Whisk until smooth.
-
Use a spoon to generously frost the scones with the cream cheese Icing.
Calories: 409kcal, Carbohydrates: 57g, Protein: 5g, Fat: 18g, Saturated Fat: 11g, Polyunsaturated Fat: 1g, Monounsaturated Fat: 5g, Trans Fat: 1g, Cholesterol: 69mg, Sodium: 284mg, Potassium: 251mg, Fiber: 1g, Sugar: 28g, Vitamin A: 1214IU, Vitamin C: 1mg, Calcium: 99mg, Iron: 2mg
Have you tried this recipe?
Leave a comment below and share a photo on Instagram. Tag @twopeasandpod and hashtag it with #twopeasandtheirpod

