It’s apple season! Celebrate with these quick and easy baked apples. Reposted from December 2014.
I’m not sure if it’s fair that pumpkin gets the most culinary attention when fall rolls around. As much as I love me some pumpkin [insert any dish that can feasibly be made with pumpkin], I’d much prefer something with apples.
I could live off of apple pie, apple crisp, apple-filled crepes, apple cider syrup-covered pancakes, apple-cheddar squash soup … you get the idea. Just bury me in apples, and I’ll be a happy girl.
One treat I don’t make too often is baked apples. I’m not sure why. Oh, wait, yes I do. It’s the hollowing out of the apples, which, in my head, seems like a chore, but in reality only takes a few minutes. I need to quit playing mind games with myself because I’ve been seriously missing out.
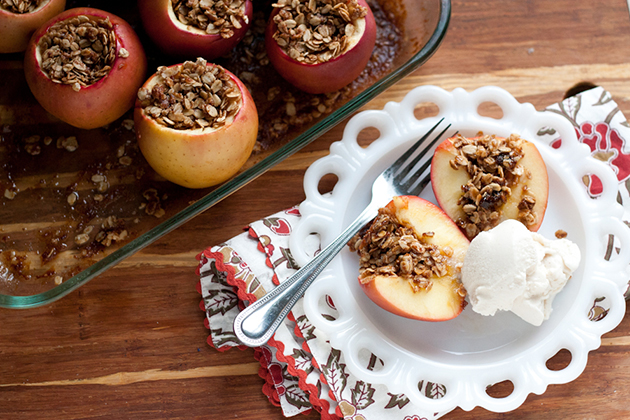
We had some friends over for dinner recently, and I searched for a simple and delicious dessert to make. I also wanted something that screamed fall. The Baked Apples recipe submitted by TK member Laura seemed like just the thing I was searching for.
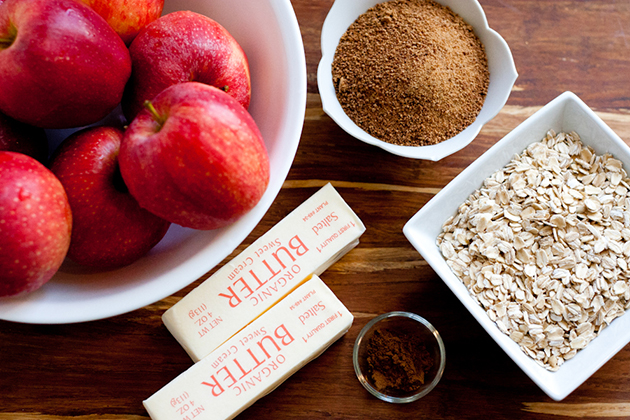
First, let’s gather our ingredients! To be honest, when I gathered everything I kept thinking that this couldn’t possibly be everything. I even grabbed an extra stick of butter. (You know, just in case.) Really, all you need are smallish baking apples, oats, brown sugar, cinnamon, and softened butter. That’s it.
This is an excellent jumping point for adaptations! If you’re avoiding dairy, grains, or refined sugar, you can use coconut oil, chopped nuts/dried fruit/coconut, and honey. You could also play with the spices and add some nutmeg or cardamom for a more exotic taste. The only substitution I made was using coconut sugar instead of brown sugar.
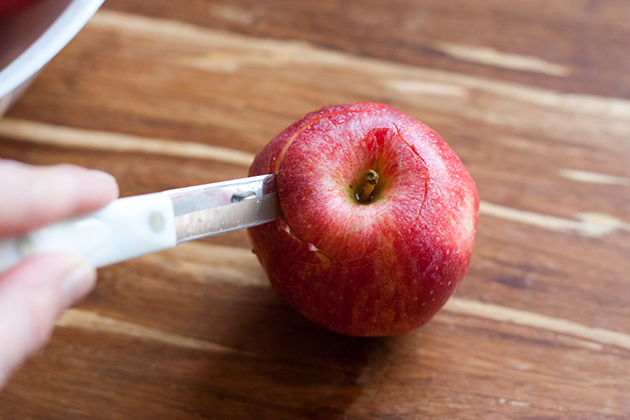
Okay, now for the part that I dread (which isn’t that bad, really). Grab a sharp paring knife and cut around the stem of the apple, going about 1/3 the way into the center.
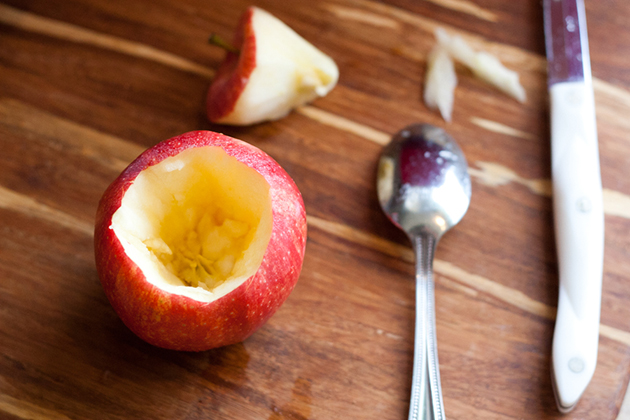
You can also use a spoon at this point to scrape out any seeds or tough bits of core remaining. Repeat with remaining apples.
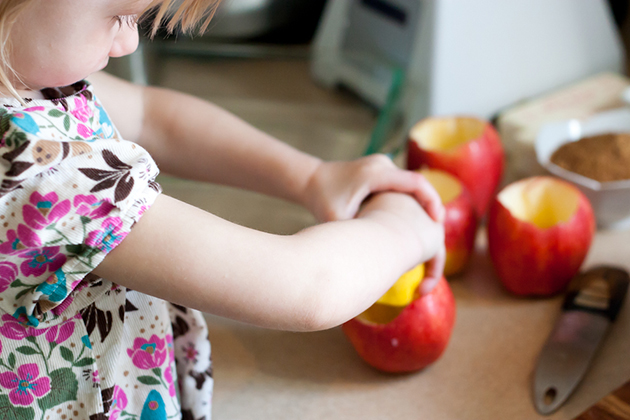
If you’re assembling these early and plan to refrigerate them for a few hours before baking them, I would rub some lemon juice on the insides of the apples so they don’t turn brown. Lemon juice will brighten the flavor of the apples, too. If you happen to have a two-year-old around who is dying to help you, they’re great for that.
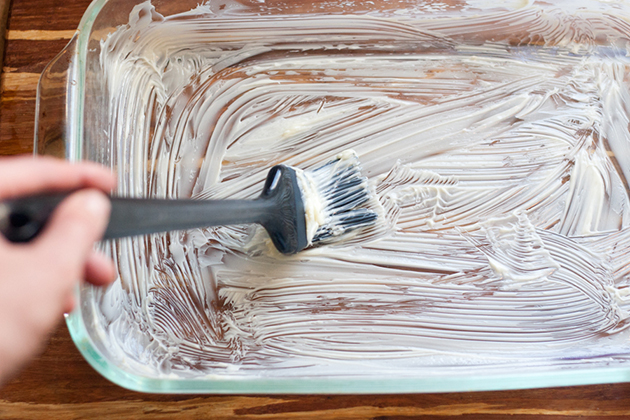
Grab a baking dish large enough to hold all of the apples. My 9×13 inch glass baking dish was the perfect size. Brush a liberal amount of butter on the sides and bottom of the pan. Don’t be shy.
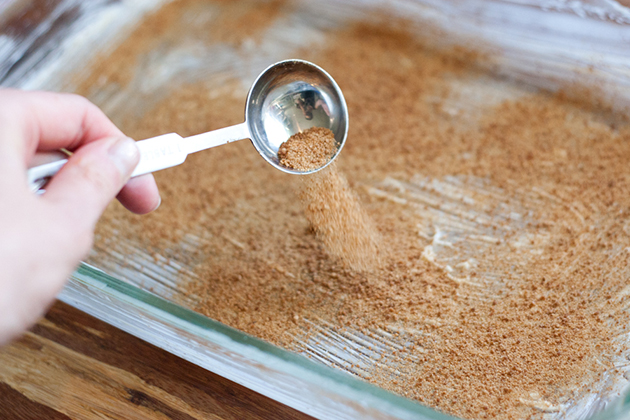
Sprinkle some of the brown sugar into the pan as well.
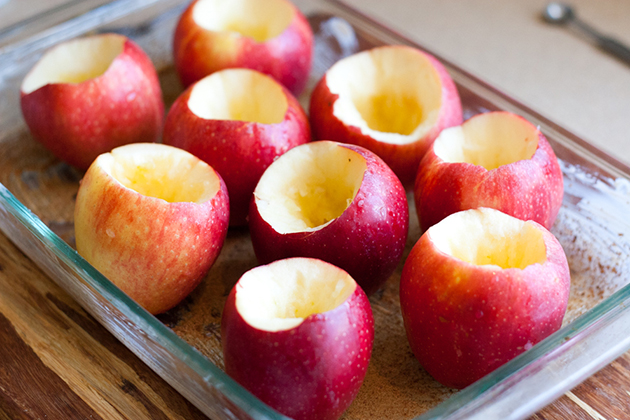
Nestle your apples into the pan so they all stay upright. You don’t want that precious filling to spill out!
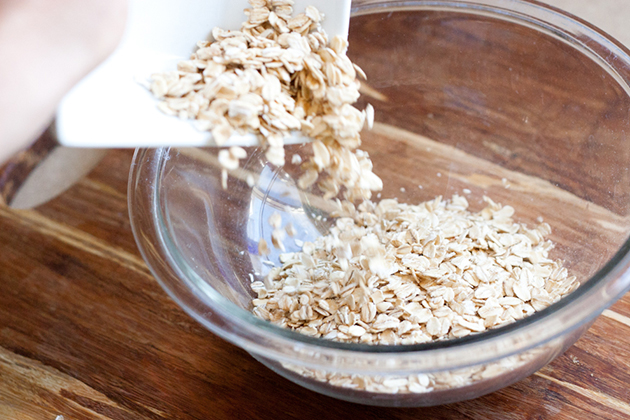
Speaking of the filling, grab a small bowl and pour the oats in.
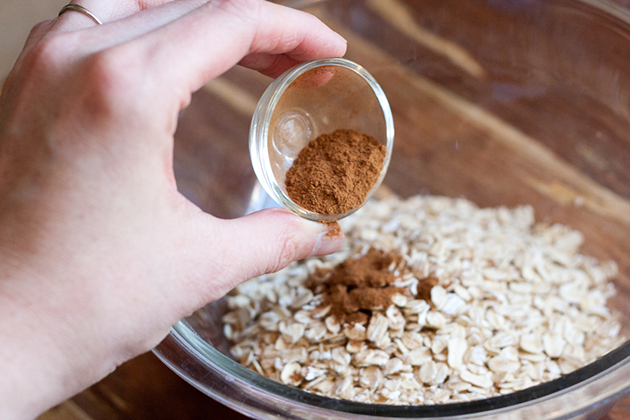
Add the cinnamon (and any other spices you’d like to add).
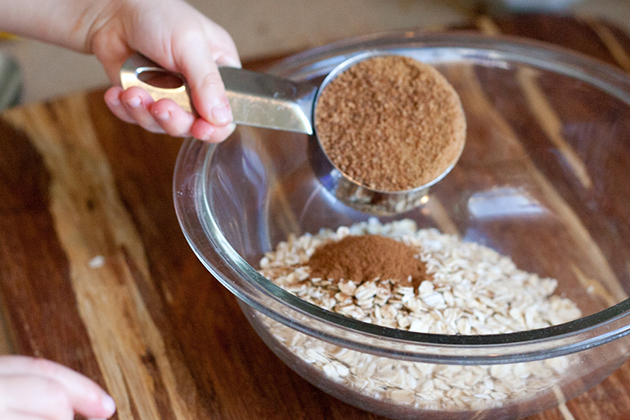
And the rest of the brown sugar.
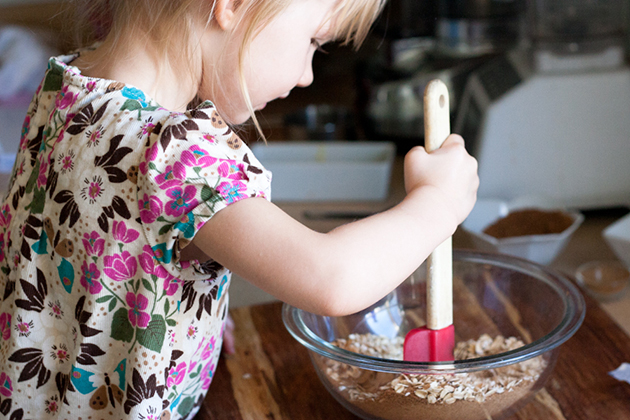
Give it a good mix. Or have your kitchen-maid-in-training do it for you.
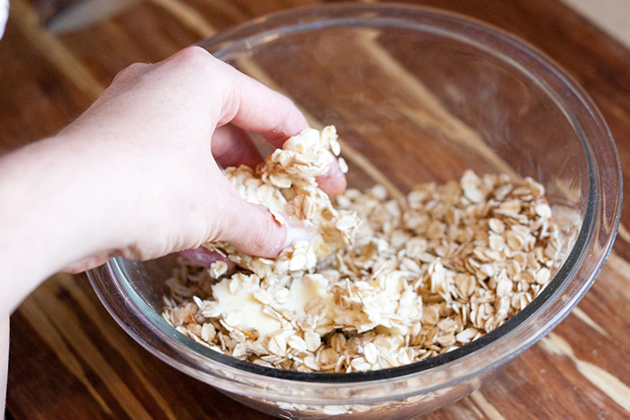
This is the fun part. Put the rest of the softened butter in the oats and, using your hands, blend it until the butter is incorporated and you get a crumbly texture.
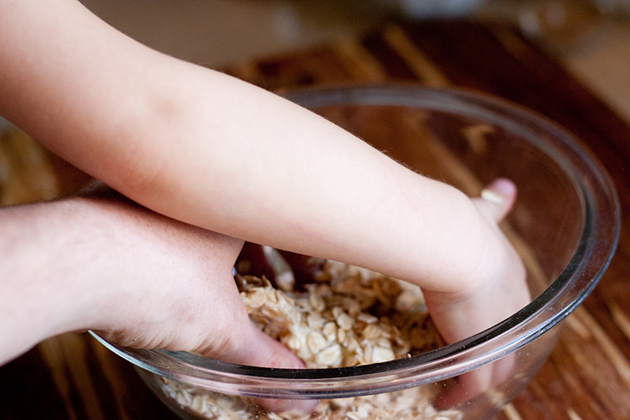
I knew she wouldn’t be able to resist this part.
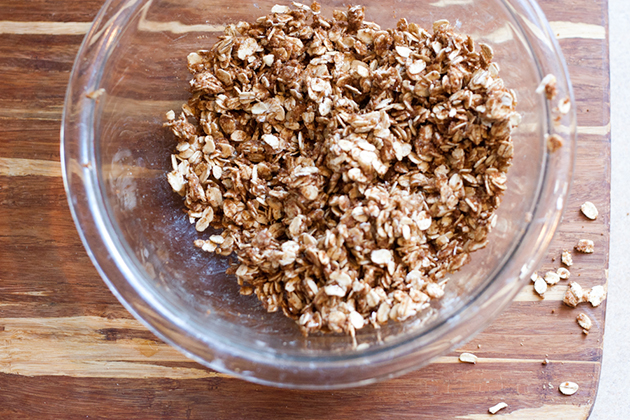
This is roughly the texture you’re looking for. Try not to eat it right out of the bowl. Believe me, it’s hard.
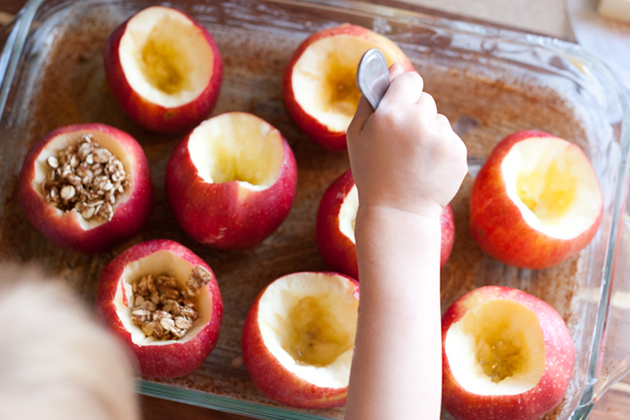
Call your lovely assistant back over and have her spoon the filling into the apples. I was surprised at how well she did this. This is such a great recipe to involve kids in the kitchen!
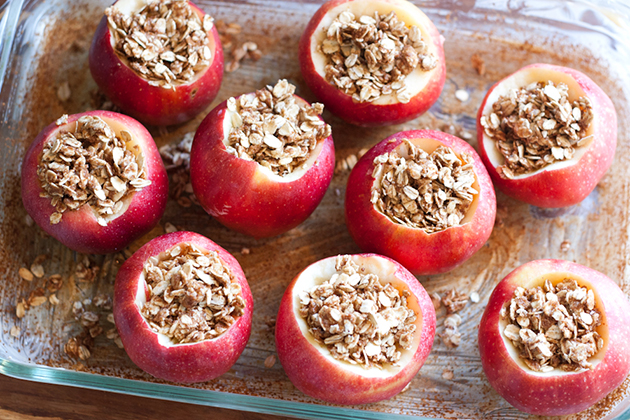
We just kept piling it on until we ran out of filing.
Pop them into the oven for a while and …
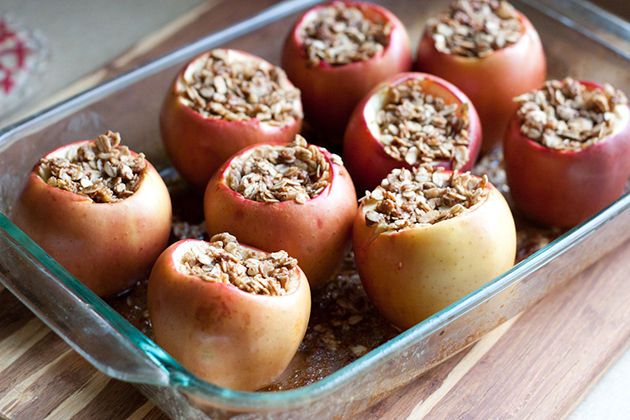
Not only will your house smell amazing, but you’re super close to heaven in a bowl.

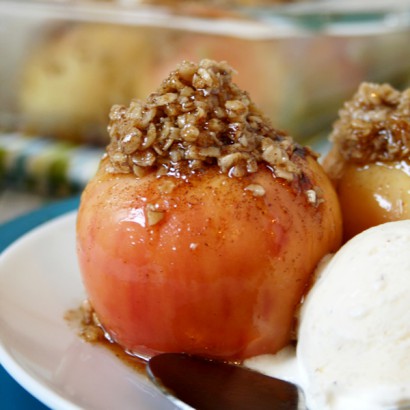
The instructions say to spoon the caramel sauce from the pan over the apples, but I didn’t have much sauce to speak of. Instead, we served these with vanilla bean gelato.
I also whipped up some sea salt vanilla bean caramel sauce and poured it over the top. Why I didn’t do that in the beginning is beyond me. If you’d like to make some homemade caramel sauce, there are a lots of recipes here on Tasty Kitchen! I included a few below that caught my eye.
Easy Caramel Sauce from Ree
Spiced Caramel Butter Sauce from Terri of That’s Some Good Cookin’
Vegan Caramel Sauce from tonijean
Salted Caramel Sauce from Megan Betz
Many thanks go to Laura for a fantastic and easy recipe to do with my kids! Be sure to check out her TK recipe box and her beautiful blog, My Friend’s Bakery, for more recipes.
See post on Laura @ My Friend’s Bakery’s site!
Description
A simple, delicious dessert using fresh picked apples. Enjoy the season’s bountiful harvest.
Ingredients
- FOR THE APPLES:
- 9 whole Small Baking Apples, Like MacIntosh
- 2 Tablespoons Butter, Room Temperature, For Greasing The Dish
- 2 Tablespoons Brown Sugar
- FOR THE FILLING:
- ⅓ cups Butter, Room Temperature
- ⅓ cups Brown Sugar
- 1 cup Quick Cooking Oats
- 1 teaspoon Ground Cinnamon
Preparation Instructions
Preheat the oven to 350 F.
Wash and core the apples. Generously coat the bottom of an oven-safe baking dish (use one that’s big enough to fit all the apples into) with butter. Sprinkle the first amount of brown sugar over the base of the dish. Arrange the apples into the baking dish to fit.
In a separate bowl, crumble together the filling ingredients. Fill each cored apple with a generous amount of the filling.
Bake the apples for 30 to 40 minutes until soft. Remove from the oven and place 1 or 2 apples on each serving plate. Use a spoon to scoop some of the hot caramel from the bottom of the dish, and spoon it over each apple. Serve with a scoop of vanilla ice cream.
_______________________________________
Be sure to check out Natalie’s own beautiful food blog, Perrys’ Plate, where you can see her growing collection of lovely recipes. There’s always something new to see there. Go visit now!

