When you pair a hot grill with great pizza dough plus a handful of seasonal toppings, your meal game is going to be next level. Grilled pizza season is on and this post covers everything you need to know to about how to get it right.
How to Grill Pizza: The Basics
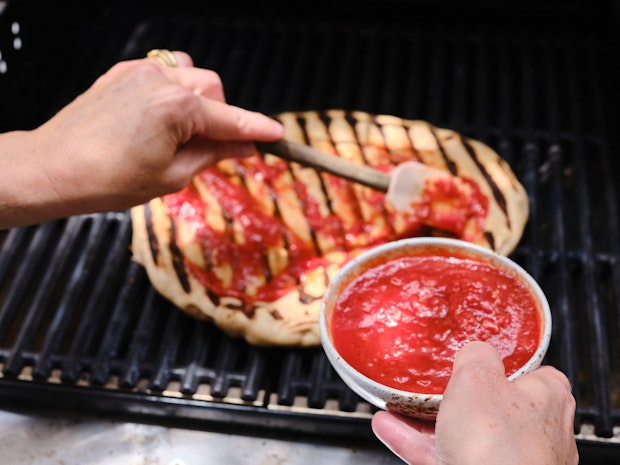
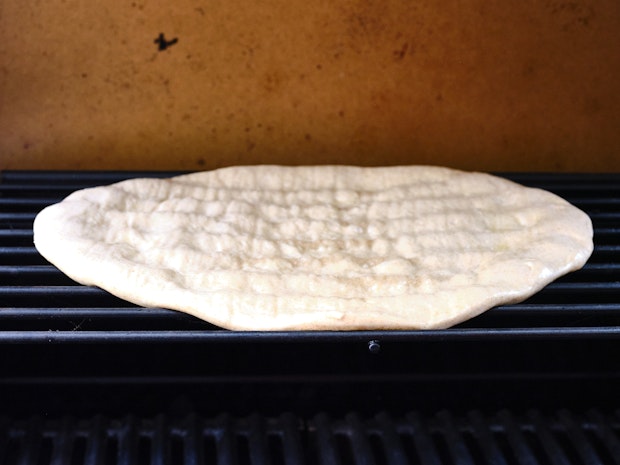
To grill great pizza start with a hot grill that has been cleaned well with a brush. Also key, it helps to be organized. Have your pizza dough, pizza sauce and all toppings ready. Like, right next to the grill. Once you slide your pizza dough onto the grill, the next steps come in rapid succession. This means, whether you’re ready or not. Brush one side of the pizza dough with olive oil and cook that side first, flip it, brush the grilled side with sauce and toppings. Then finish cooking. If you’re a bit on the slow side arranging toppings, you’ll want to pull the pizza off the grill for this step. This helps to avoid the potential for burning. Return the topped pizza to the grill for final cooking. Happens in a flash!
General Grilled Pizza Tips
- Start with a good pizza dough foundation. This is my go-to homemade pizza dough, and it works well on the grill.
- Similar to baking pizza in an oven, you want to achieve medium-high to high heat here. Pre-heat the grill as long as possible and check the temperature before starting the pizza. I aim for 450-500F-ish. You can go hotter if you’re baking your pizza on an upper grill rack, but run the risk of scorchy (burnt) grill marks if it’s in a more direct spot. If you’re using a pizza stone, ignore this and get your grill hot hot hot.
- Pizza on the grill differs from baking pizza in the oven in that with grilled pizza you generally flip the dough once before adding toppings.
- Consider pre-cooking any veggies or other toppings if needed. They won’t have much time to cook on the grill. Arrange each in an individual bowl along with the rest of your toppings bar.
- Use a bit of olive oil on the pizza dough to prevent the first side from sticking to the grill.
Grilled Pizza: The Dough
Start with the right dough: As I mentioned up above, you need to start with a pizza dough that is on your team. I love this pizza dough. It’s the one you see in the pictures here. You can read all about why I like it, in short: the flavor is great, it’s easy to work with, you don’t need a mixer, and there is no need to proof the yeast you’re using. Great in an oven or on a grill. It’s super flex and adaptable. Alternately, you can experiment with doughs purchased from local pizza spots or stores.
Grill Temperature
Temperature: This is the second pillar after good dough. Controlling the grill temperature is key to your success – and, I’ll be honest, there can be a bit of a leaning curve. If you’re having trouble with pizza dough sticking to the grill, dial up the heat. And when using a gas grill, the lid is your friend. Use the lid to control the heat, and to get the hot air circulating all the way around the dough. If you need your toppings to cook/melt more quickly – slap the lid on for a bit. Keep in mind, you have to be particularly vigilant with pizzas you’ve pulled parchment thin – they’ll burn through in a flash. If you’re worried about burning pizzas, you can move them to the upper rack if your grill has one.
Broadly speaking, whatever type of outdoor oven/grill I’m using I obsessively check the bottom and top of the dough and let it tell me what it needs – more time, more heat, a flip, etc. If you have a grill with dual burners, or a way to set up a hot zone, and a not-so-hot zone, moving the dough around can also be helpful.
The Parchment Technique
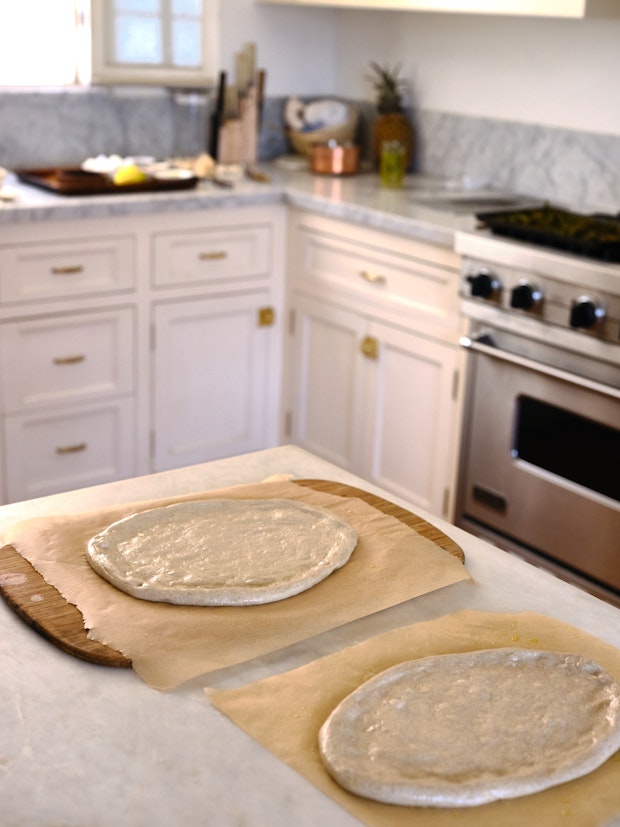
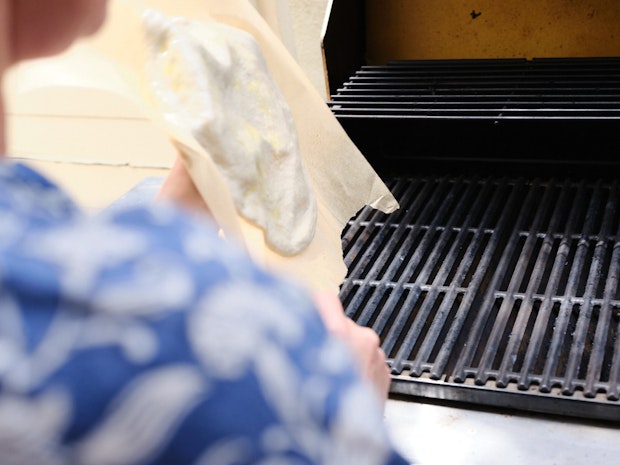
When grilling pizzas this is the approach I like. First, pull the dough out and shape it on a sheet of parchment paper that has been spritzed with a bit of olive oil. Unlike oven-baked pizza you skip the flour here. You can then gently flip the dough onto the grill with the parchment providing a nice amount of structure (see below). Peel the parchment paper away and proceed.
Do you need a Pizza Stone to Grill Pizza?
If you have and use a pizza stone in your oven, you can use it on the grill. That said, you don’t need a pizza stone to grill pizza.
Best Toppings for Grilled Pizza
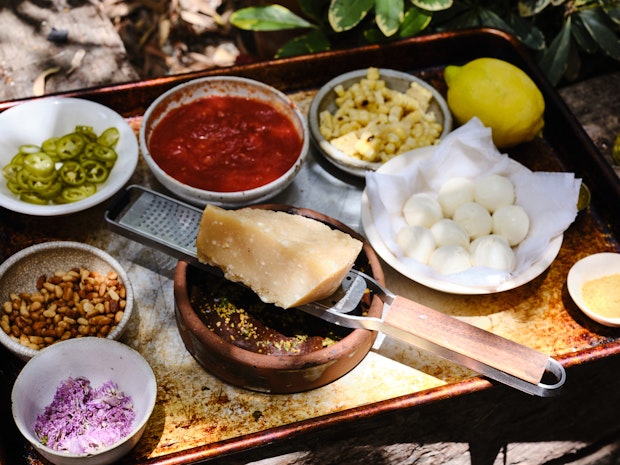
This is the fun part. The rule of thumb here is to use toppings that really sing after a just a couple minutes on the grill. This means you might want to pre-cook (or pre-grill) any toppings that would take longer than that. Use flavor-packed, fast cooking ingredients that have a tendency to melt (or cook) quickly for your toppings. Don’t go overboard, thoughtfully curate each pizza so the flavors of each ingredient have room to speak. Some favorites include:
- Vegetables: corn, thin asparagus, roasted cherry tomatoes, peas, roasted mushrooms, caramelized onions, olives, fava beans, citrus zests, grilled artichoke hearts, sautéed thinly sliced potatoes.
- Cheeses: ricotta, fresh mozzarella, gruyere, feta, freshly grated Parmesan or Pecorino
- Finishing touches: lemon olive oil, tangerine olive oil, makrut lime oil, chives and chive flowers, hot honey
- Herbs: a sprinkle of fresh herbs like oregano, thyme, fresh basil, minced chives, lemon verbena
- Topping Combinations:
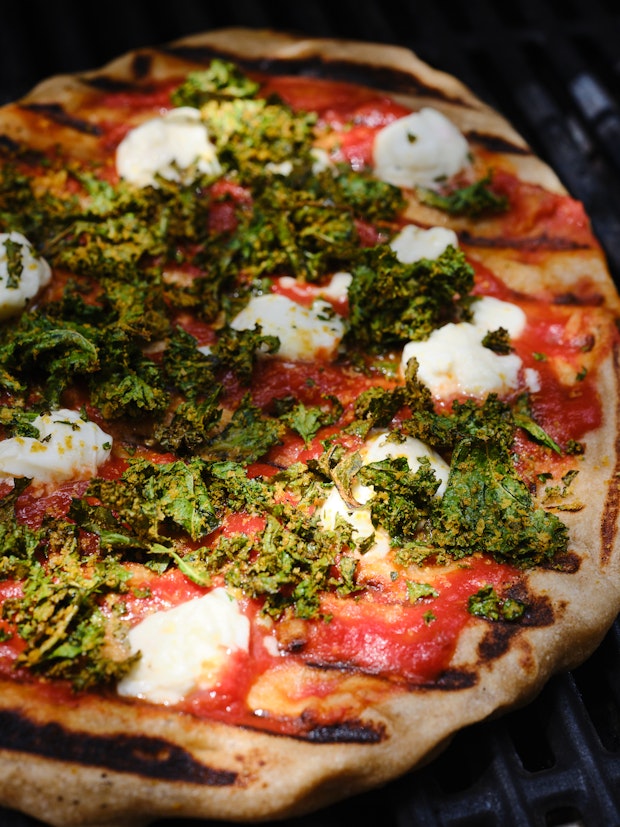
– tomato sauce, mozzarella, crushed kale chips, lemon oil (pictured)
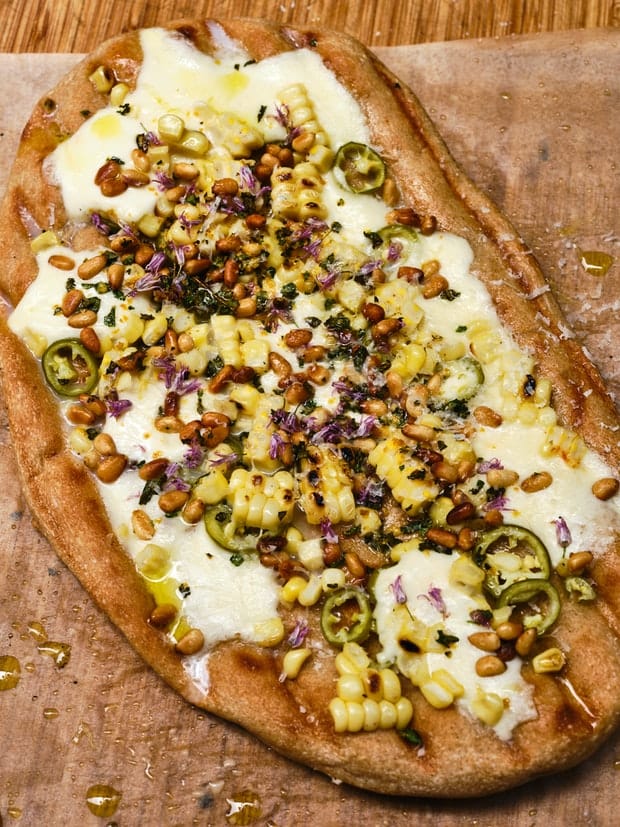
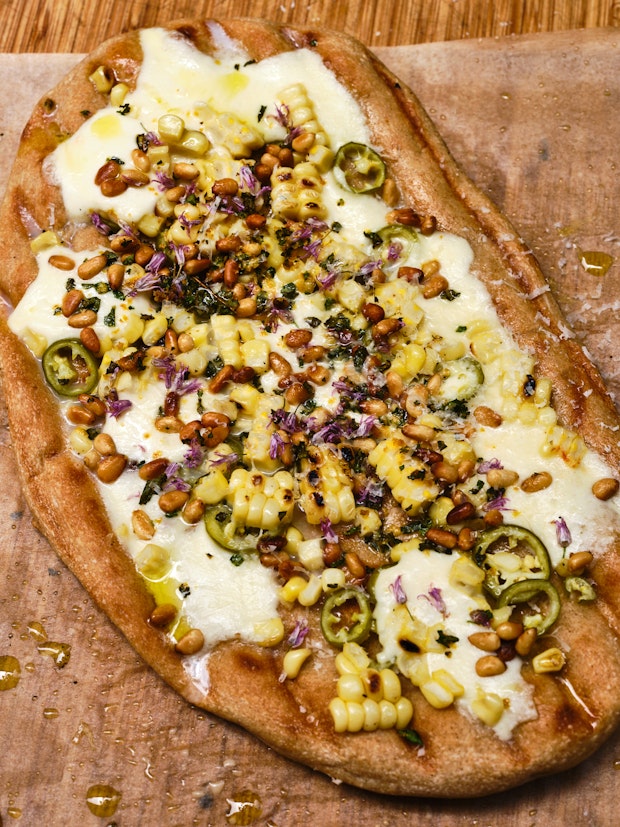
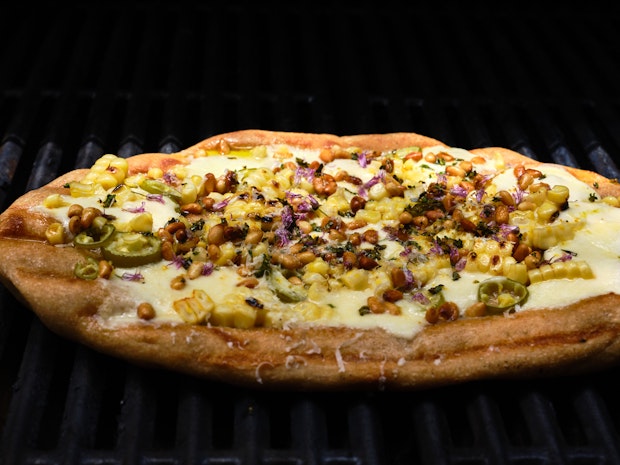
– mozzarella, roasted corn, pickled serrano chiles, chive flowers, pine nuts (pictured)
– caramelized fennel & olives
– spinach/pea & ricotta pesto, potatoes & smoke chile sauce
– tomato & roasted red peppers with goat cheese
– a while back I also compiled this page of A+ grilled pizza topping ideas
– And, here’s a page where I’ve listed a lot of recent favorite pizza combinations
Thick or Thin Pizzas?
Play around with how thick or thin you pull your pizza dough. You’ll get widely varying results. As far as the thick or thin debate goes, I tend to lean into thin. That being said, leaving the dough a bit thicker yields a pizza with a different personality, still delicious – try both to see what you like.
Make-Ahead Crusts
You can pre-grill pizza crusts up to a few hours ahead of time. For example, if you’re feeding a crowd and want to get a bit of a jump start. Lightly grill both sides and then allow to cool on a rack. The key is to go light, knowing they will be going back on the grill later. When you’re ready for prime time, sauce and top each pizza and do the final grilling.
If you’ve never tried this, give it a go! It’s fun to set up for a small crowd because everyone can take a turn making their own custom pizza. Let me know your favorite topping combos in the comments.
Original Source Link

