
Boy am I ever glad to be on the the other side of that flu! Last Thursday, when I posted my Triple Almond Energy Balls recipe, I thought that after five long days of bedrest I was starting to feel a bit better. Unfortunately, I wound up taking a turn for the worse Thursday evening with some scary flu complications cropping up overnight. My temperature skyrocketed (despite being on fever meds) and my cough became much worse. Luckily I’d already done quite a bit of reading on this year’s flu season because I was so worried about the kids getting it and wanted to know which high-risk symptoms to look for. Based on what I’d read and what my doctor told me, having symptoms improve and then come back even worse than before was bad news (it’s actually one of CDC’s “emergency warning signs” of flu complications). Gulp!
On Friday morning I couldn’t even get out of bed to see the kids. I was nauseous, sweating profusely, and had major chills despite feeling super hot. Adriana came into my room looking concerned and said “Mommy, why you don’t wake up today?” That just broke my heart. I knew I had to get medical treatment right away.
I think it’s been about 15 years since I’ve needed to take antibiotics, but I can’t tell you how grateful I was to have them for this virus, which had turned into bacterial pneumonia. The medicine brought my fever down quickly and I’ve been feeling a bit better each day since—although I still don’t feel like myself. I’m currently operating at about 36%, maybe, lol! I think the flu was extra hard on me because I was already run down from taking care of the kids the week before (I’m so thankful their flu symptoms weren’t as severe as mine…I’ll take one for the team!), and of course nursing through the flu takes its toll on the body. It was a stroke of luck that Eric got by with mild body aches (consider me impressed as he was living off unhealthy food all week!), so he held down the fort while I slept, and slept…and slept some more. Each night, I would collapse into bed at 7pm as soon as Arlo was down (and this early bedtime was in addition to an afternoon nap each day). I’ve never slept that much in my life. (And now I know what it’s like to be a baby/toddler!)
Needless to say, we’re all ready to start a new fresh month and hopefully keep as healthy as we can through the spring. So far March is shaping up to be great—I’m alive, after all. 😉 Take care of yourselves everyone…I’m sending you all healthy wishes for a happy month ahead!!
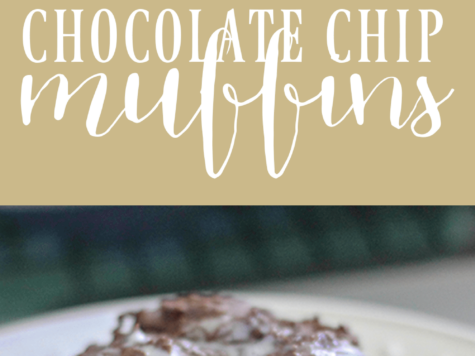
Update: Sooo many great questions are coming in about these muffins! I’m answering them in the comments below, so be sure to check them out. Thanks everyone! And if I do any more trials of this recipe I will be sure to update the recipe notes. My next test is going to be a sunflower seed and sunflower seed butter version.
Update #2: I added a nut-free version in the recipe tips! 🙂


Let’s get social! Follow Angela on Instagram @ohsheglows, Facebook, Twitter, Pinterest, Snapchat, and Google+
