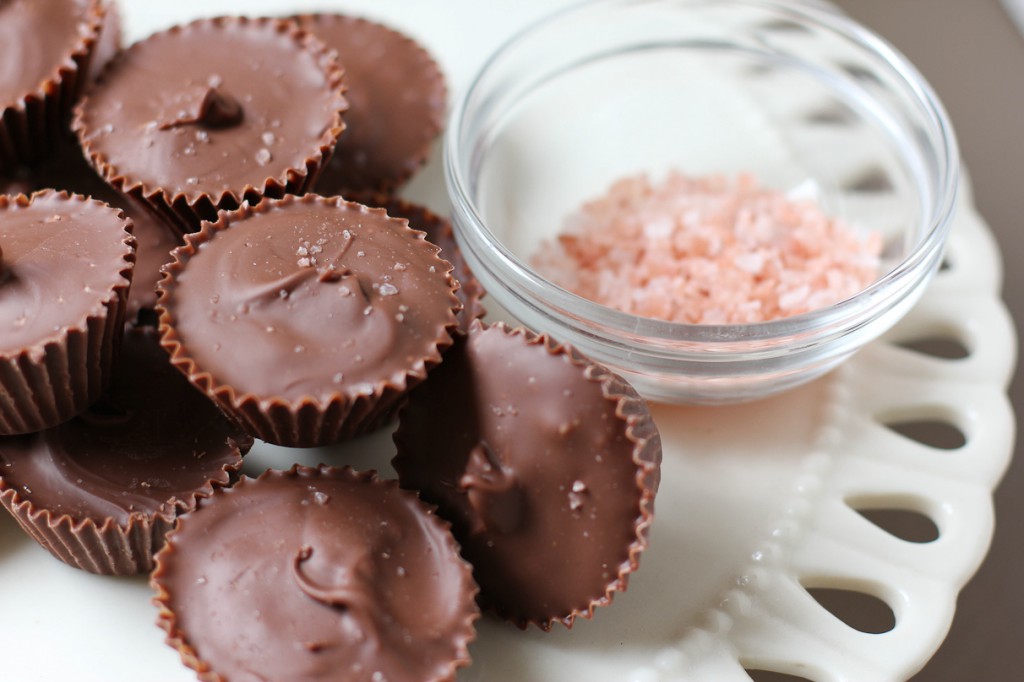
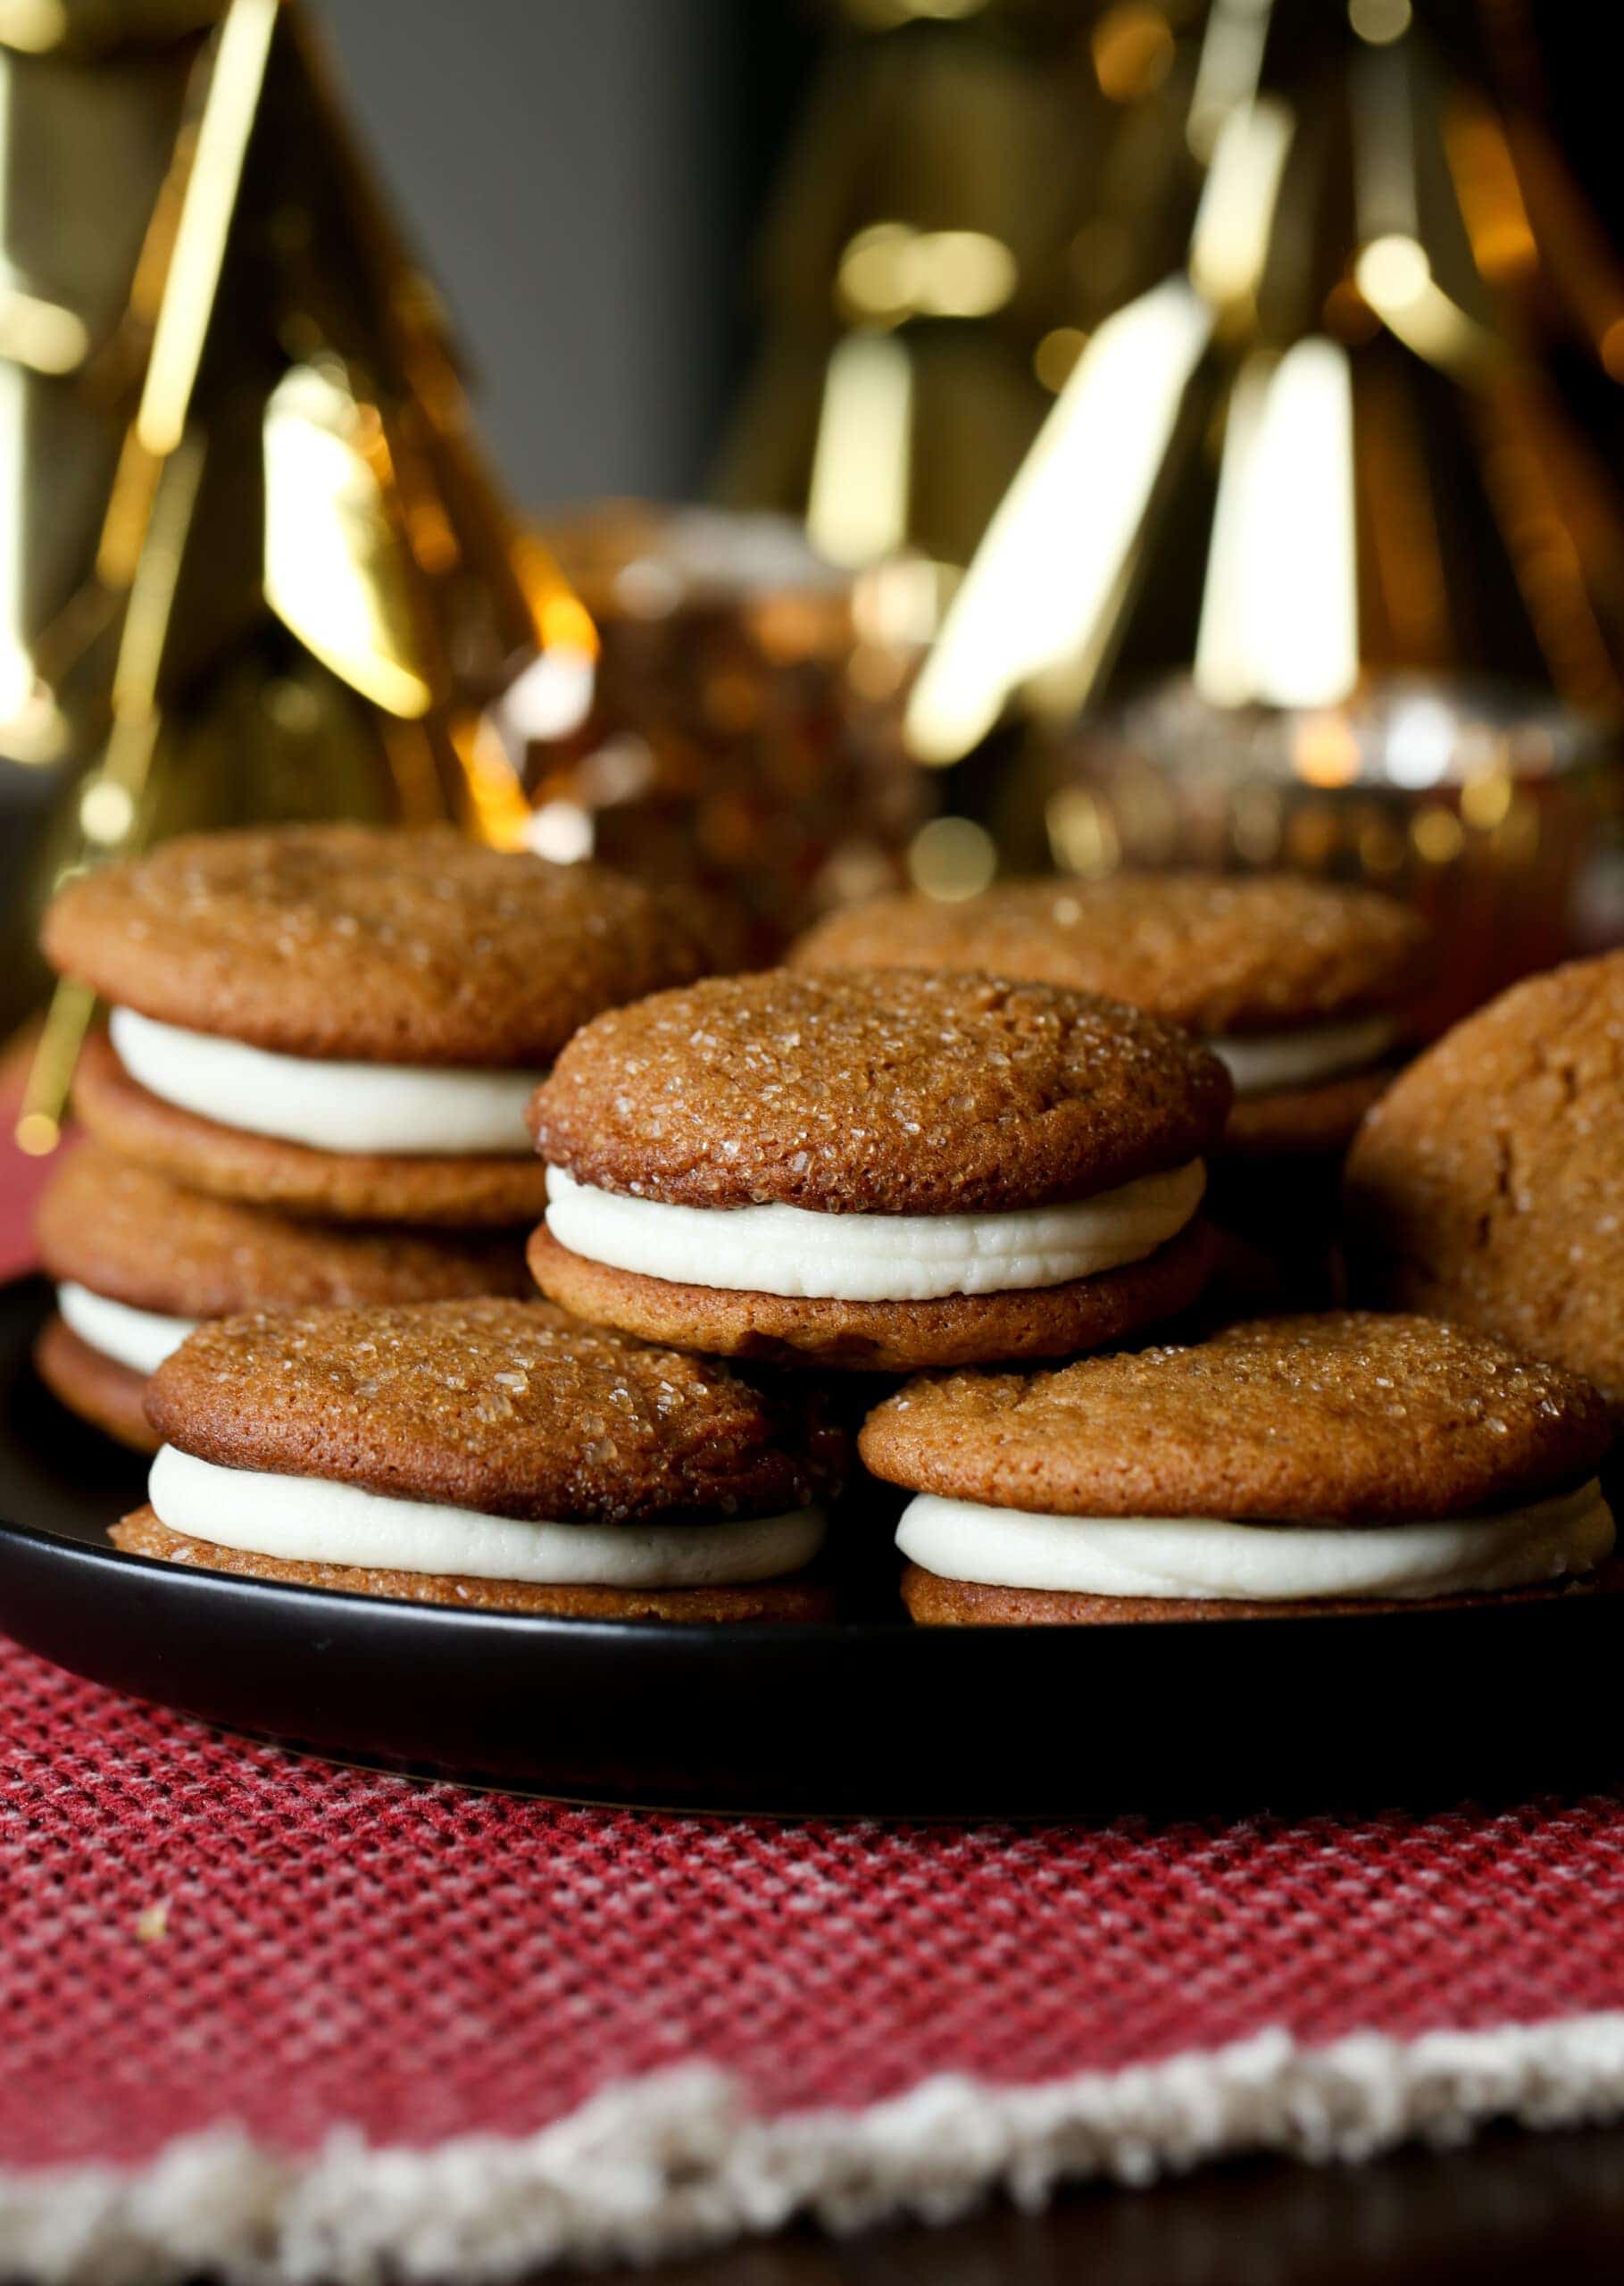
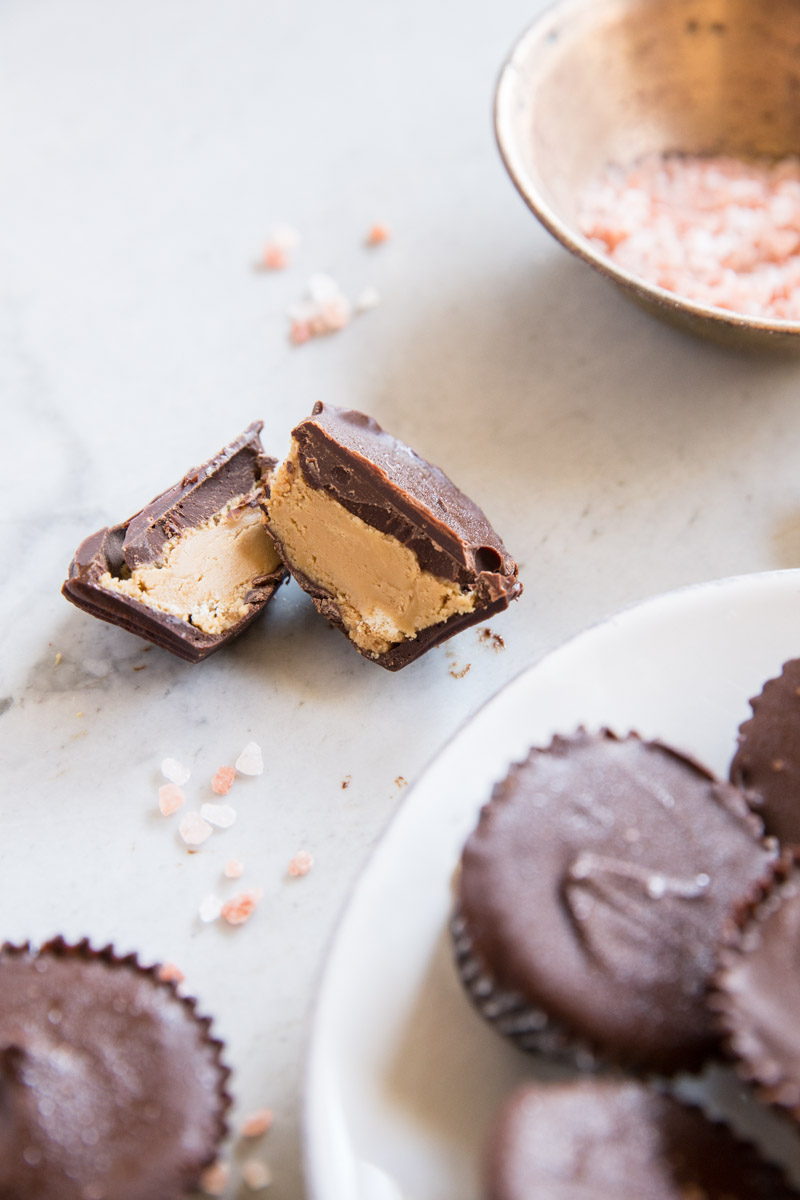
Homemade Peanut Butter Cups are hands down one of the most rewarding from scratch candies to make at home. Halloween or Holiday gift giving is the perfect excuse to try your hand at homemade candy!
I originally posted these little favorites in 2012 and they remain some of our favorite treats to make from scratch. We recently had a backyard movie night and we whipped these up to share along with lots of popcorn. I figure since Halloween and the holidays are quickly approaching this won’t be the only batch of Peanut Butter Cups I make this season.
My original post from 2012:
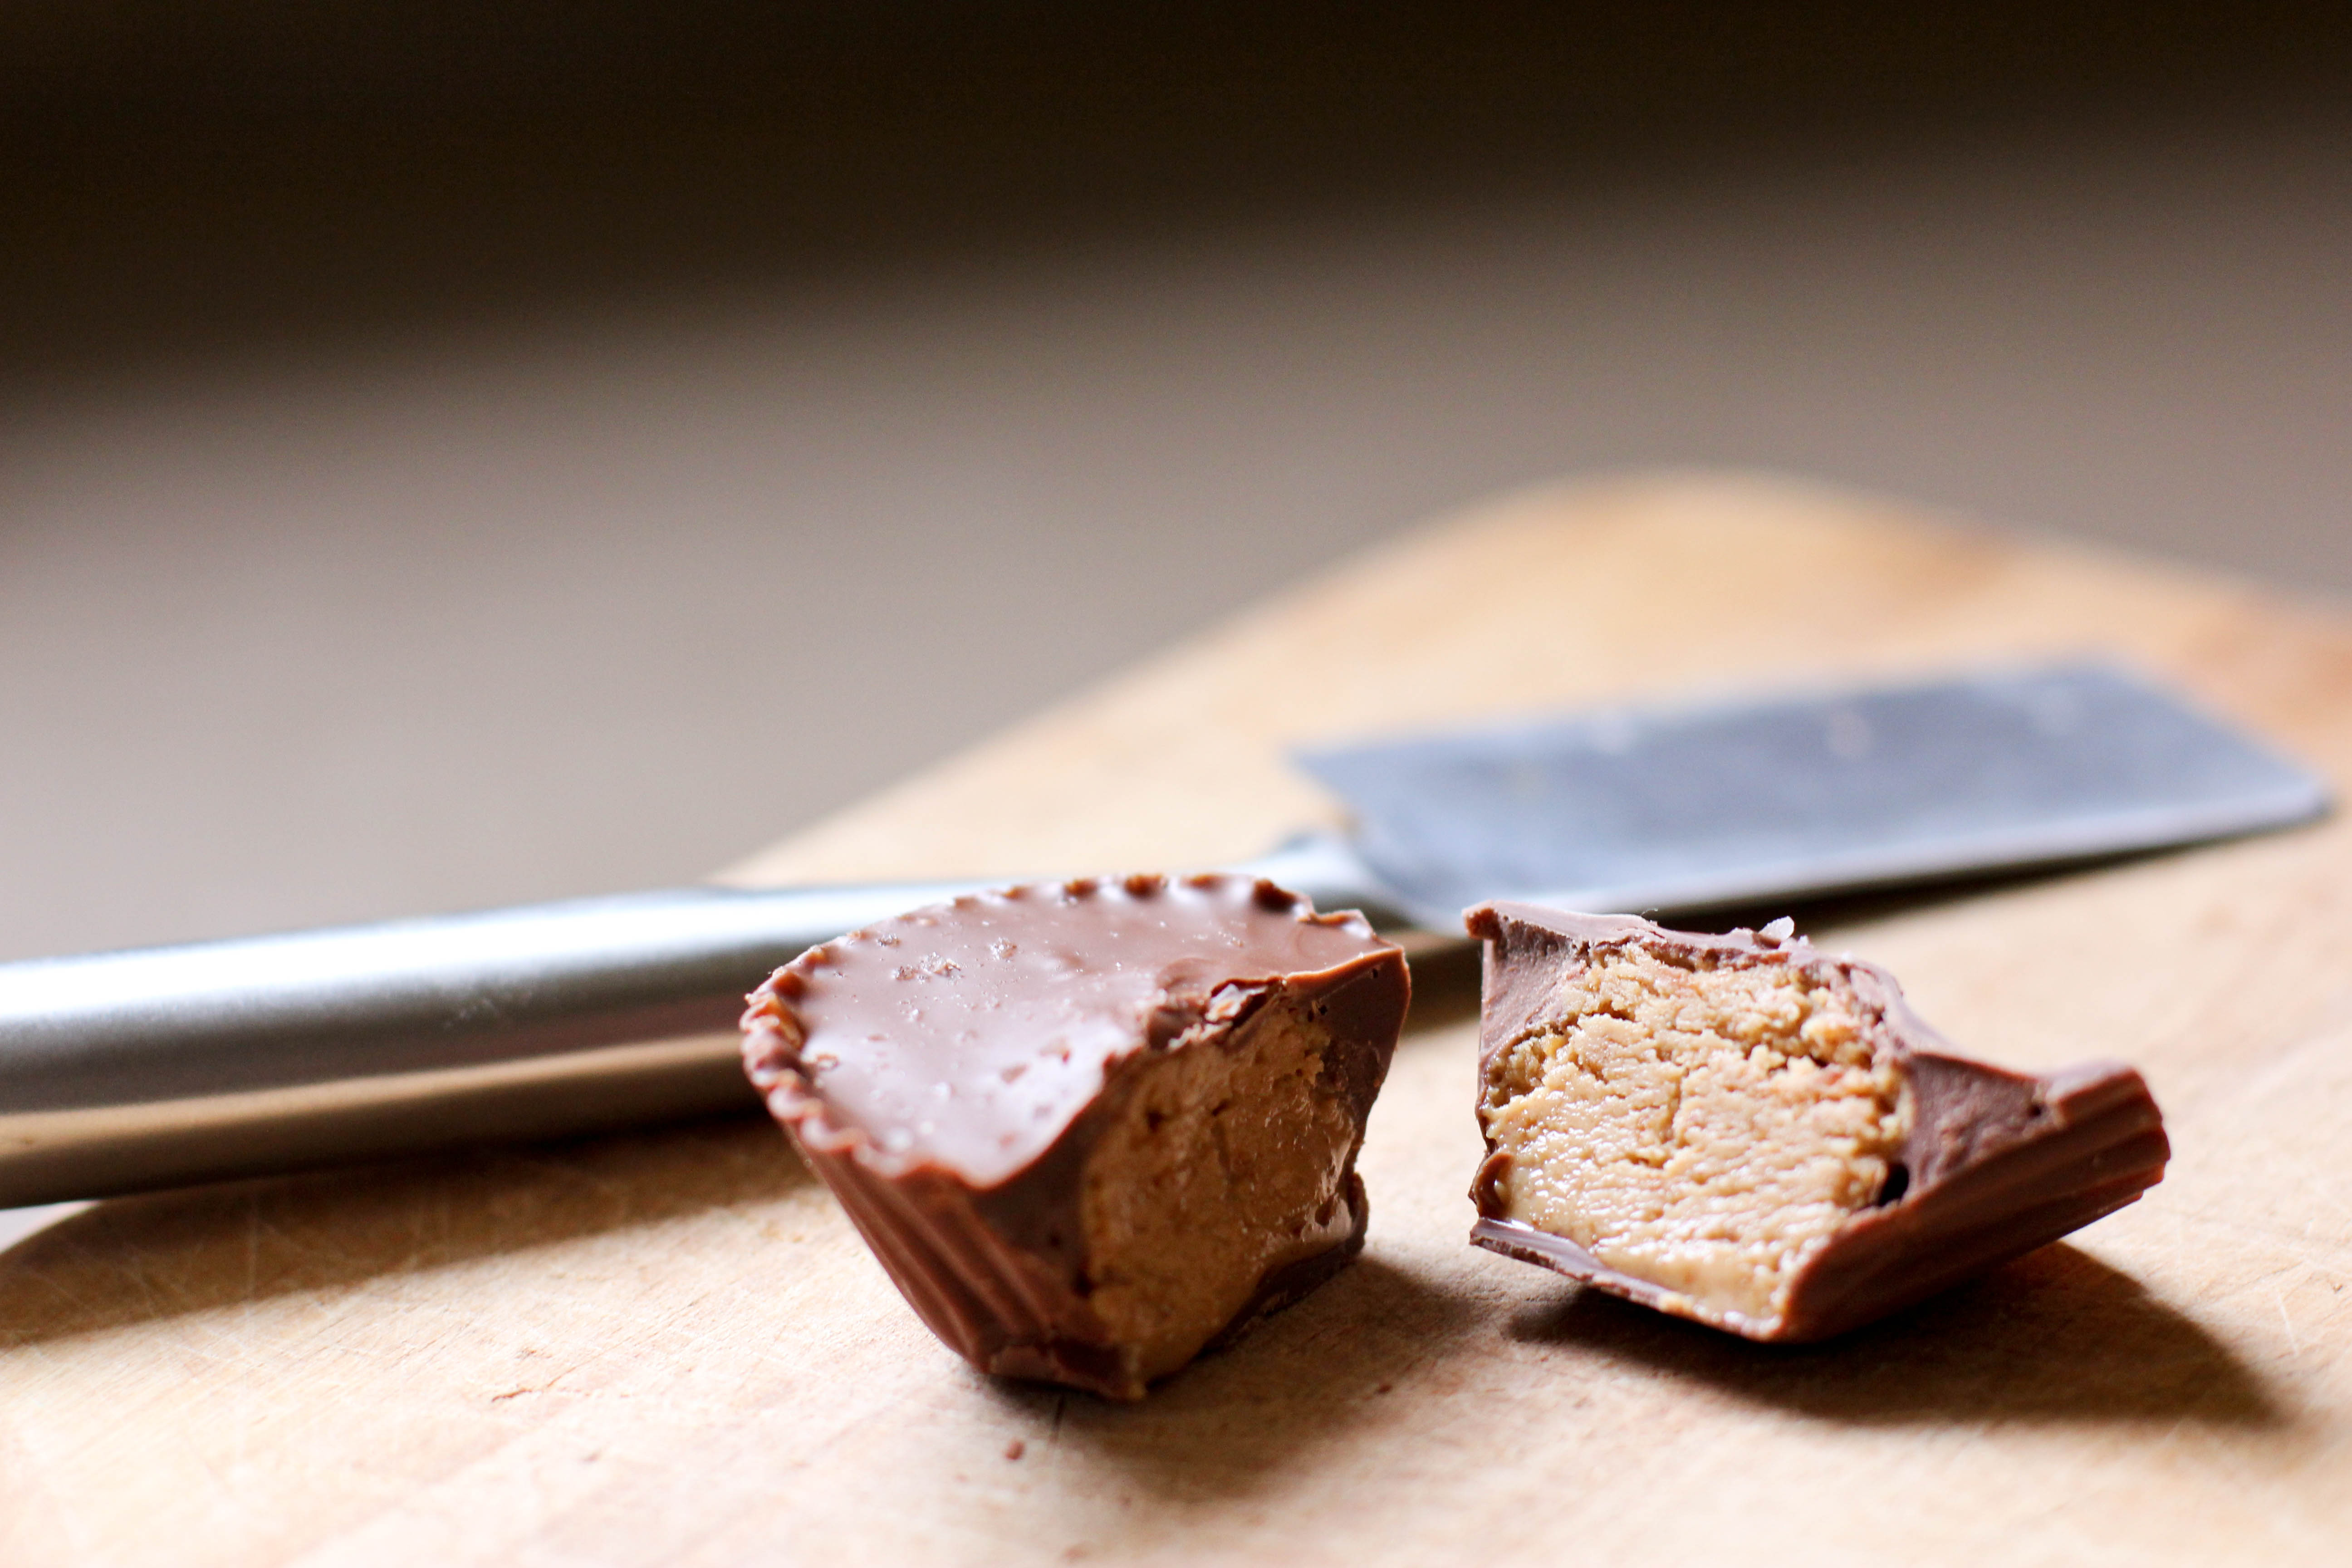
With a crunchy, sweet milk chocolate shell and a creamy, salty peanut butter center, these Peanut Butter Cups are guaranteed to win the affection of the man in your life. Or the men in your life. I made a big pot of White Chicken Chili along with these peanut butter cups for Josh’s band this weekend in hopes of making the whole experience just that much better for the talented group of guys.
Whenever Josh has a big show we usually also have a delicious weekend, waking up to a tasty breakfast, and eating one of his favorite meals before the show, plus of course a few treats to snack on in the green-room as the band sets up and goes for sound checks. These peanut butter cups were perfect for the guys to enjoy back stage and the recipe is pretty easy, although a bit time consuming I will say.
I made these tasty little chocolate candies with my sweet mother-in-law, who came all the way from Texas to see her son play a show. She’s always a great one to have along in the kitchen as we tell stories and laugh. Also, when we cook we aren’t too shy to lick our fingers, lick the mixing spoons or eat ‘mess-ups’.
The concert went fabulously, due to the treats of course ? No really, it was a great night. They played at the State Room, one of my favorite venues in Salt Lake City and with two openers, Owen Monroy and Seafinch, the night was surely a hit.
Josh’s songs have evolved over the years, from fast punk songs about lost love, to heart breaking ballads about his parents’ divorce, to now- stories of introspection of his own heart. If I look back on all of his CDs its pretty incredible to see how much he has grown and matured to be the man he is today. I guess musicians have it hard that way, their life story inspected by others as an open canvas. Josh’s story revealed through song becomes more beautiful with every song he creates.
If you perhaps missed the concert but are interested in hearing some of his music, you can check out his new album, All We Can Do on iTunes. I recommend his music as great cooking tunes, although I will warn you, it causes most people to ponder life in a different way so as your listening and thinking don’t burn the food! Or a better idea, just make these PB cups while you listen, no baking required!
About the Recipe
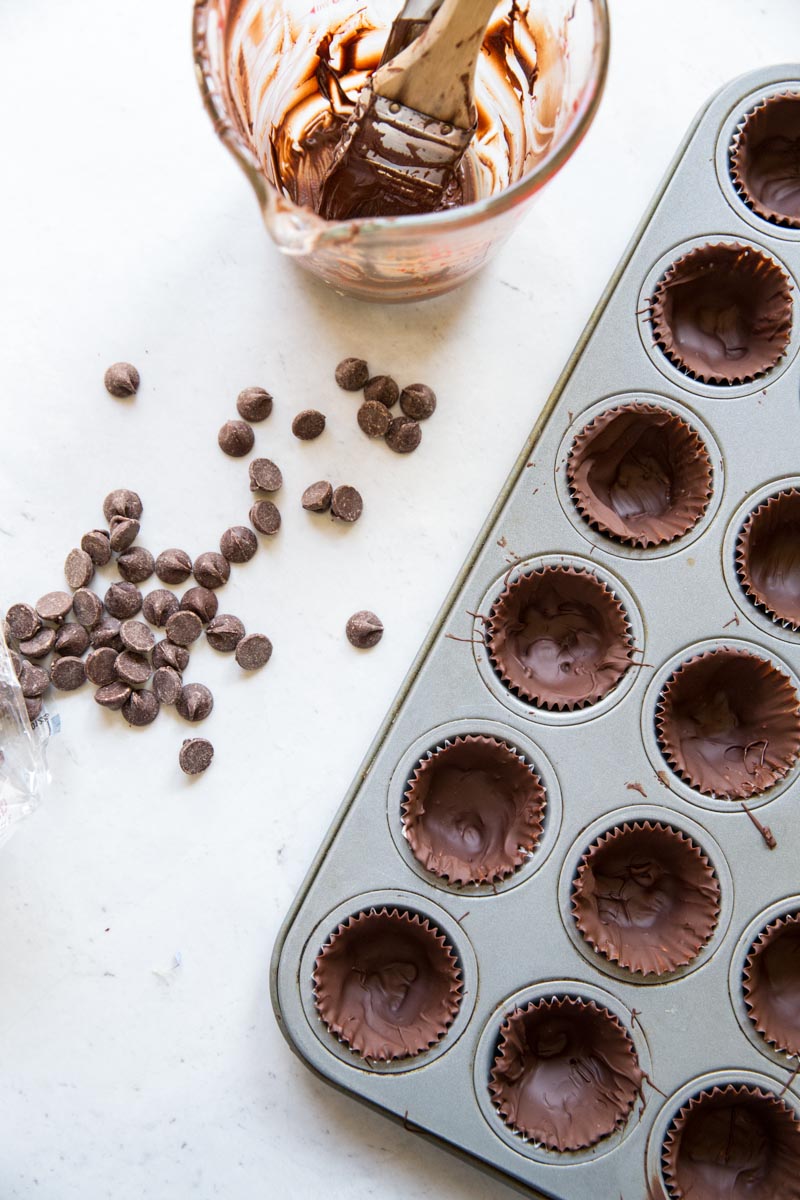
• To create the bottom chocolate layer of the pb cup I use a kitchen pastry brush to brush melted chocolate onto the mini muffin liners. Then, I place these in the fridge or freezer to set while I mix up the peanut butter for the center.
• For a little bit of crunch in the pb center, I mix in crushed biscoff cookies. You could also use a gluten free butter cookie or anything that’s nice and hard.
• If you want a less sweet candy you can omit the sugar. It does help thicken then peanut butter so you may add a couple extra tablespoons of cookie crumbles or use a non-runny peanut butter.
• I use milk chocolate here for a more traditional or familiar pb cup but feel free to use your favorite chocolate.
• When melting the chocolate you can do so in the microwave or on the stove top in a double boiler. If using the microwave, start with 30 seconds then stir and do 5-10 second intervals stirring in between (more chocolate will melt as you stir it all together). Stop heating the chocolate right when it reaches the melting point, careful not to cook or burn it. You can rewarm as necessary.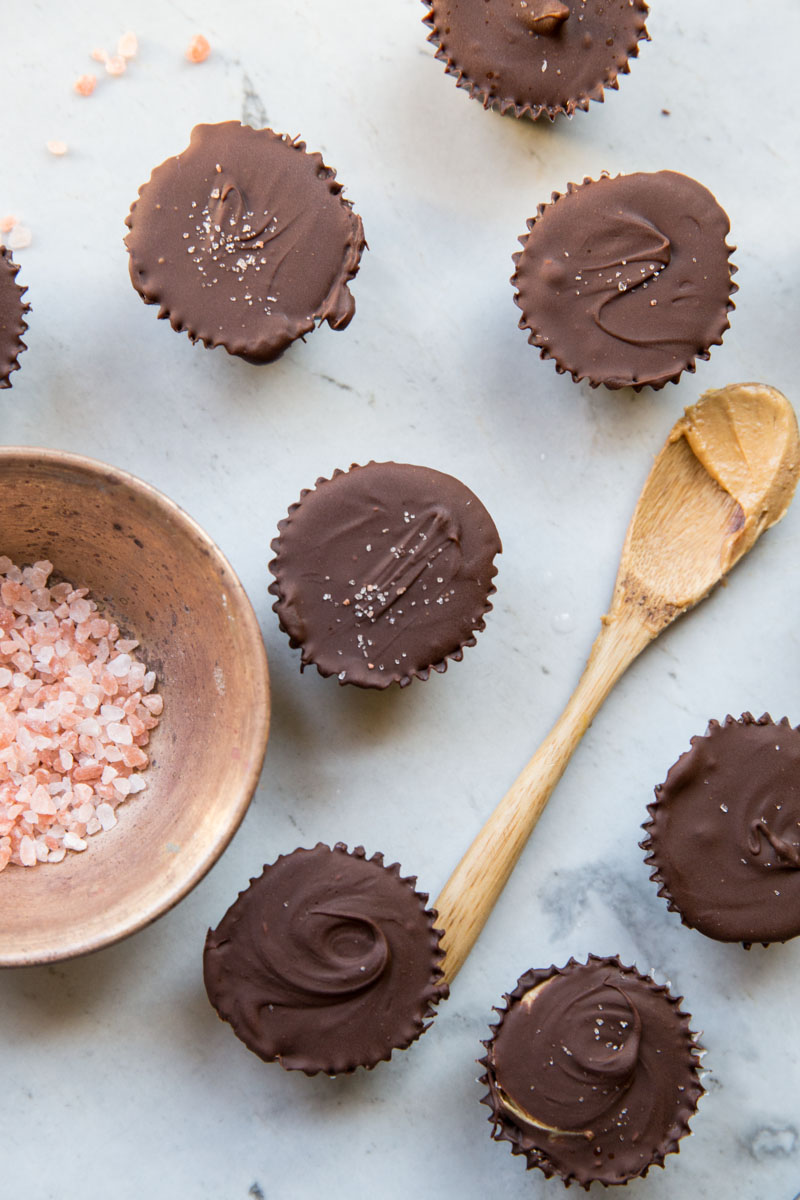

Peanut Butter Cups are even better when they’re homemade and topped with sea salt!
Course:
Dessert, Snack
Cuisine:
American
-
2
bags
quality milk chocolate chips -
1 1/4
cup
peanut butter -
1/2
cup
powdered sugar,
sifted -
1/3
cup
biscoff cookies or graham crackers,
crushed -
1
teaspoon
himalayan sea salt*,
divided in half
-
Line a mini-muffin pan with mini cupcake paper liners. Set aside.
-
Melt 1 bag of the chocolate in a double boiler. (Or you could do this using a microwave, melting the chocolate for 30 second then additional 5 minute intervals until melted). Stir with a spoon or spatula until smooth. Remove the pan of melted chocolate from the stove and turn off the heat.
-
Using the back of a spoon or a pastry brush, paint a layer of melted chocolate onto the bottoms and sides of the paper liners. Coat the liners generously. Set the bowl aside with any remaining melted chocolate left in it.
-
Put the muffin pan in the refrigerator for 20 minutes while you make the peanut-butter filling.
Peanut Butter Filling
-
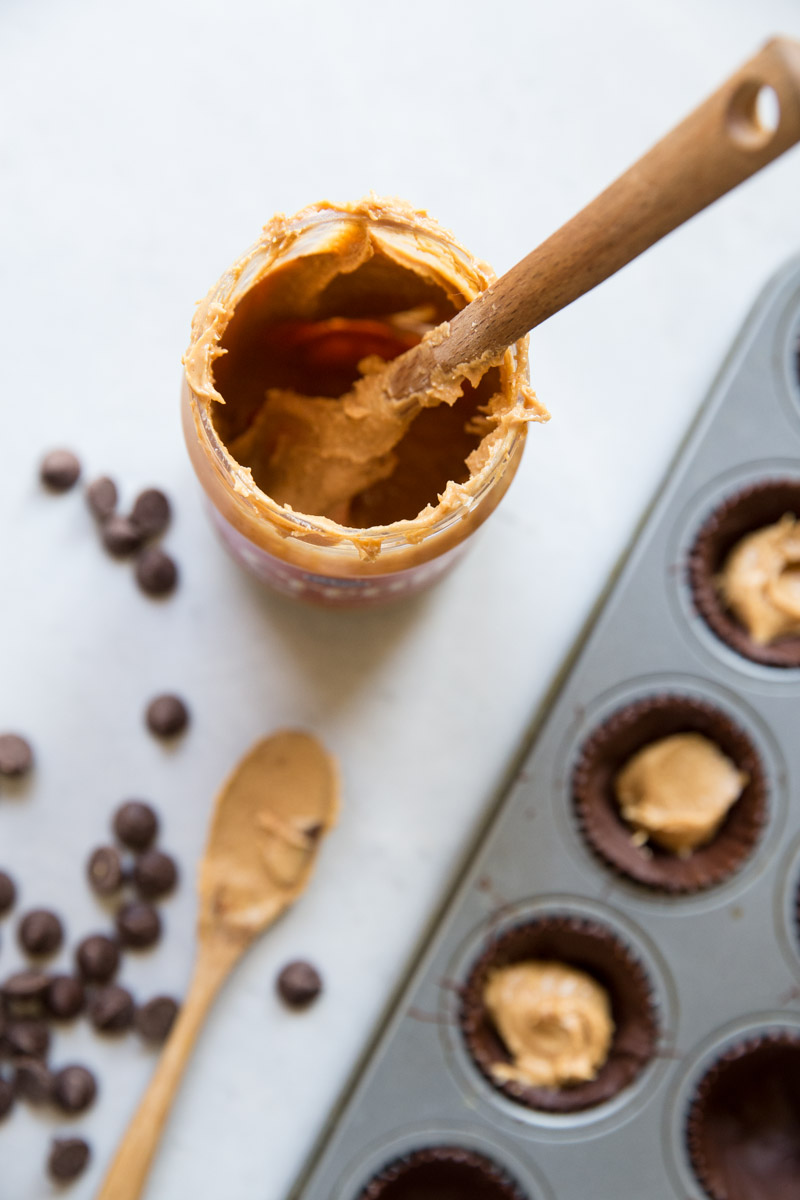
In a bowl, combine the peanut butter, crushed cookies or graham crackers, powdered sugar and 1/2 tsp salt. Stir with a spoon until well combined.
-
Return the bowl used to melt the chocolate to the top of the double boiler. Turn the heat to medium-high. Add the remaining bag of chocolate and melt.
-
Meanwhile, remove the muffin pan from the refrigerator. Then divide peanut-butter mixture in tablespoonfuls or 1 inch balls into the chocolate cups.
-
By now, the chocolate added to the double boiler should all be melted. Using a spoon, dollop the top of each peanut butter mixture mound with a generous portion of chocolate.
-
Use the back of a teaspoon to level out the tops and swirl the top of the chocolate. Top with a sprinkle of himalayan sea salt.
-
Place the muffin pan in the refrigerator. Within one hour, your cups should be set, depending how cold your fridge runs.
-
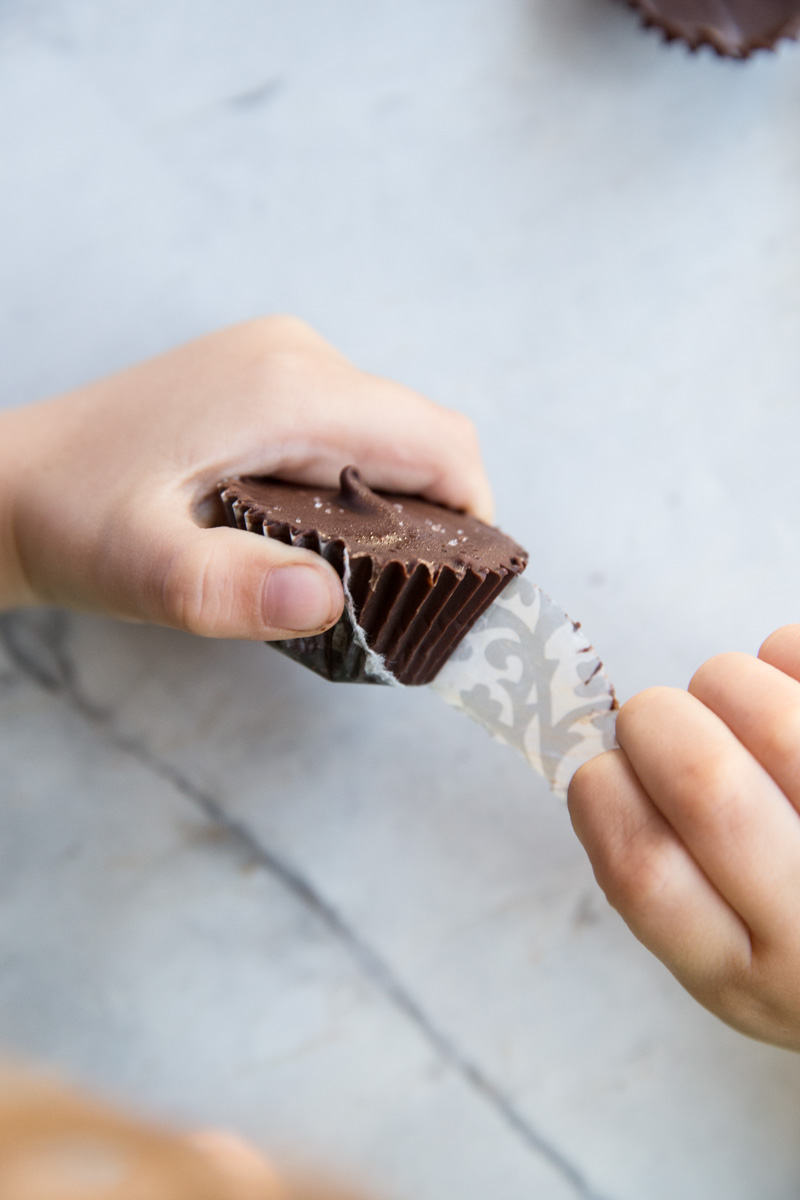
Remove the pan from the refrigerator and remove from wrappers. Enjoy!
You may use whatever sea salt you have on hand. If you have a gluten intolerance, feel free to use any crunchy gluten free butter cookie in the filling.
Equipment used in this recipe:
Mini Baking Cups
Mini Muffin Pan
photos from 2012:
