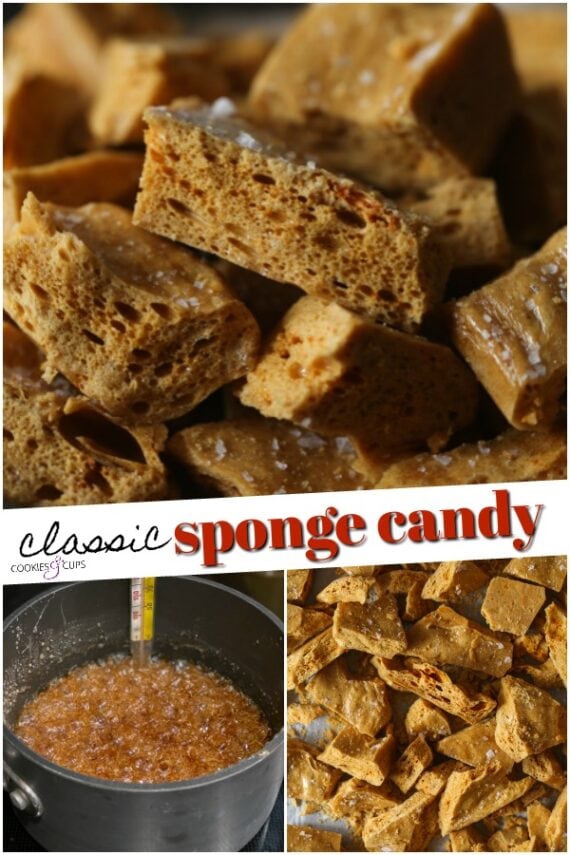
Sponge Candy is a classic hard candy recipe that has a sponge-like texture on the inside and a subtle sweetness. Dip it or drizzle it with chocolate or sprinkle with a little flaked sea salt for an old fashioned treat!
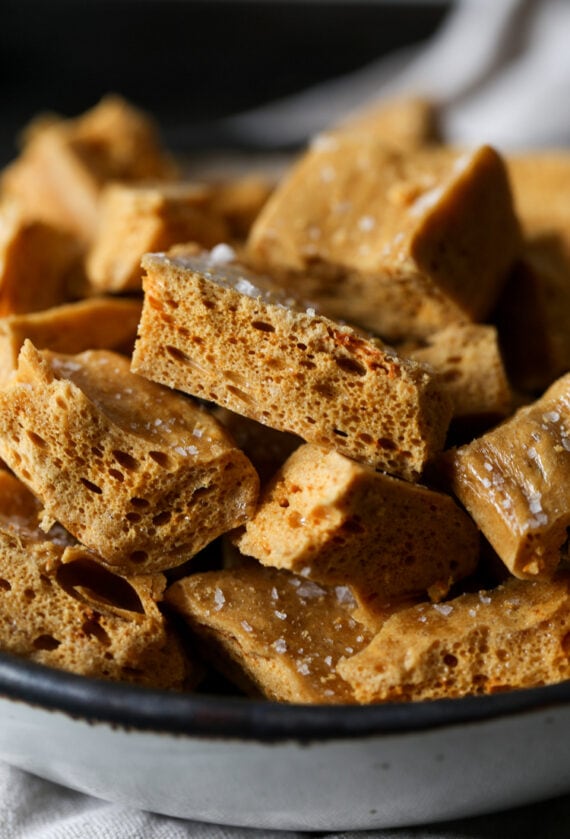
Sponge Candy is a Nostalgic and Simple Candy!
I am super excited about today’s recipe! I love making candy, but I don’t seem to do it very often, which is a shame. It’s generally pretty easy, and if you trust your candy thermometer you’re already ahead of the game!
I do have a feeling that this recipe might spark controversy in the way of name. There are so many names given to this type of candy that you might know it as Honeycomb Candy, Sea Foam, or Cinder Toffee to name a few. Some recipes use honey, some don’t use vinegar, some might include molasses…there are all sorts of variations. I found that the different names for Sponge Candy can be regional, but please note they are all very similar!
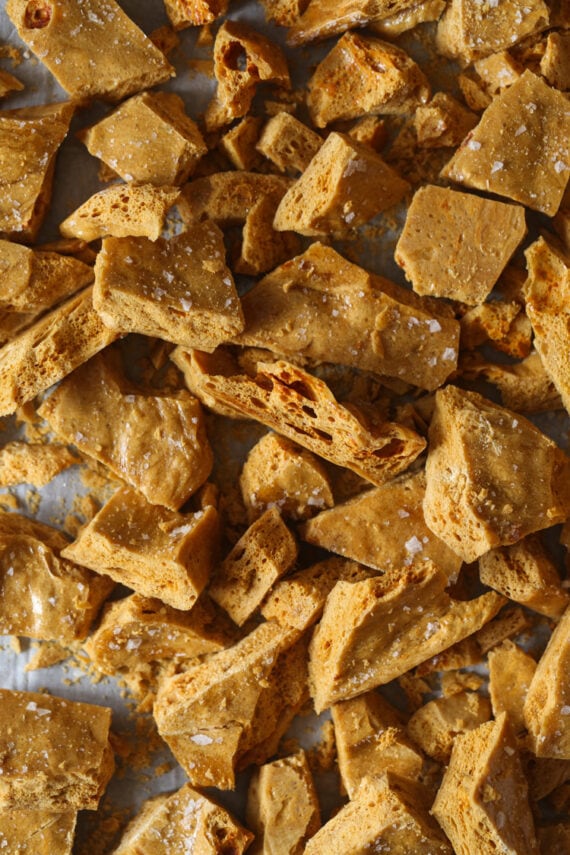
What IS Sponge Candy?
Sponge Candy is a toffee-style hard candy that is crunchy and sweet with a sponge-like texture on the inside.
You achieve this texture by boiling the candy as you would any other hard candy, but as soon as it reaches 300°F on the candy thermometer you add in baking soda which reacts with the vinegar in the candy creating carbon dioxide. This makes the candy bubble up giving it the airy texture you see!
So basically it’s like a science experiment and a sweet treat all in one place!
How Do You Make Sponge Candy?
Making this candy recipe is actually very simple, but I want to share some tips that I have learned to make the process as fool proof as possible!
- Use a heavy-bottomed saucepan. This is a tip that is recommended for pretty much all candy making. This will distribute the heat evenly, so everything is the same temperature in the pan.
- Use a reliable candy thermometer. This is something I always struggled with, but I surrendered my trust issues and let the thermometer do its job ? I linked to the one I use in the shoppable image above.
- Don’t over mix! Once the candy starts to boil don’t stir the mixture. Allow it to come up to 300°F. THEN when you add the baking soda, use a rubber spatula or wooden spoon to stir it in. You want to combine the baking soda evenly but you don’t want to over mix it because you will pop all those little bubbles.
- Careful when you spread. When you transfer the candy to your prepared dish try your best to pour it into the pan as evenly as possible because you won’t want to spread it using a spatula, because again, this will pop the bubbles and your pretty sponge texture will be lost.
- Add the sea salt quickly! If you are going to sprinkle your Sponge Candy with salt you will want to do it as soon as you get it into the pan before it cools so it sticks!
- Break your Sponge Candy into pieces! This is the fun part. Use a mallet or a knife to break the candy into pieces. I don’t worry too much about my pieces being perfect. I like the rustic vibe of the broken pieces. You can also drizzle or dip them in chocolate, which is a popular way to enjoy sponge candy!
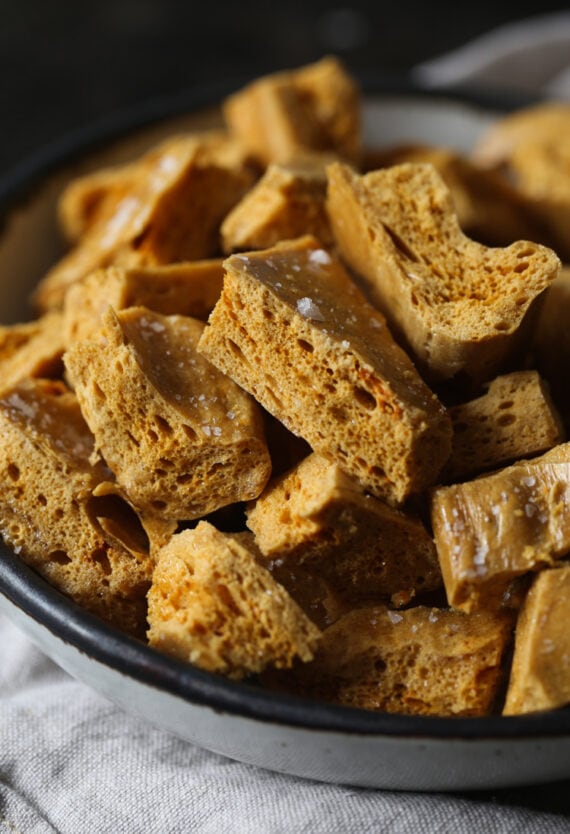
How To Store It
Make sure that once you break your candy into pieces you store it in an airtight container, even a zip-top bag will work. Just make sure you keep all humidity away from the candy because it will get sticky.
How Long Will Sponge Candy Last?
If stored properly your candy will last anywhere from 2 weeks to months.
Can You Freeze It?
Yes you can. It can sometimes get a little sticky when it thaws out, so make sure to thaw it out in a very dry place, not in the refrigerator.
Looking For More Candy Recipes? Try These:
Description:
We call this old-fashioned candy Sponge Candy, but it’s also known as Sea Foam, Honeycomb candy , Angel Food Candy or Hokey-Pokey to name a few!
Ingredients:
- 1 cup light corn syrup
- 1 cup light brown sugar
- 1 tablespoon white vinegar
- 2 teaspoons baking soda
- optional garnish – flaked sea salt
Instructions:
- Line a 9×9 baking dish with parchment paper and set aside.
- In a medium heavy-bottomed, tall sided saucepan over medium heat, stir together the corn syrup, brown sugar, and vinegar. Stir frequently, bringing mixture to a boil.
- Once the mixture is boiling, attach a candy thermometer to the side of the saucepan, making sure the tip of the thermometer is in the boiling liquid, but not touching the bottom of the pan.
- Continue to cook on medium without stirring the candy until it reaches 300°F on your candy thermometer.
- Remove the pan from the heat and stir in the baking soda. Mixture will bubble up creating the bubbles and texture in the candy. Mix only until the baking soda is evenly combined, careful not to over-stir as this will deflate the bubbles.
- Pour the mixture into the prepared pan as evenly as you can. Tilt the pan around to help the candy spread, but don’t hit the pan or use a spatula to spread, as this will deflate the bubbles. It’s ok if it’s not perfectly even.
- Sprinkle with flaked sea salt if desired, and allow the candy to cool in the pan for at least an hour.
- Remove candy from the pan using the parchment paper to lift it out and break the candy into pieces using a mallet or a knife. I don’t worry too much about the pieces being perfectly shaped.
Notes:
Store airtight for up to a week, even longer if store in a very dry environment. If it’s humid or moisture hits the candy it will become sticky. Optional – coat or drizzle the candy with melted chocolate
Keywords:: cookies and cups, sponge candy, sea foam, honeycomb candy, candy recipe
Want To Save This Recipe?
PIN for later!
