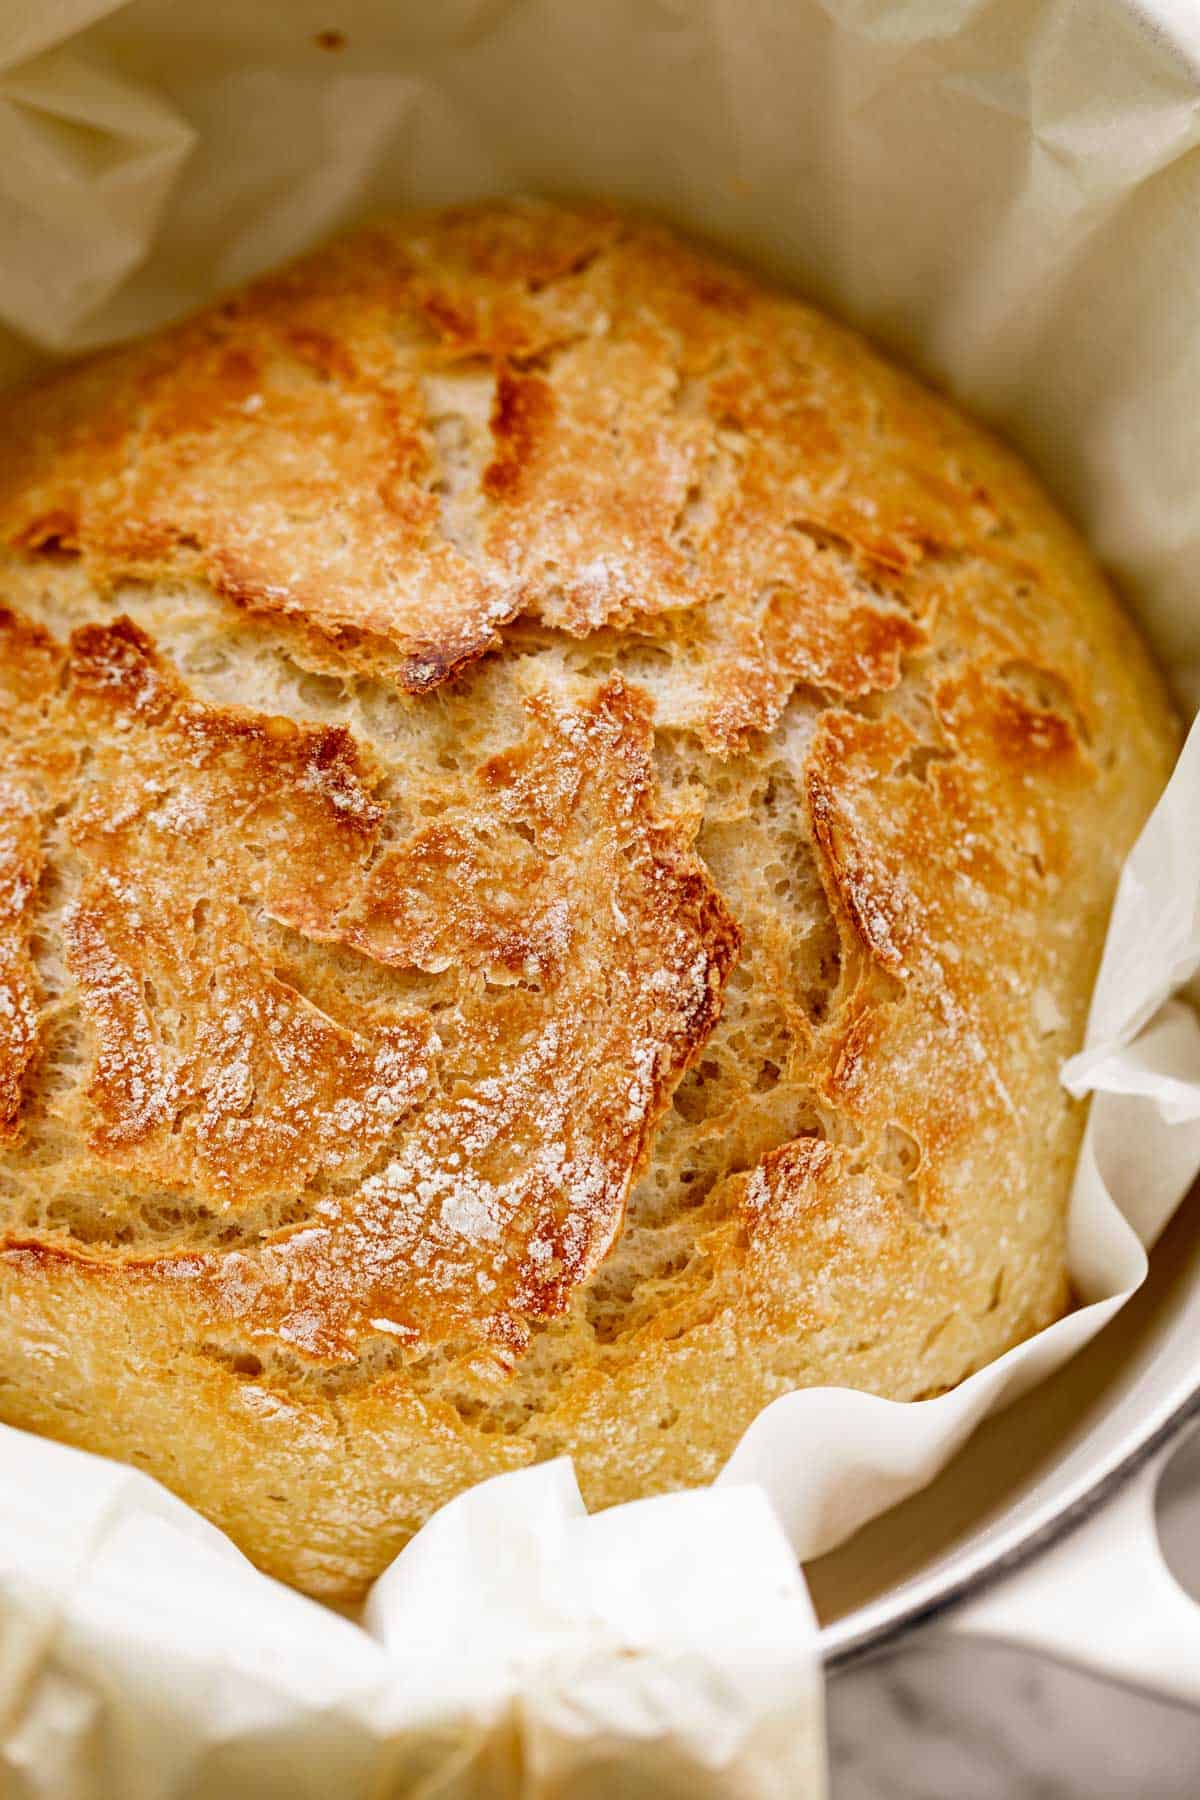
Crusty Homemade Artisan Bread is so easy to make with NO KNEADING required. Soft on the inside with an irresistible chewy crust!
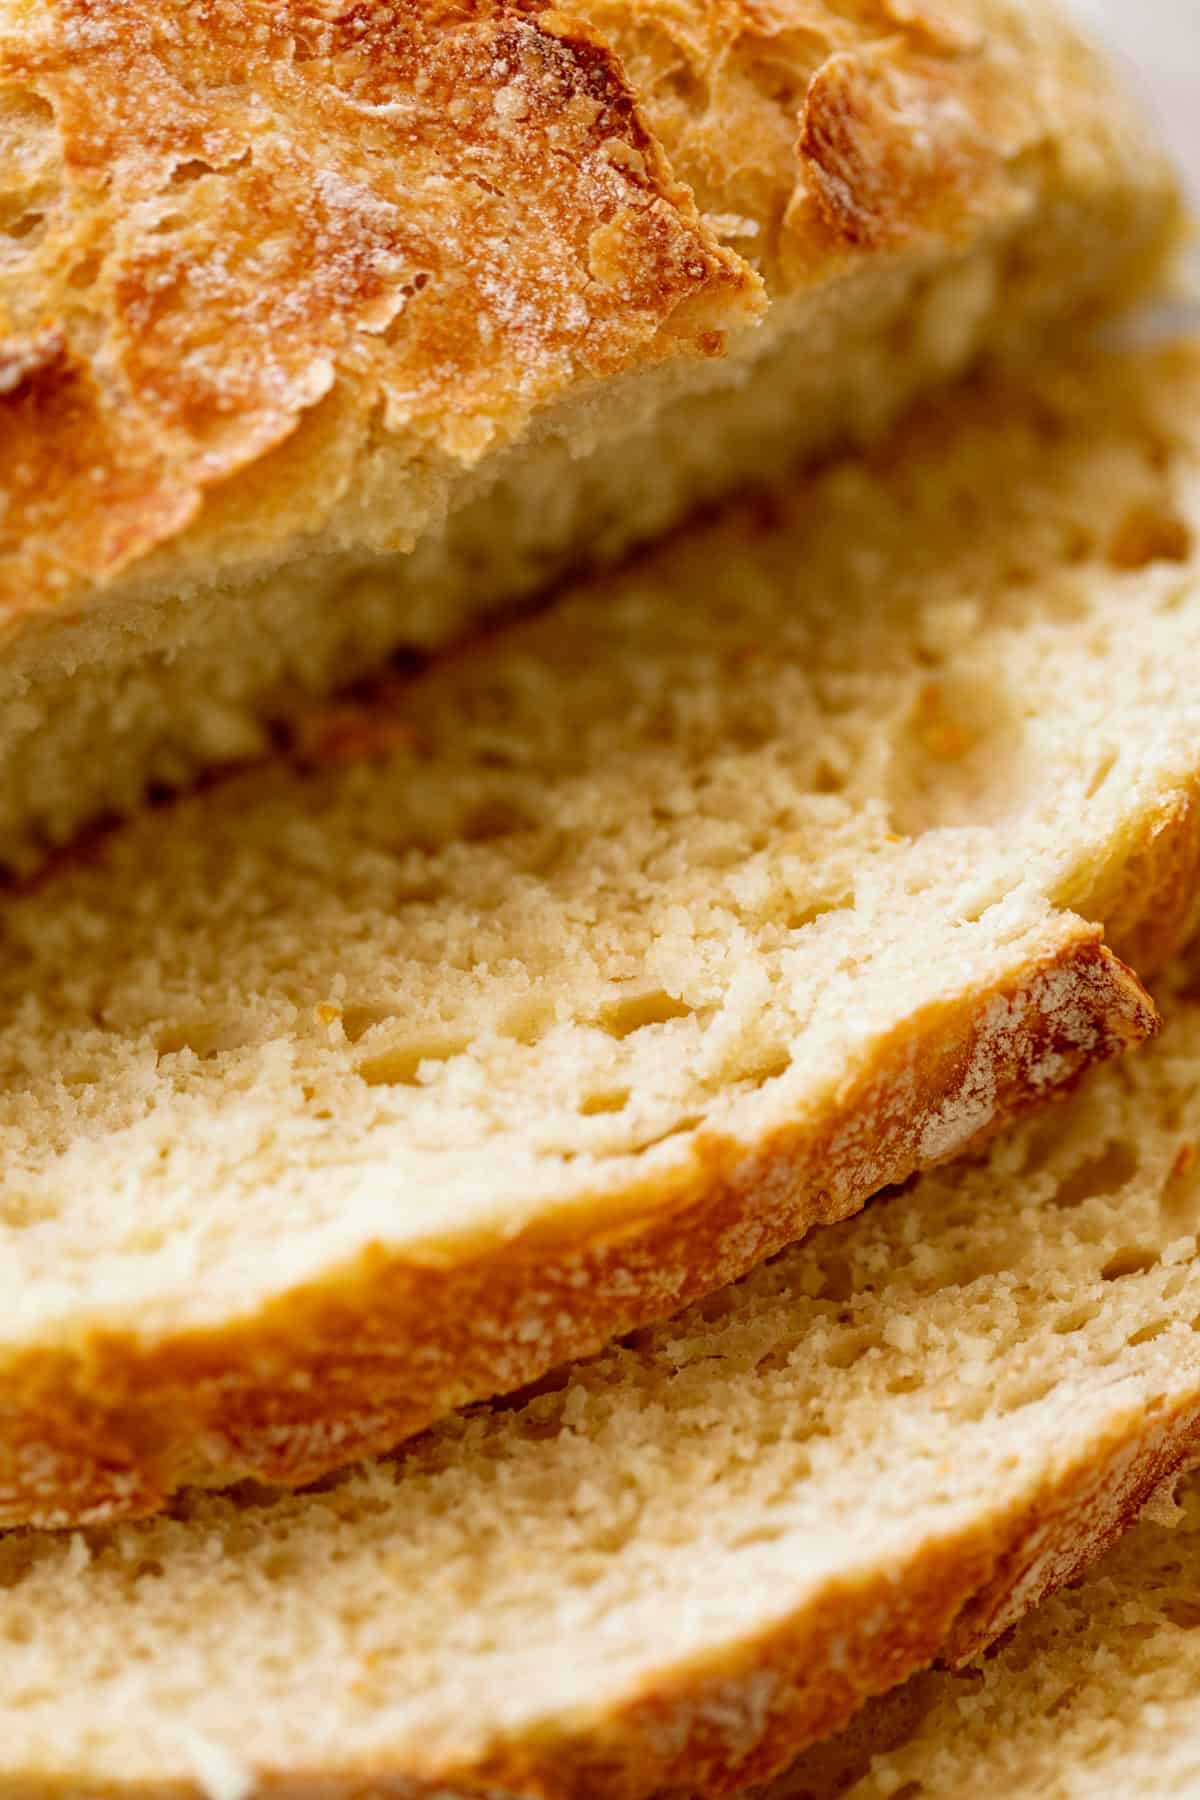
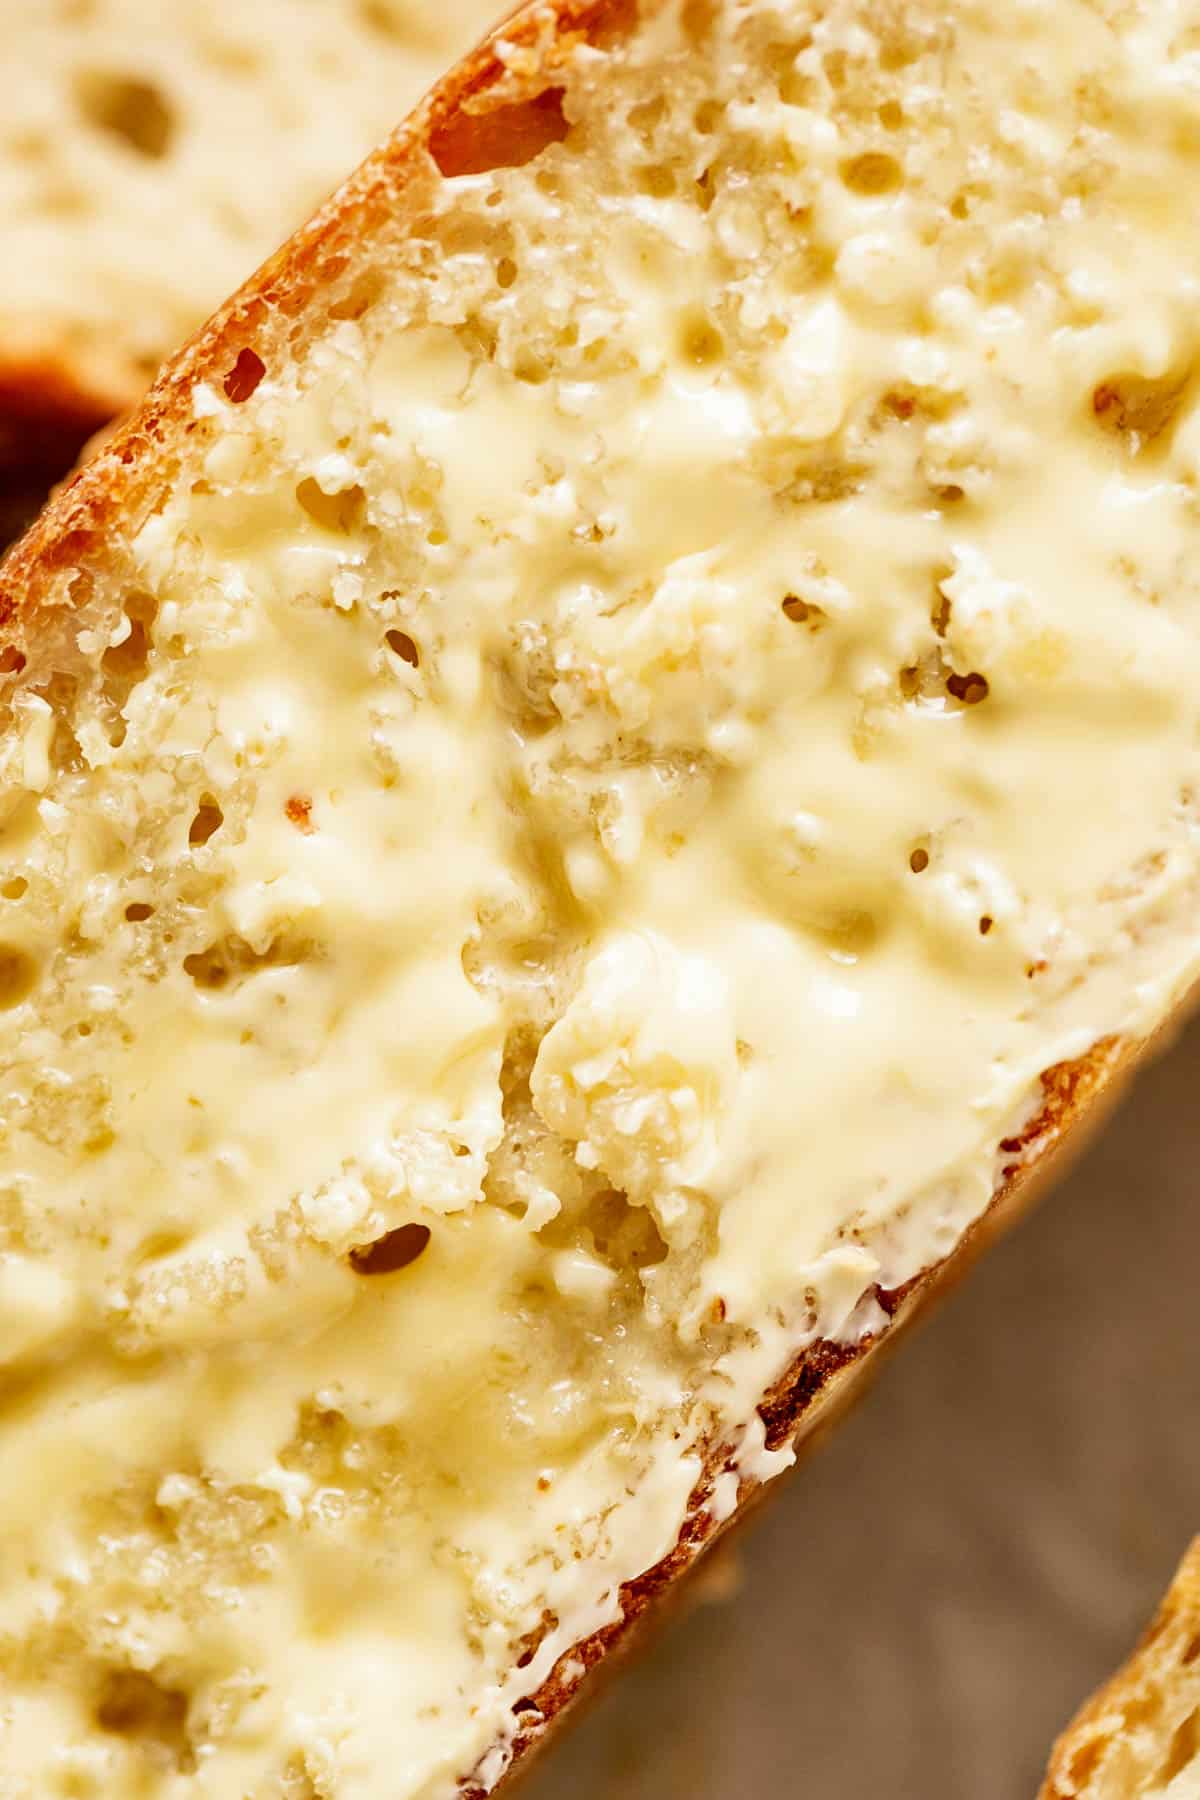
A no knead bread recipe without special equipment, stand mixers or dough hooks? YES! If you’ve never made bread before, you will LOVE how easy and forgiving this recipe is. Bread lovers will appreciate the thick, chewy crust and soft open crumb, similar to Ciabatta, perfect to smother with butter.
Have warm, homemade bread from scratch on your table in less than 3 hours!
ARTISAN BREAD
It looks too good to be true, I know. Fluffy, crusty bread with no effort? No way. But ever since we first saw this recipe a few years ago, we have been baking it just about every week. Now you will too! Beginner bakers rejoice: no intimidation needed!
Nothing beats fresh warm bread coming out of your oven, tearing it apart to see hot steam escape while the sweet carb smells make you dizzy. Dip chewy bread pieces into a hot bowl of chicken soup or chili for bread soaked in delicious flavours.
HOW TO MAKE ARTISAN BREAD
All you need is:
FLOUR: Bread flour results in a softer, fluffier bread because of the higher protein content. Regular all purpose or plain flour also work really well, with the texture changing only a little. If using wholewheat flour, use about 1/4 cup less flour and add more as you go, if needed.
YEAST: We have tried this recipe over the years with dried, instant and rapid-rise. We found the dried yeast did not need activating before mixing it through the dry ingredients. If hesitant, feel free to activate it first in the warm water and oil for a couple of minutes before adding the rest of your ingredients.
OIL is what makes our bread even softer. You need this sneaky little addition for a silky, soft crumb.
WARM WATER: Not too hot or it will kill your yeast. 130°F or 55°C is the perfect temperature. You can also do the finger test: if you dip your finger in the water and its nice and warm, it’s perfect. If it burns, let it cool down slightly until warm.
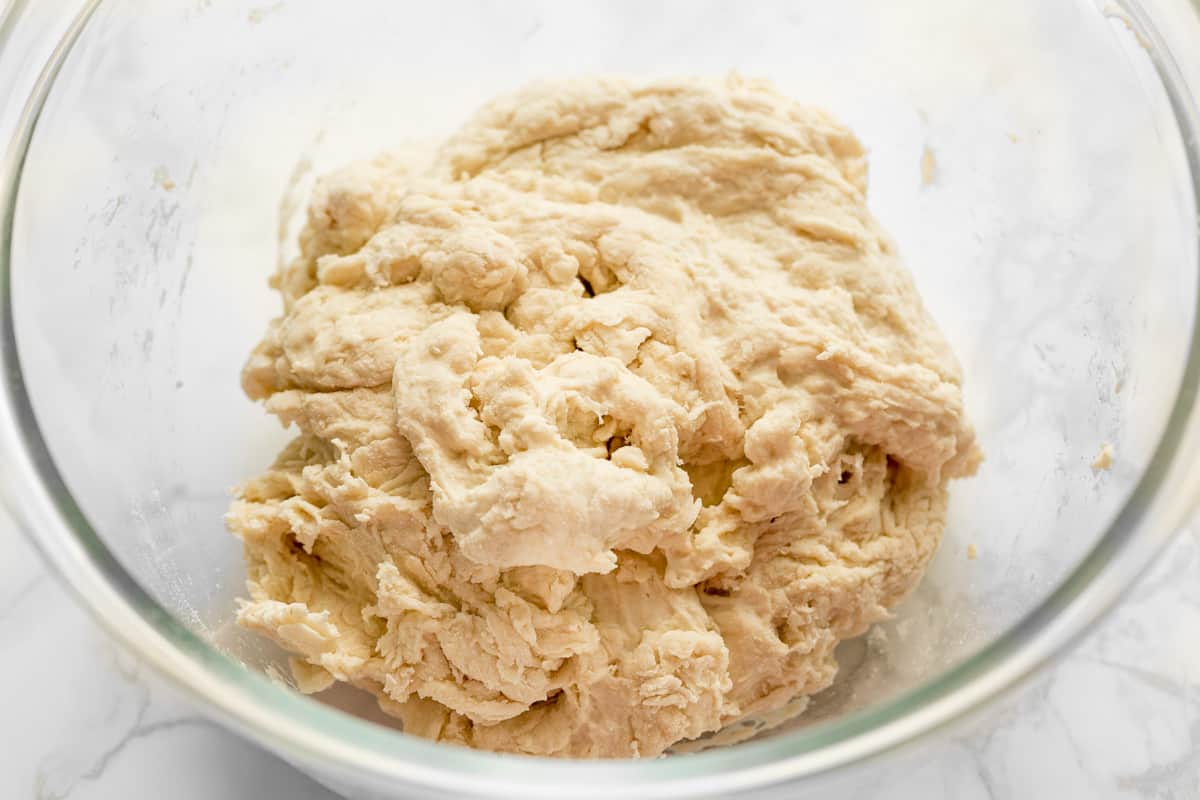
MIX ALL OF YOUR INGREDIENTS TOGETHER UNTIL YOU GET A WET AND SLOPPY MESS
RISE BABY!
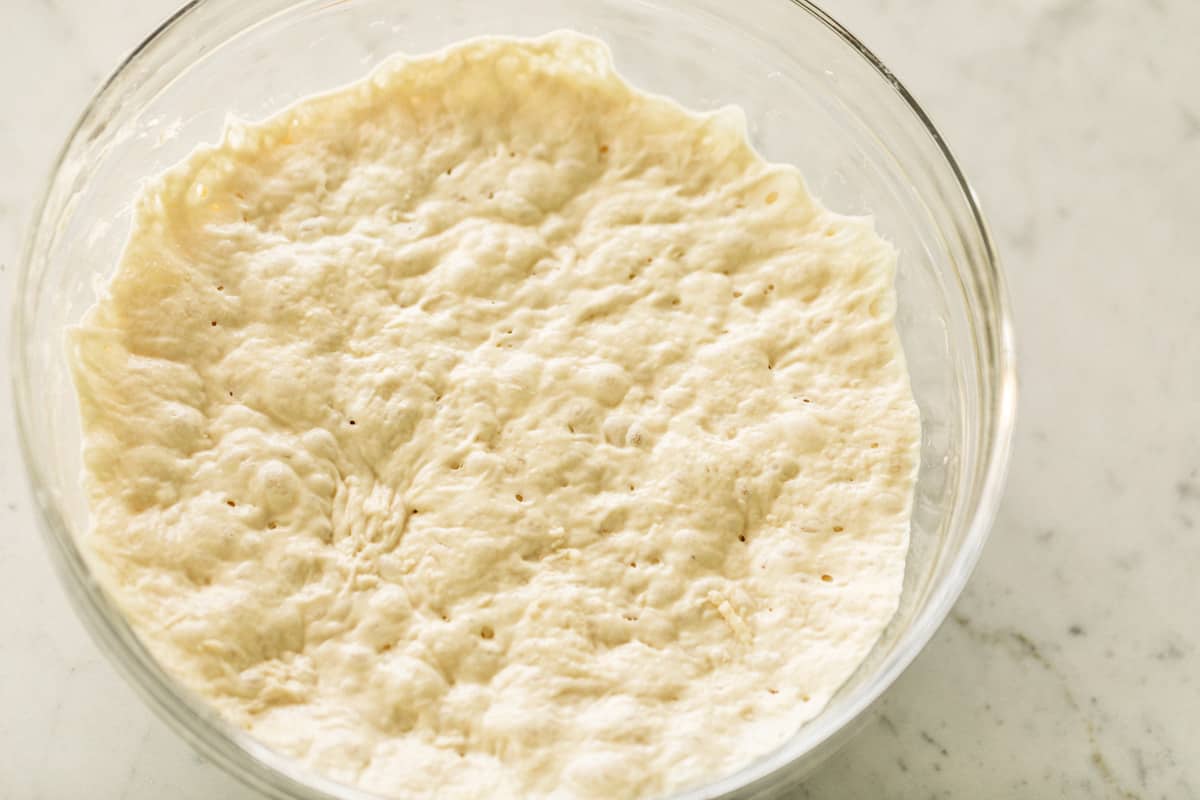
Cover with plastic wrap and place in a draft-free warm place for about 2 hours. The dough will double in size; the surface will possibly alarm you, becoming dotted with bubbles. The texture will be like jelly and super sticky. KEEP GOING You’re on the right track.
PREHEAT YOUR OVEN AT THIS POINT! You want to place you dutch oven in so it gets nice and hot!
SCRAPE OUT AND FOLD INWARDS
Lightly flour your work surface AND spatula with up to 1 tablespoon flour. Scrape dough out of bowl onto work surface, sprinkle with a little flour and fold it inwards over itself about 5-6 times.
Don’t use too much flour! You still want it quite sticky for moist, fluffy soft bread.
SHAPE DOUGH
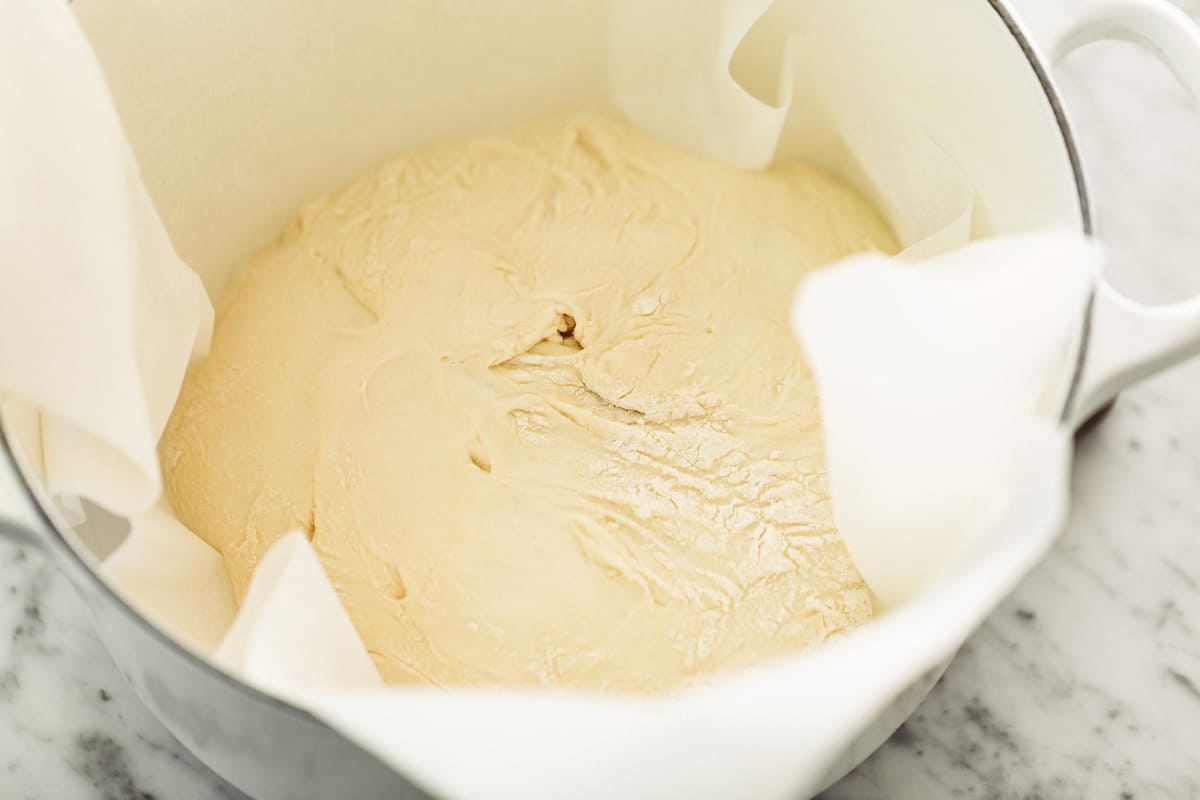
Transfer dough onto a large piece of parchment paper and shape it into a rustic round shape with your spatula. You’re mainly doing this to get some of the air out of it!
Carefully remove your HOT pot using oven mitts. Then, grab the ends of your parchment paper to lift the dough into your pot.
BAKE!
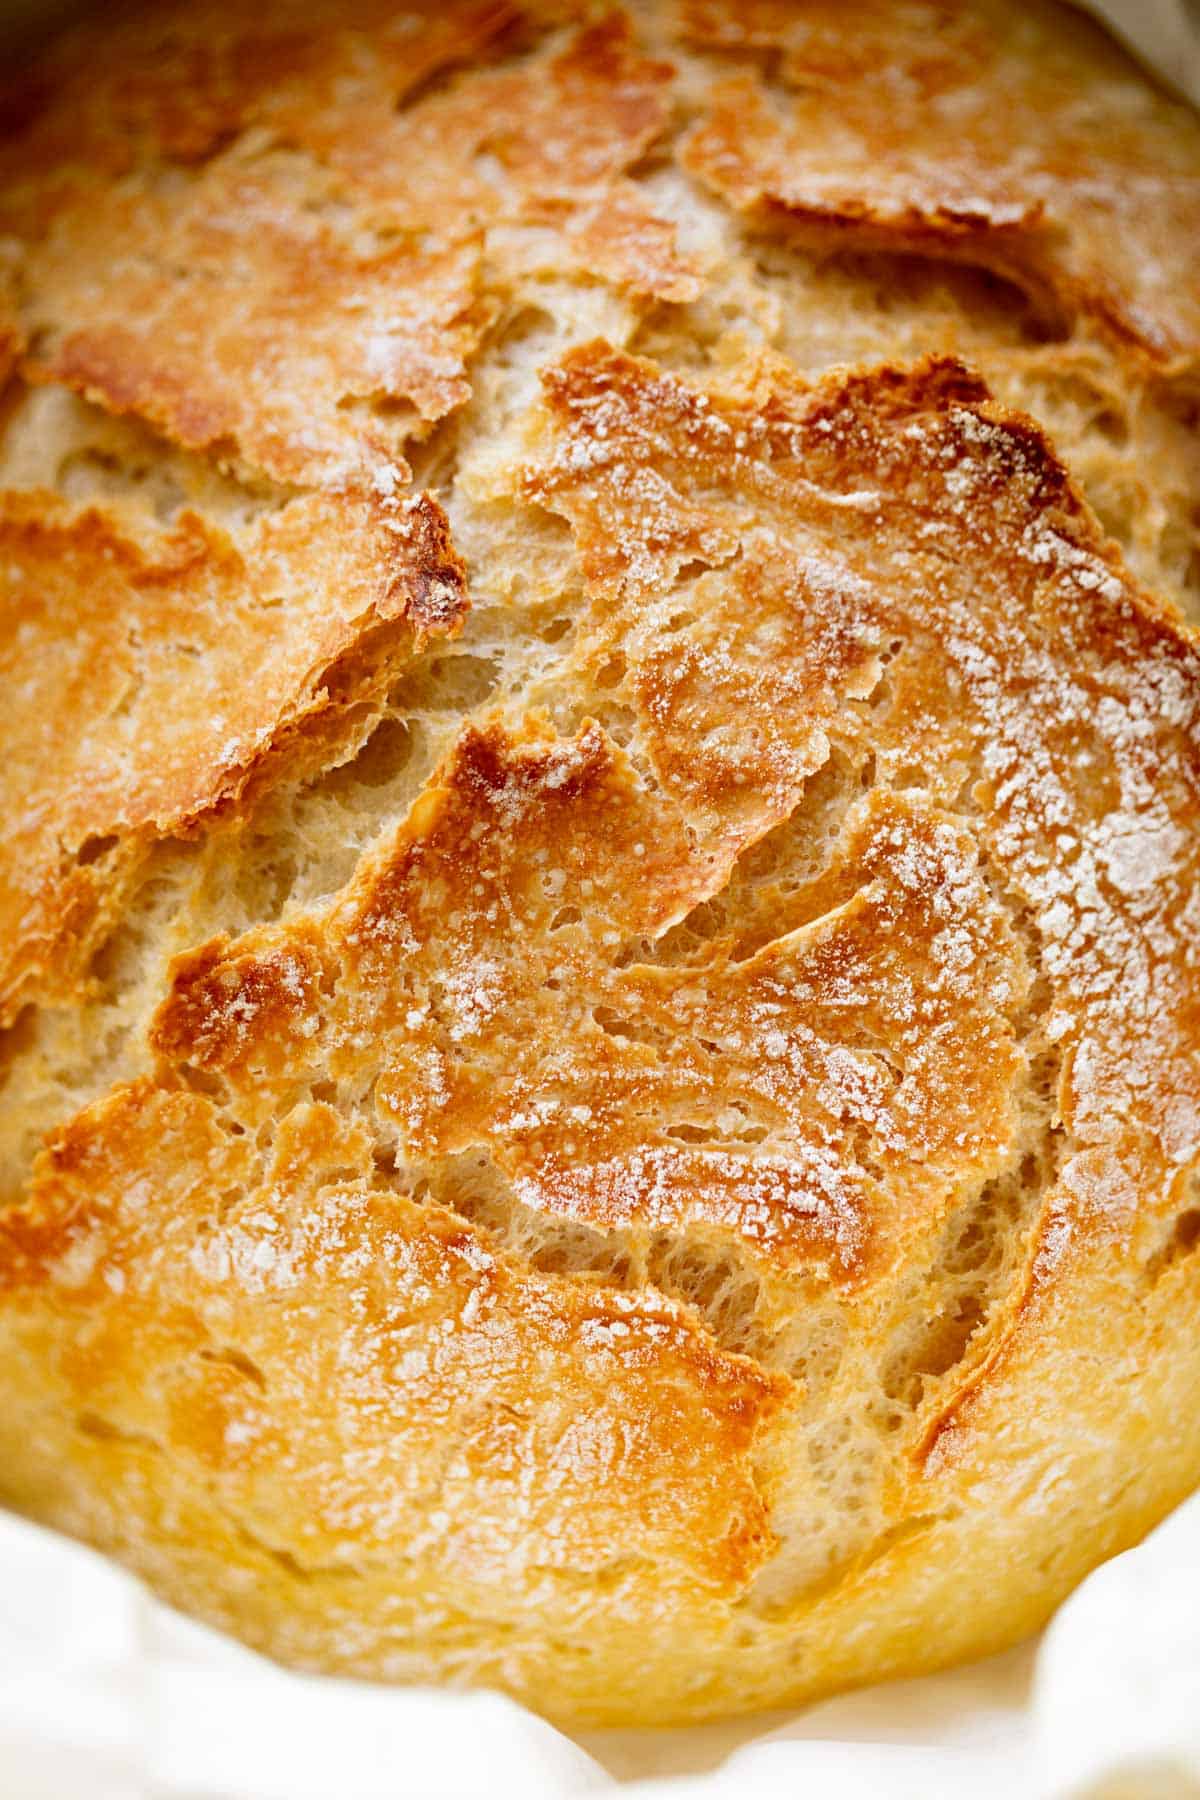
Don’t forget to put the lid back on. This creates steam to bake your bread in before the crust sets in. To get that golden, crunchy crust, remove the lid and bake for a further 12-15 minutes.
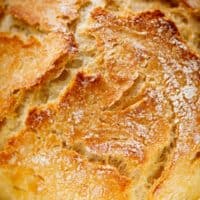
You won’t believe how good it looks when it comes out of the oven. Cracks and all!
Let it cool before cutting into it to let the centre of the bread finish cooking.
Slather with butter and prepare to have your mind blown! If you love bread, this homemade bread recipe is truly life changing!
MORE BREAD RECIPES
Easy Soft Dinner Rolls (NO MIXER + EGG FREE)
Easy Cheesy Garlic Bread
Soft Cinnamon Rolls
Hot Cross Buns
A SUPER EASY homemade bread recipe! Soft on the inside with a a chewy, crunchy crust! A no knead bread with no special ingredients needed, just a pot and your oven. This recipe has been adapted from Jim Lahey of Sullivan Street Bakery, published by The New York Times.
Prep: 10 mins
Cook: 42 mins
Rising:: 2 hrs
Total: 2 hrs 52 mins
Serves: 12 slices
Ingredients
- 3 cups bread flour, or plain/all purpose (15.8 oz. or 450g)
- 2 teaspoons dried, instant or rapid rise yeast
- 1 1/2 teaspoons salt
- 1 1/2 cups (375 ml) warm water
- 1 tablespoon (15 ml) olive oil
Instructions
-
Combine flour, yeast and salt in a large bowl. Add water and oil, mixing to incorporate all of the ingredients together. Dough will be wet, sticky and shaggy.
-
Lightly spray the top with cooking oil spray. Cover with plastic wrap and place a dry tea towel over the top.
-
Leave in a warm, draft-free place for 2-3 hours or overnight, until it doubles in size. Dough will have a lot of little holes or bubbles and be wobbly like jelly.
-
Place a large (10-inch or 26cm) dutch oven or heavy based pot in the oven with a lid. Preheat oven to 450°F (230°C) 30 minutes before baking.
-
Lightly flour work surface and plastic spatula with up to 1 tablespoon flour. Scrape dough out of bowl onto work surface with spatula. Sprinkle the top of dough with a large pinch of flour and fold it over on itself with the spatula (about 5-6 folds). Roughly form a round shape.
-
Measure out a large piece of parchment paper, large enough to transfer the dough into the pot. Place paper next to the dough and roll dough onto the paper, smooth side up. Carefully move it to the centre of the paper and reshape if needed, or shake pan a couple of times to evenly distribute dough. (It will even out while baking.)
-
Loosely cover with plastic wrap and let rest while oven is preheating.
-
Use oven mitts to carefully remove hot dutch oven from oven. Grab the parchment paper from each end to pick up the dough and transfer it into the pot.
-
Cover with lid and bake for 30 minutes, then remove lid and bake for an additional 12-15 minutes, until loaf is beautifully golden browned.
-
Transfer to a wire rack to cool for 10 minutes before slicing.
Notes
Nutrition
Calories: 140kcal | Carbohydrates: 23g | Protein: 5g | Fat: 3g | Saturated Fat: 1g | Fiber: 1g | Sugar: 1g | Calcium: 6mg | Iron: 1mg

