Building a great cheese board doesn’t have to be crazy expensive to look and taste impressive. I’m here to show you how to build a beautiful and delicious cheese board on a budget of about $25 with ingredients from either Trader Joe’s, ALDI or Target.
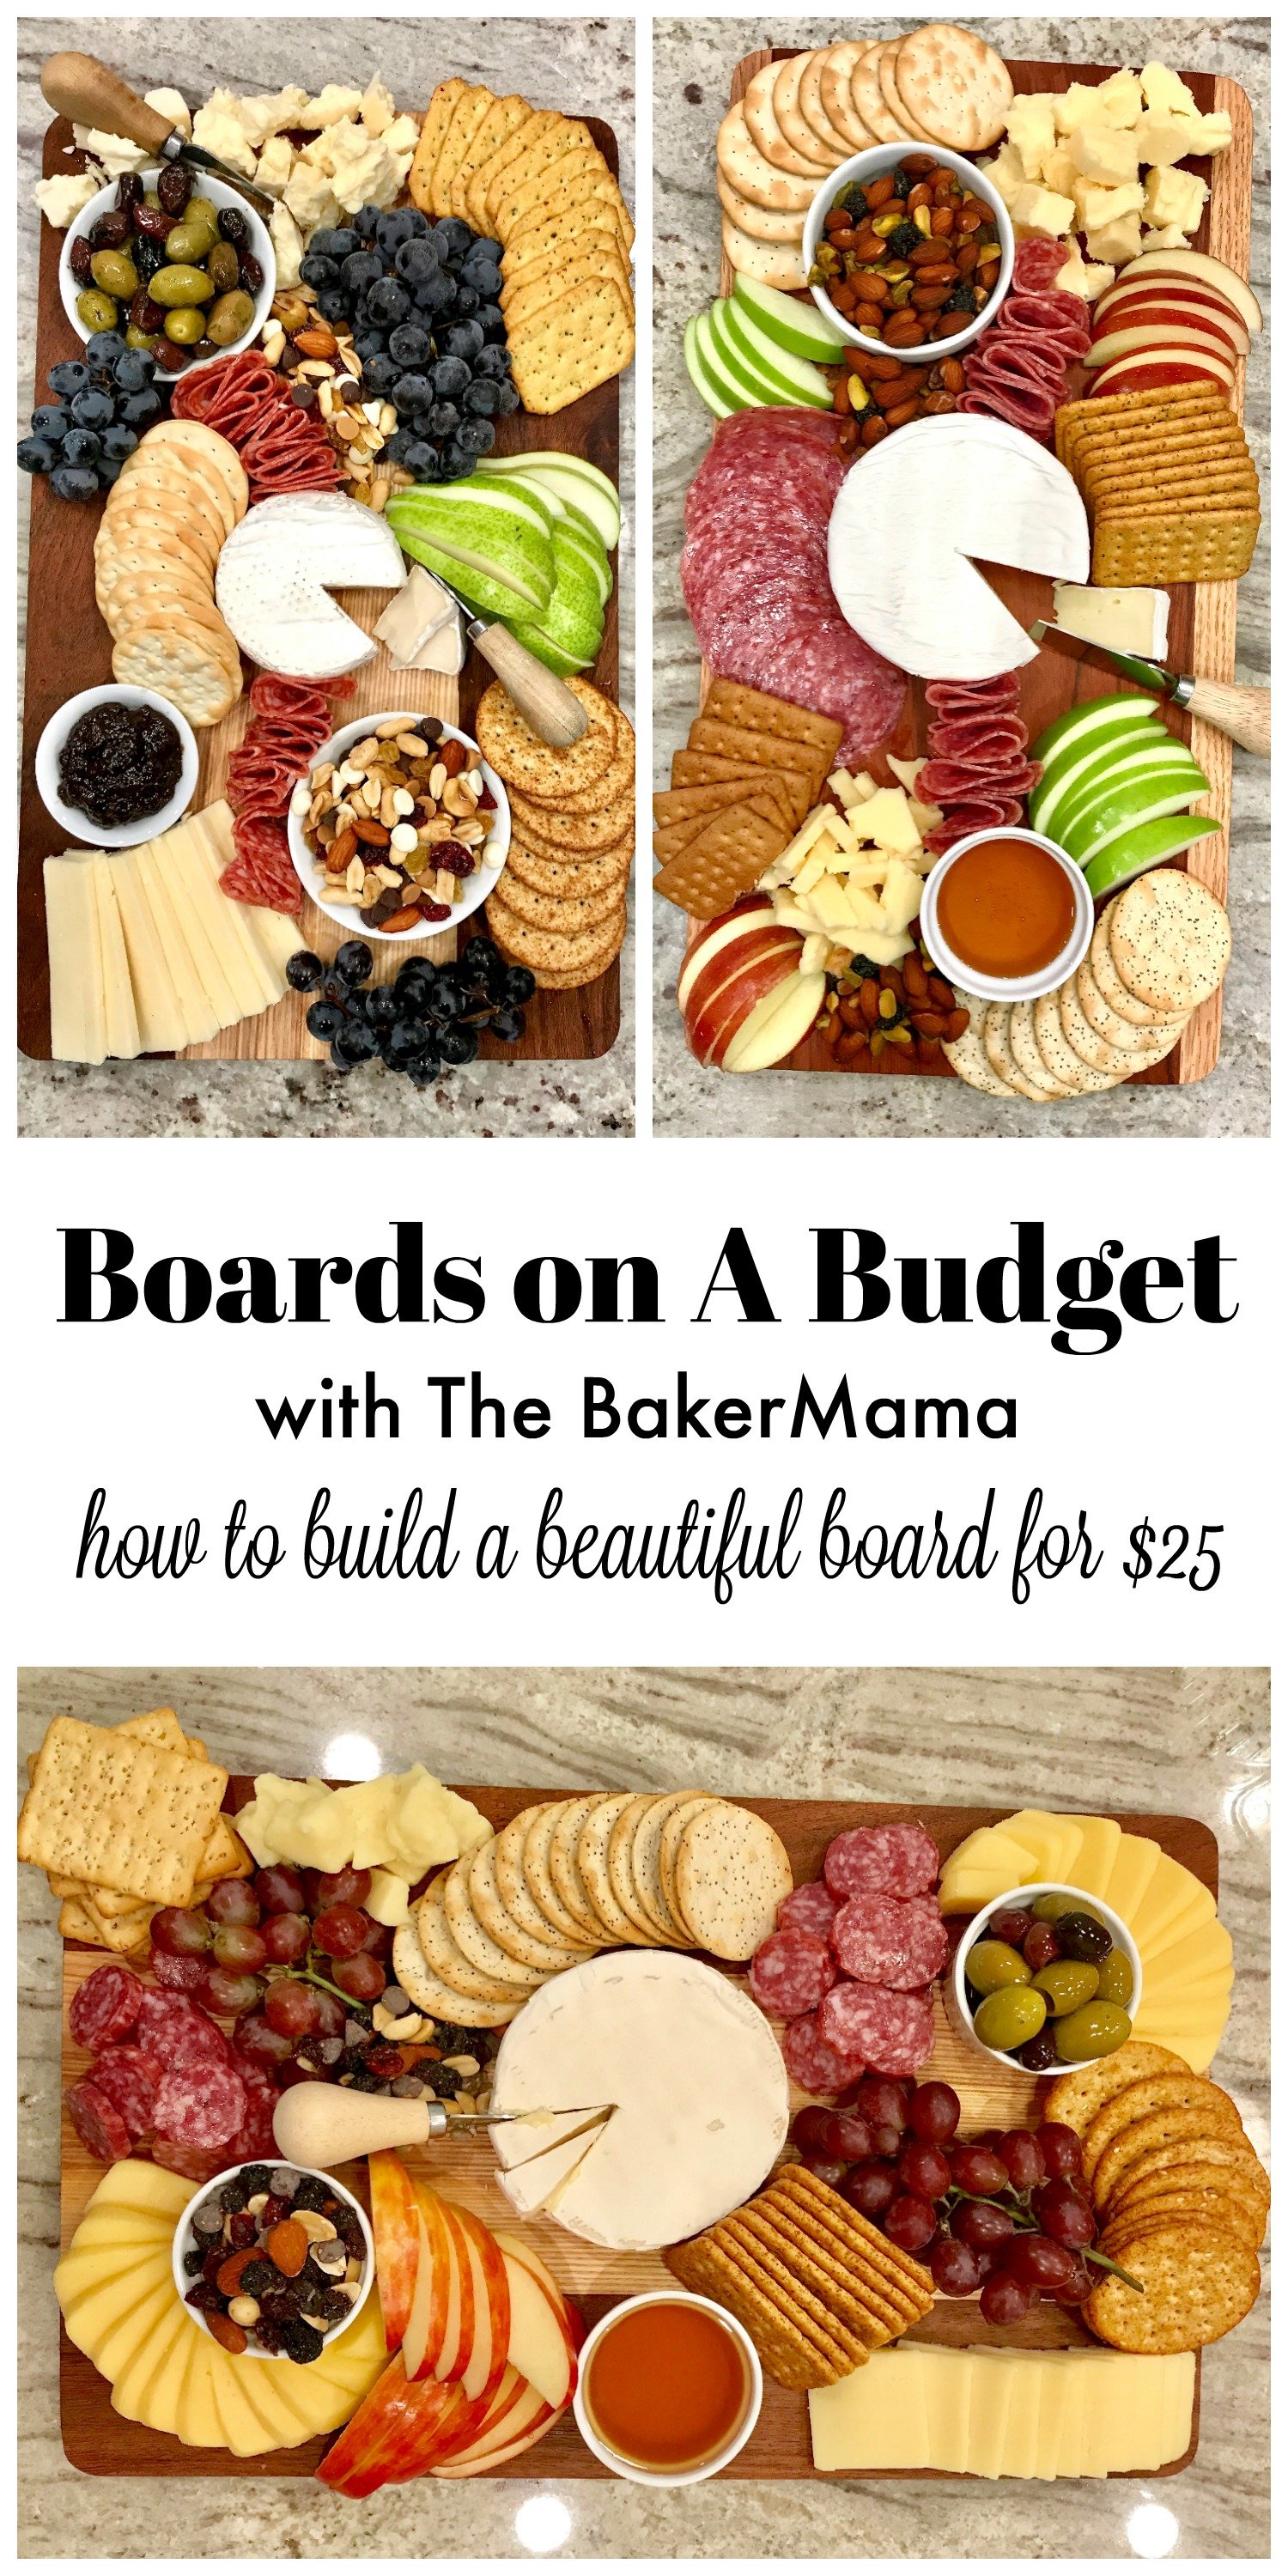
On my mission to make building boards approachable while inspiring others to build them with enthusiasm and confidence, I’m excited to share how to build boards that are budget-friendly. I know so many people are hesitant to build a cheese board because of the cost and I’m here to show you it can be amazing without being super expensive. In fact, you can build a pretty impressive board for just around $25 that will feed and please 8 or more guests.
I went to three popular grocery stores with a goal of spending just $25 at each store to get all the ingredients I need to build a great cheese board from that store. These cheese boards turned out fabulous and were thoroughly enjoyed by all.
Here are my best tips for shopping for and building a cheese board on a budget:
- Look for 2-3 cheeses in a mix of creamy, semi-soft and firm. Try to find cheeses that are on special or ones that are less expensive in general. I always like to find a full wheel of brie cheese because they look great on a board, feed several people and most are affordable yet still delicious. Don’t hesitate to ask the person managing the cheese section of your store for recommendations based on your budget and the number of people you’re hoping to serve.
- Choose at least one meat that comes in a package with several slices. Salami tends to be cheaper than prosciutto and comes in a variety of price points.
- Choose fruits that are in season, on sale and that will add nice color and texture to your board. For the grapes, just pick out enough for your board instead of buying the pre-packed bags that most grocery stores have set out. Grapes are heavy and can add up in price, but if you pick out just a few bundles, that will allow you to stay within budget better.
- Load up on good, affordable accompaniments like nuts mixes and cracker assortments. These are great for grazing and pair well with cheeses and meats. Nut mixes with dried fruits and chocolates already in them give you variety without having to buy several different types of nuts and dried fruits to include on the board. And the cracker assortment packages that most stores sell mix things up with the way the board looks as well as how each cracker’s flavor and texture pairs with the different cheeses and meats on the board.
- Use what you have on hand already. Check your fridge and pantry for accompaniments like spreads, honey, crackers, nuts and fruits before heading to the store.
- Try to fill the board up so it looks bountiful. A full and abundant board with great dimension and color is just so inviting. You can do this by spreading the ingredients in different areas and in different ways across the board. For example, cut part of a cheese block into slices and crumble the other half into chunks (don’t just leave it in a boring block on the board). Fan out the crackers in a few spots and stack them side-by-side in a few other spots. Split the grapes into two bunches and put one bunch on each side of the board. Same with apple and pear slices.
- Don’t worry if you don’t have a wood board to build it on. A large platter or sheet pan would work just fine.
Now that we’ve got some great tips and tricks up our sleeves for building boards on a budget, let’s look at the boards I built for just $25…or a few cents more! ?
You’ll see the receipt details, the ingredients in their packaging and the completed board for each store. Keep in mind, prices vary by location so you might find things more expensive or hopefully cheaper based on where you live.
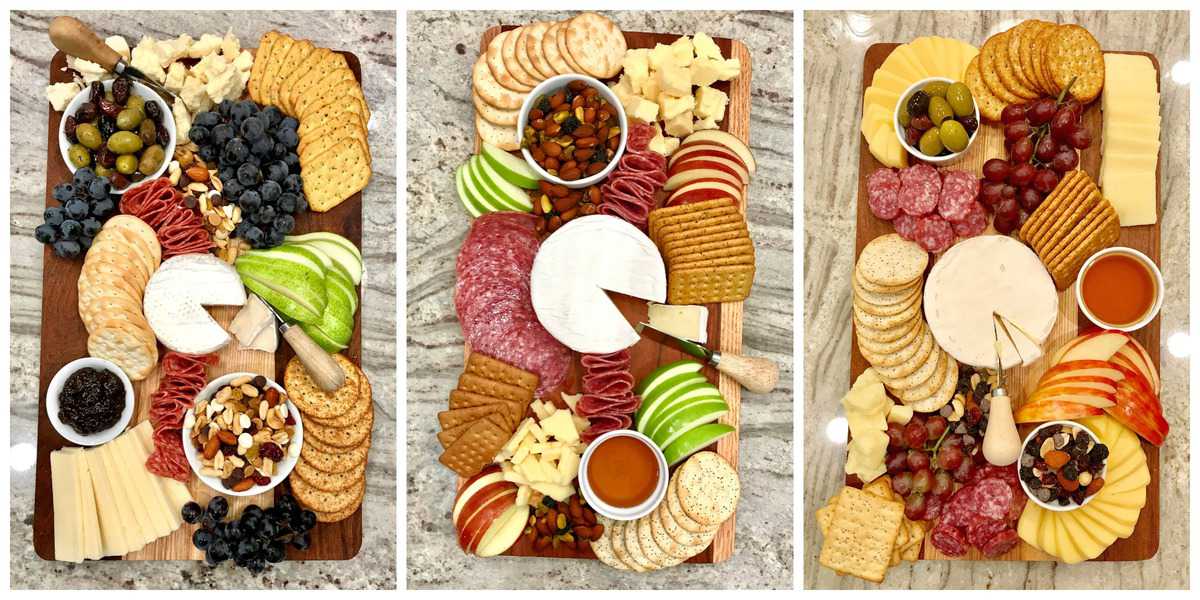
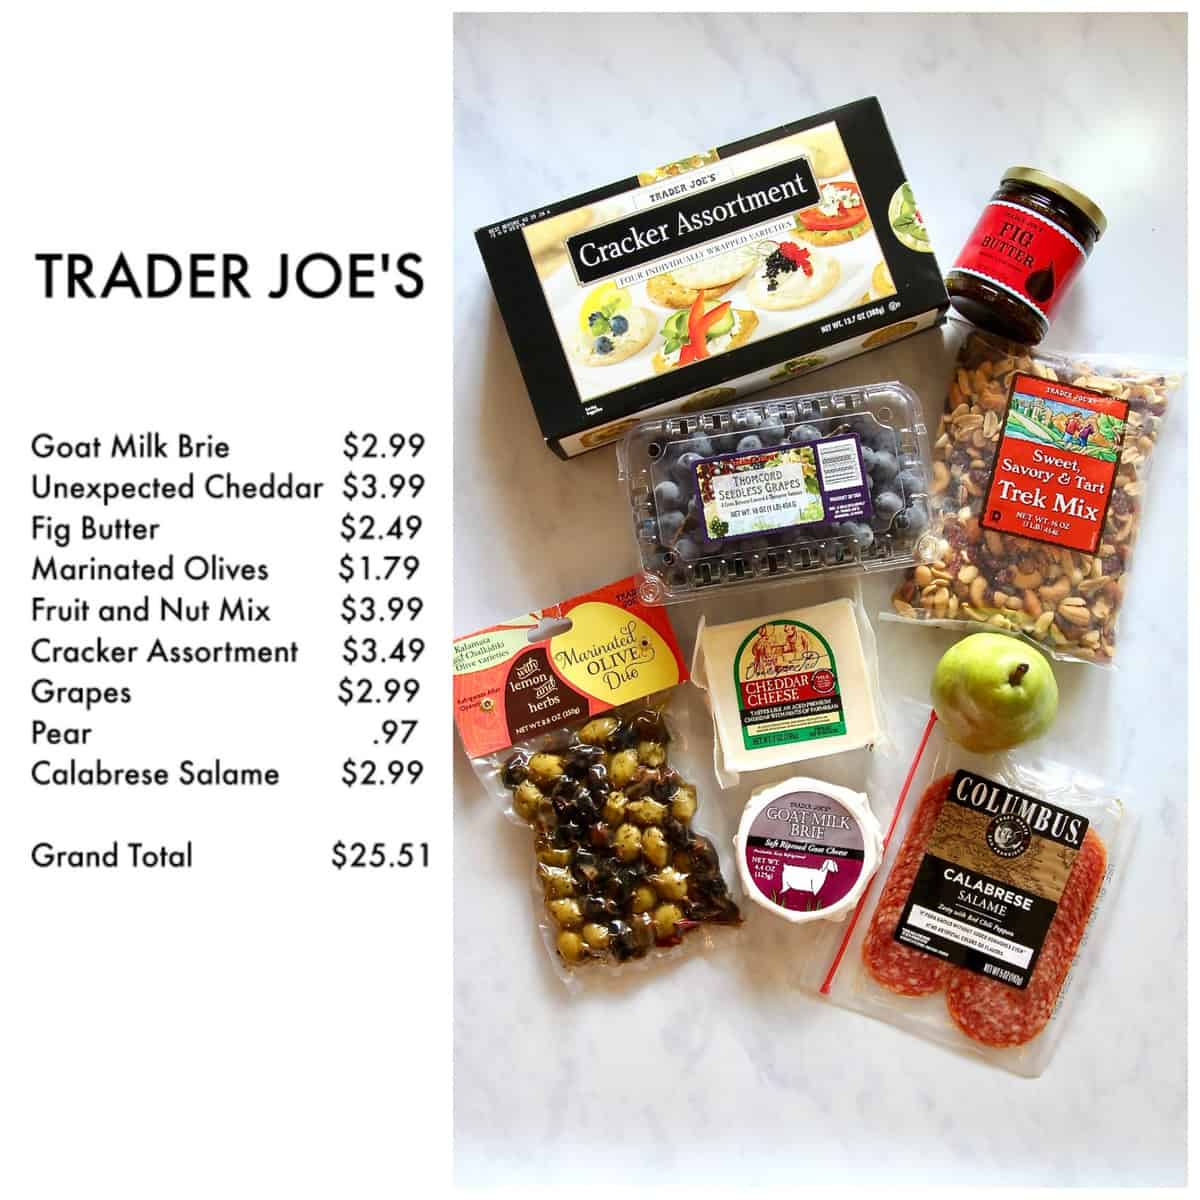
The Trader Joe’s $25 Cheese Board
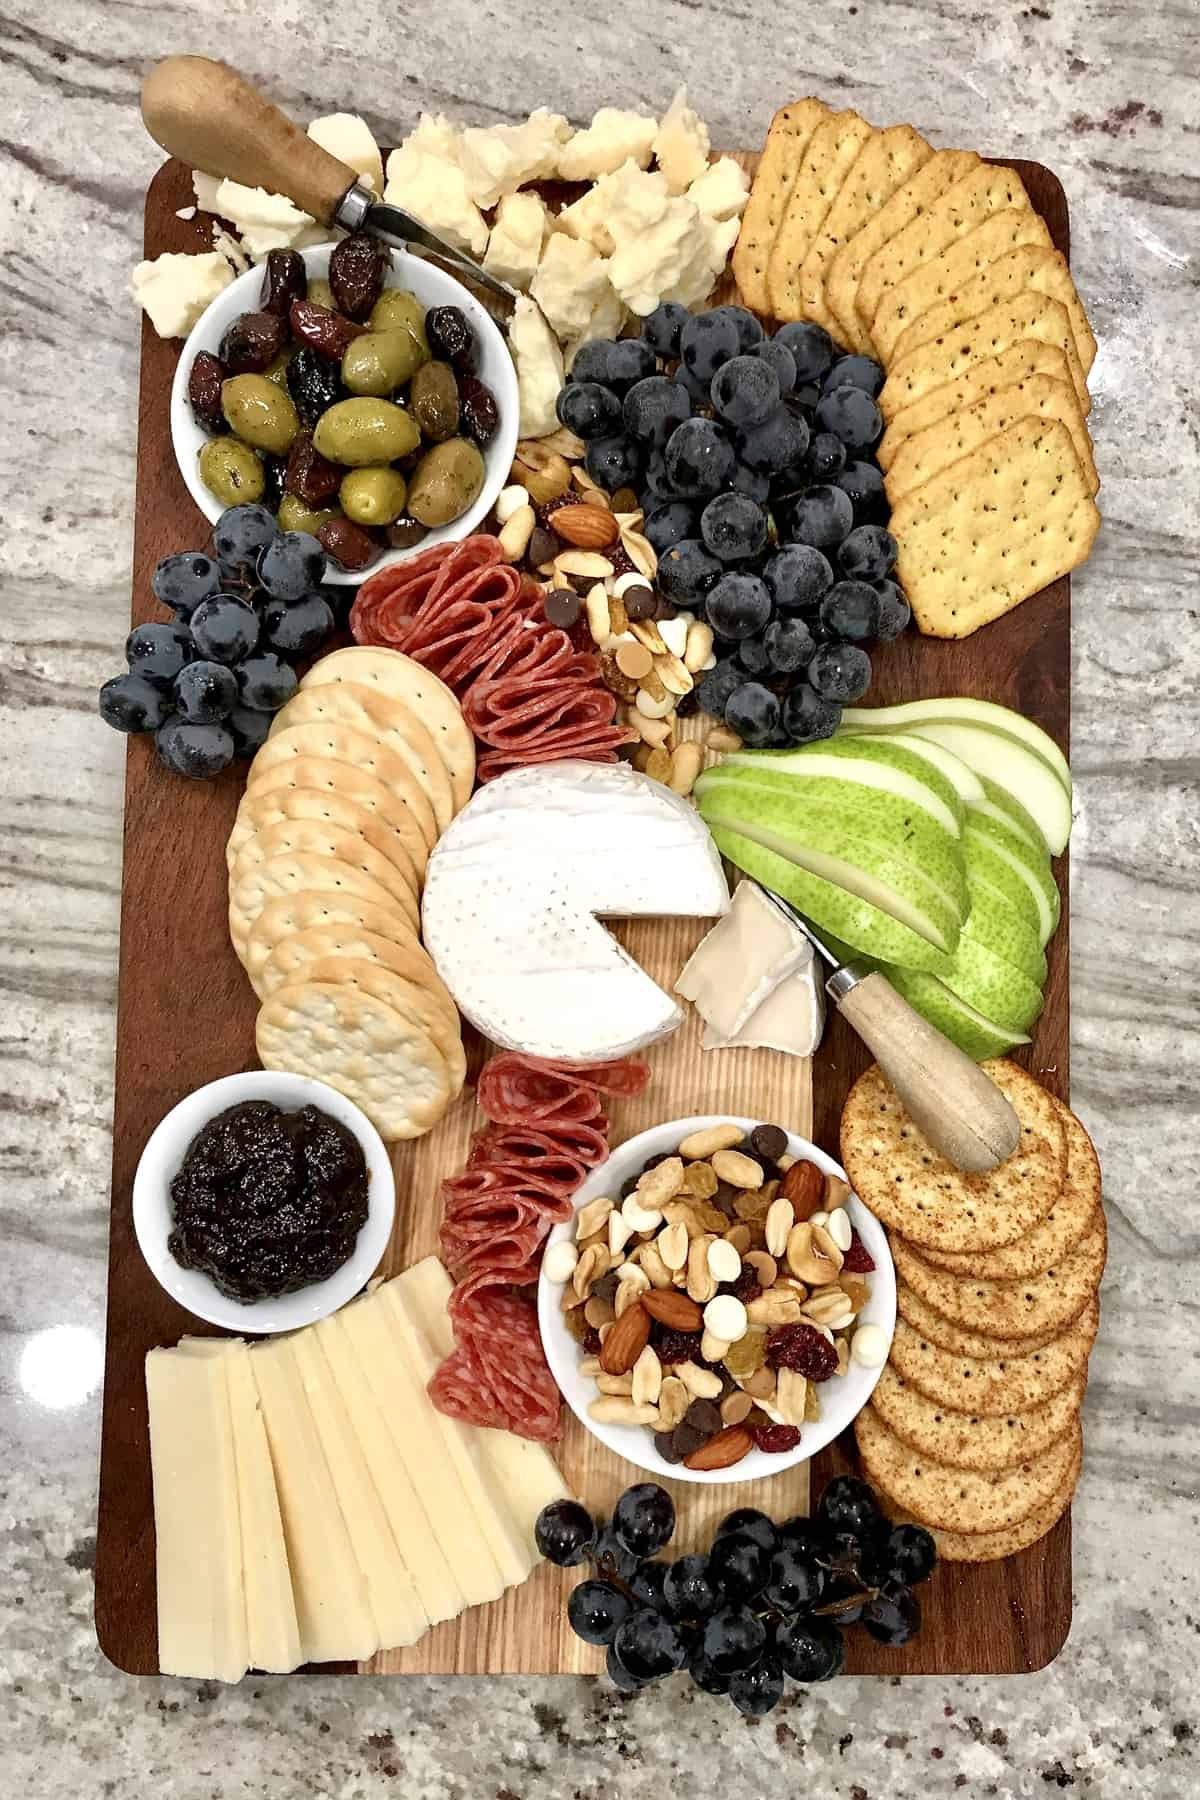
This first board was built with everything from Trader Joe’s for a total of $25.51. Trader Joe’s is one of my favorite places for finding delicious and reasonably priced cheese board building goodies. You’ll notice that I just got two cheeses here, but they’re both delicious and come in a nice size for serving a crowd. I placed some nut mix in a bowl and then sprinkled some in between items on the other side of the board. I put out an initial variety of crackers and can always replenish as the box includes several different shapes and flavors. I absolutely love the way this board looks and tastes!
The Target $25 Cheese Board
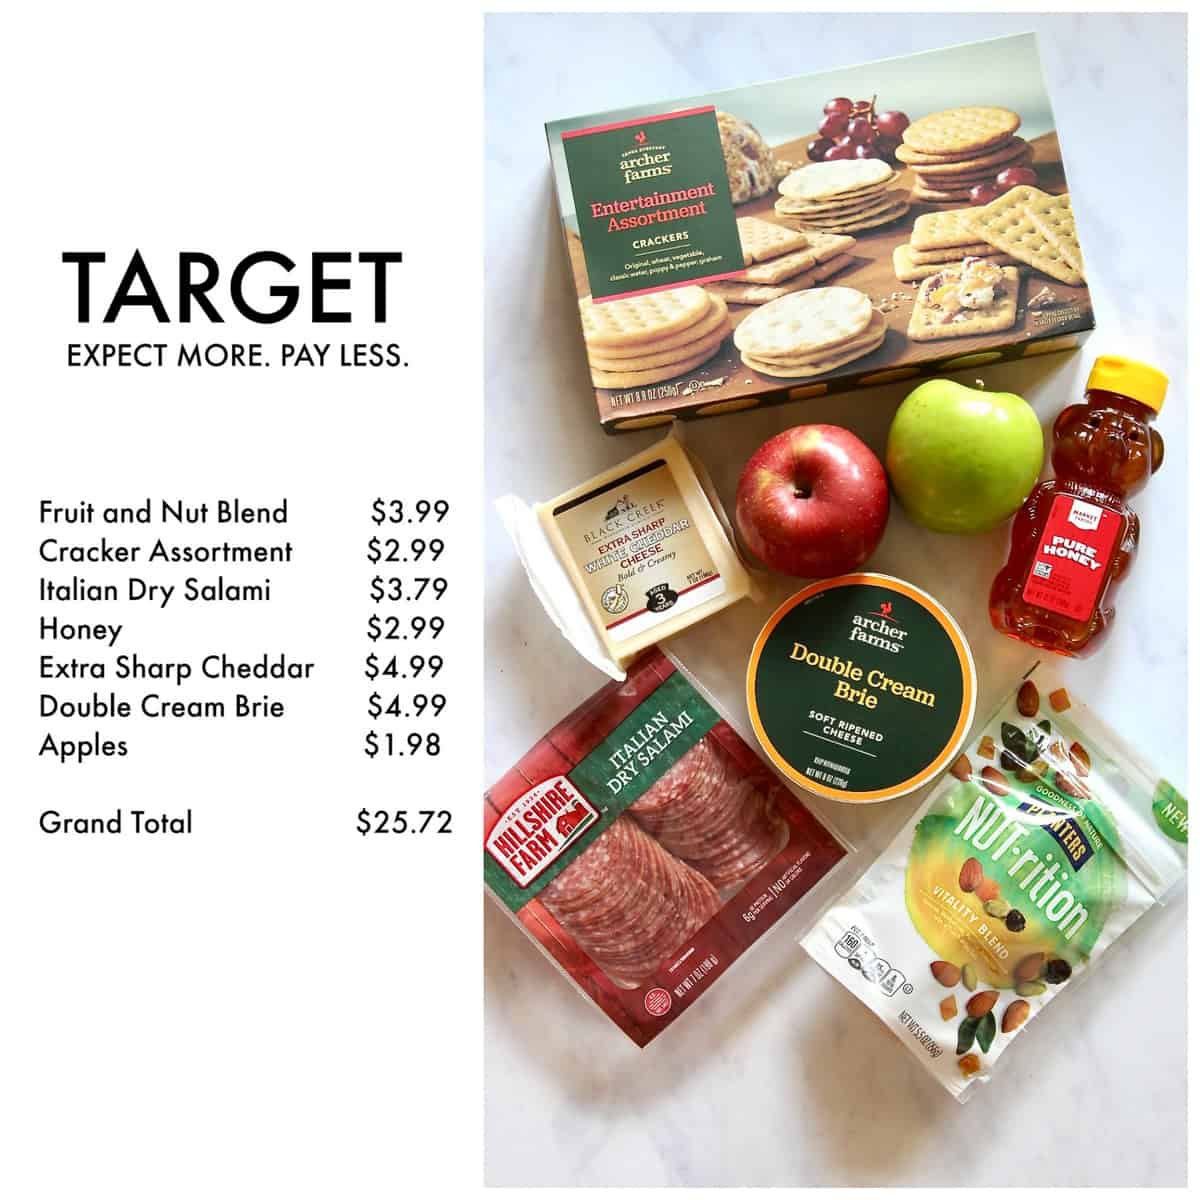
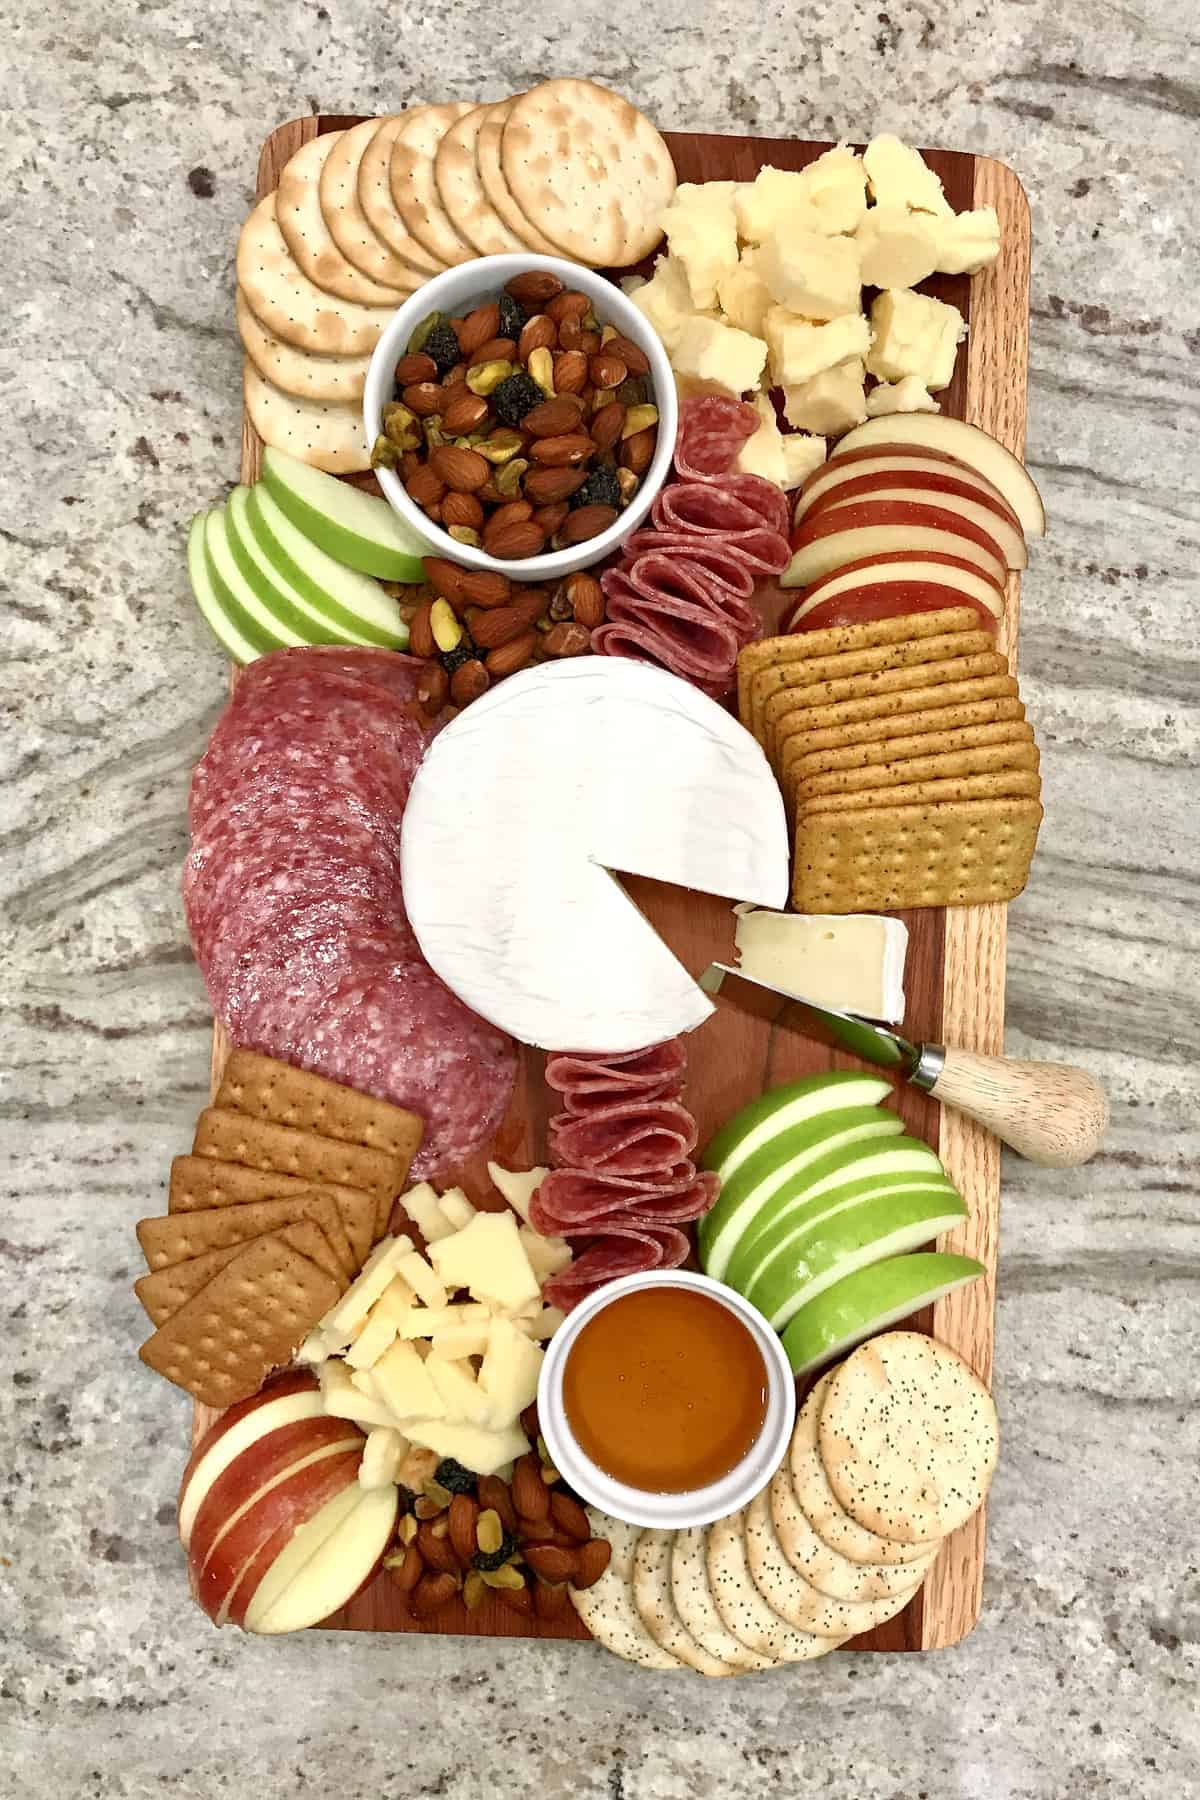
Next up is Target! When it comes to shopping the Target grocery section, just remember that the larger the store, the more options they’ll have. And they do actually have a wonderful selection of cheeses, meats and accompaniments at great prices. I have a smaller Target by my house and the grapes are pre-packed at a set price, so I opted for 2 apples to stay within budget for this board. I love how bright, simple and inviting this board turned out. Target also has a great selection of wood boards, small serving bowls and cheese knives at very affordable prices if you’re in the market for some.
The ALDI $25 Cheese Board
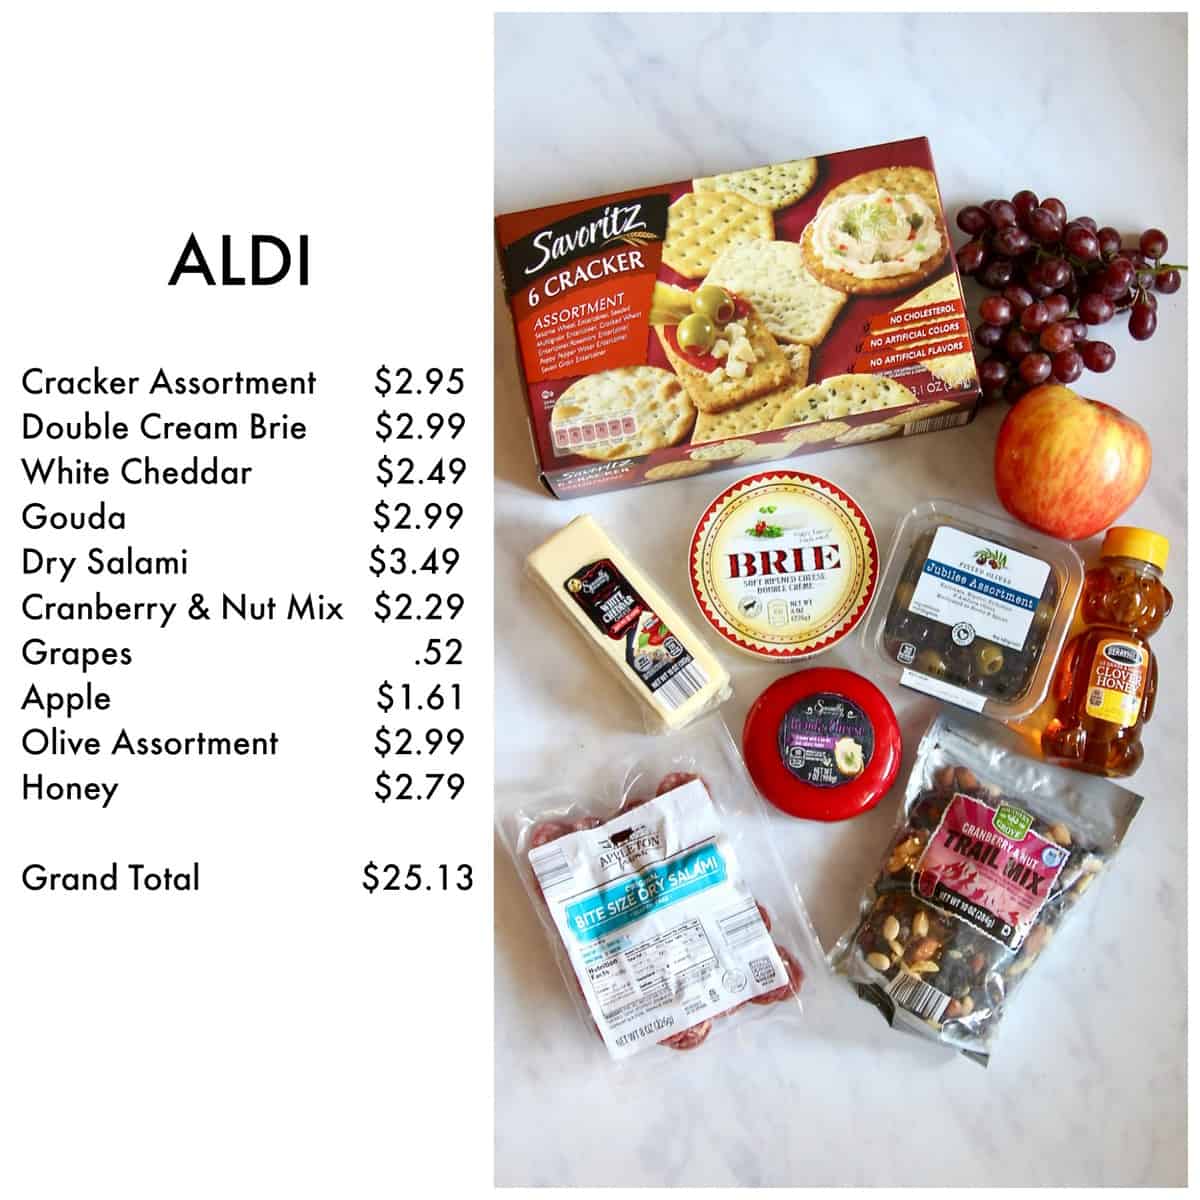
Last, but certainly not least, is ALDI! ALDI is a such a great place to shop for a cheese board because they offer a nice selection for a really good value. And I love how easy it is to shop the aisles of ALDI to find items that are seasonal and on sale. I was able to get three delicious cheeses, some great salami bites and a tasty selection of accompaniments. I love the variety and ease of grazing that this board offers.
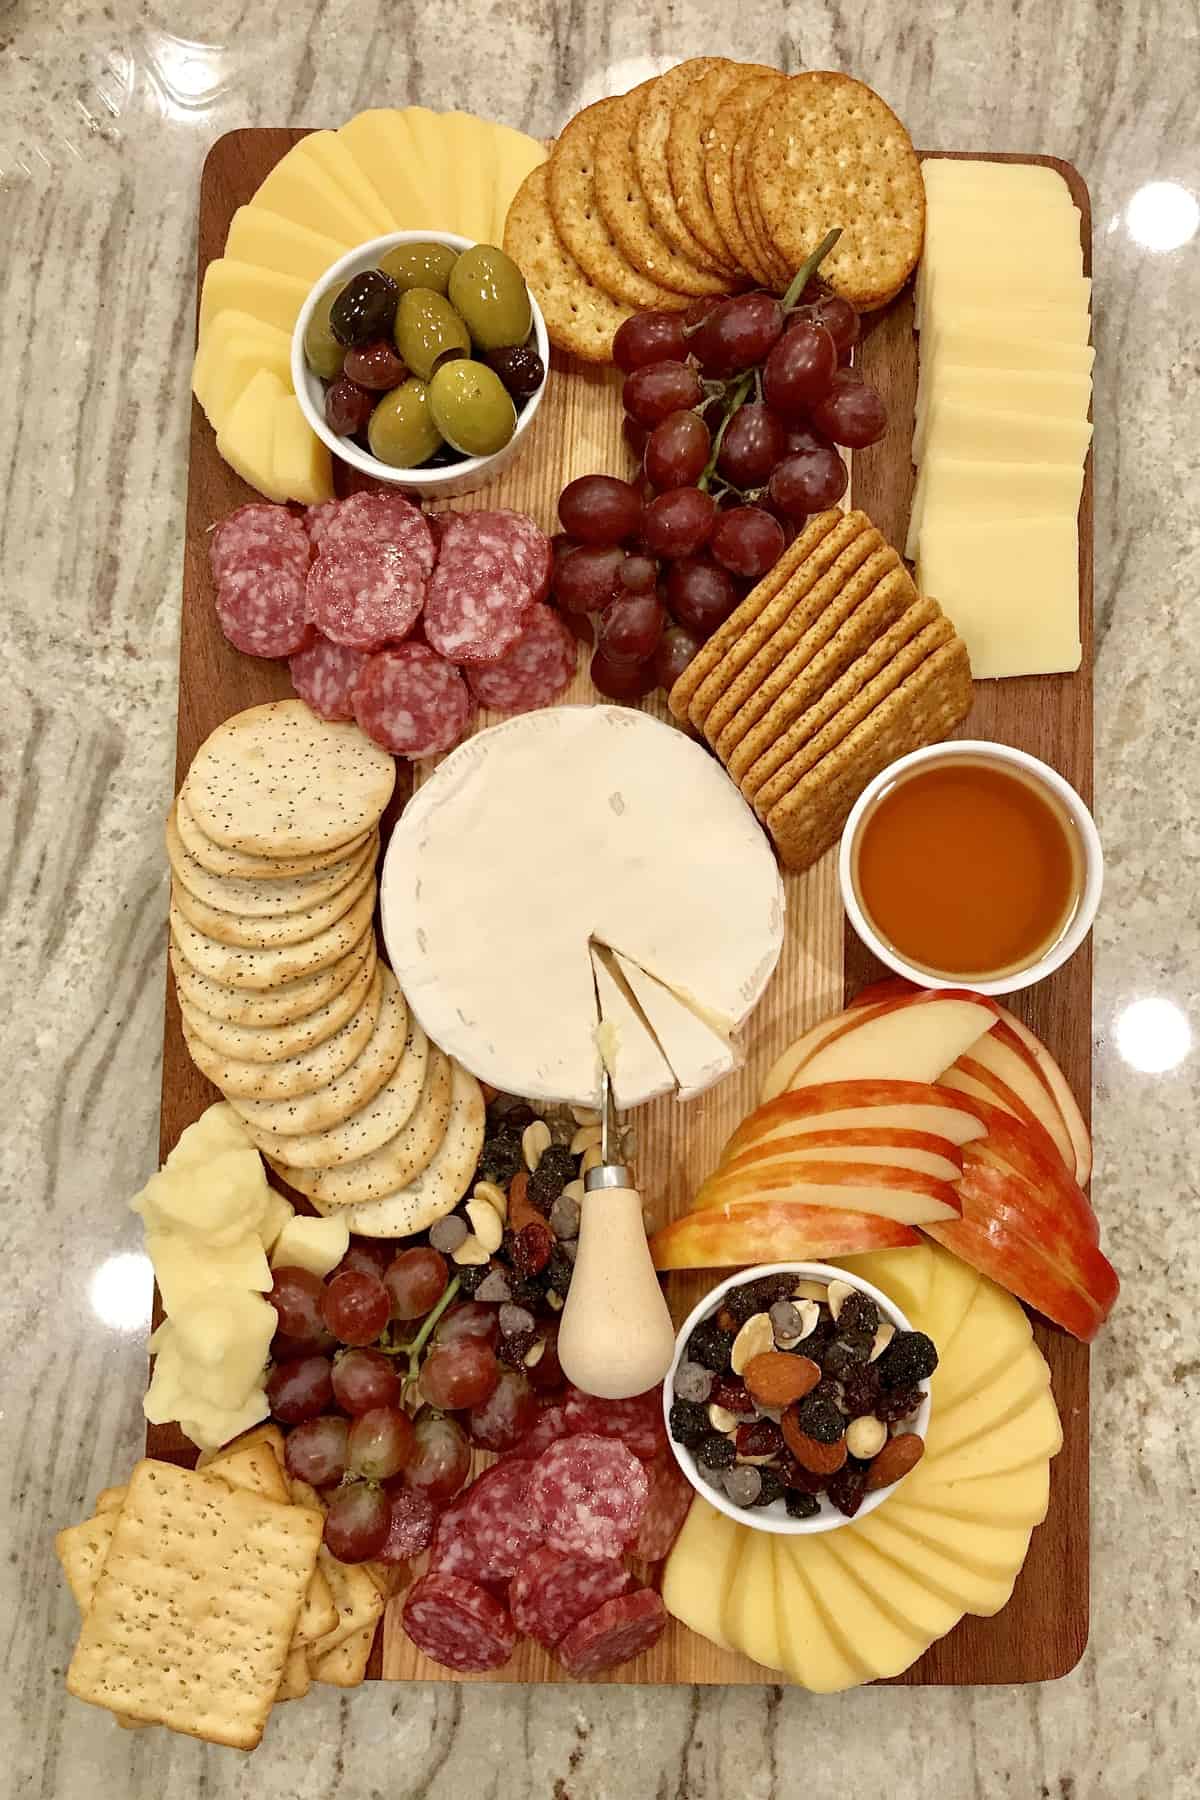
And there you have it! It is possible and very easy to build a great cheese board on a budget of just about $25. I hope this excites you and inspires you to build a cheese board for your next gathering. You’re sure to impress your guests with not only the way it looks, but also the way it all tastes and the way it brings everyone together.
Whether you’re hosting a crowd at your house, taking the appetizer to a dinner party at a friend’s house, or contributing to your family’s holiday spread, I think you’ll love how easy, affordable and enjoyable these budget-friendly cheese boards are to make. The shopping list is short so you can be in and out of the store pretty quickly, there’s no cooking required so you don’t have to worry about cleaning a lot of pots and pans, and these boards can seriously be assembled in less than 10 minutes.
I hope you found this helpful and I can’t wait to see all the beautiful boards you create. If you get a chance, snap a picture of your board and share it with me on Instagram by tagging @thebakermama and #MyBeautifulBoard so I can see. Have fun and enjoy!
xoxo,
