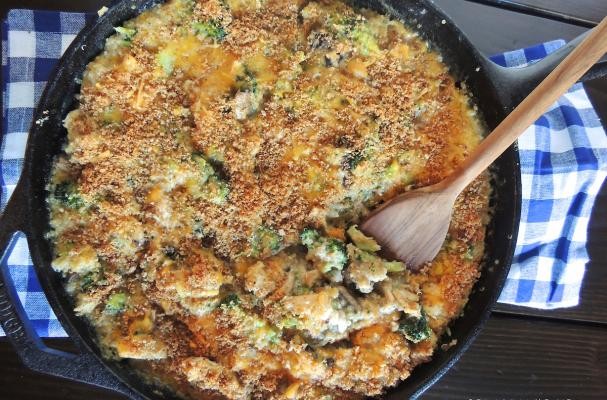
Ingredients: 1/4 cup bread crumbs (Panko or make your own),1 head broccoli, cut into florets,1 cup Cheddar cheese,1 cup Flour,1½ Tbs. Chopped Garlic,6-8 oz mushrooms, sliced,2 cups nonfat milk,1 tablespoon Extra-Virgin Olive Oil,1/3 cup plain yogurt,1 cup quinoa, uncooked,Salt and pepper, to taste,3 boneless, skinless chicken breasts
Instructions:
- Preheat the oven to 350 degrees F. If you are not using an oven safe skillet for the baking, then lightly oil a 9×13 baking dish.Cook the quinoa according to package instructions. One common method is to combine 1 cup quinoa with 2 cups of water in a pot. Bring to a boil then turn heat on low, cover and cook for 15 minutes. Fluff with a fork.To cook the broccoli you could either steam it on top of the quinoa during the last 5 minutes of cooking or steam it in a separate pot until cooked through.In a large skillet over medium heat, warm 1 tbsp of olive oil and add bread crumbs, stirring until browned and toasted for about 3 minutes. Set aside.
- Heat another tbsp of olive oil in the skillet and season chicken breasts with salt and pepper to taste (or any other seasonings you like). Cook chicken in the skillet on both sides until cooked through. Once cooled, dice it into bite-size pieces and set aside.
- Add the last 2 tbsp of olive oil in the skillet along with the garlic and cook for a few seconds. Then whisk in flour until lightly browned, about 1 minute. Gradually whisk in the milk and continue whisking until slightly thickened, about 3-4 minutes. Stir in quinoa, broccoli, mushrooms, chicken, 1 cup cheese, and yogurt. Season with salt and pepper to taste.If you’re using an oven proof skillet, sprinkle remaining 1/2 cup cheese and bread crumbs on top of the mixture and place in the oven. Otherwise pour the mixture in your baking dish then top with the cheese and bread crumbs.
- Bake until cheese is melted about 5 minutes. Then turn the broiler on high and broil for just a few minutes to get the cheese a little crispier.


