This post may contain affiliate links, please see our privacy policy for details.
Officially kicking off the holiday season with these easy Easy Vanilla Bean Christmas Lights Cookies. Made with nutty brown butter, double the vanilla, and a little bit of chocolate. These cookies are soft, buttery, and perfectly sweet with the best vanilla flavor. They’re generously glazed with a sweet, thick, and creamy vanilla bean glaze. And decorated with sweet chocolate and delicious holiday M&M’s for truly some of the best sugar cookies around. The secret is all in the combination of brown butter and real vanilla beans, which keep these cookies incredibly flavorful. Fun to bake, delicious to eat. These make for a great homemade gift, and a festive addition to your holiday cookie box!

This is the year I’m focusing on ALL of the Christmas cookies. I have so many ideas and not enough days to share…picking the best cookies has been hard!
These were an easy choice though. They actually started out a little differently, but as soon as I had the idea to do Christmas lights, I was excited.
My goal this year is fun holiday desserts – but easy. Nothing too time-consuming and no big scary decorating projects. Just delicious, easy, cute, and extra festive. These cookies are all of those things.
My hang-up with basic sugar cookies is that they’re often flavorless and the frosting is even worse. They just taste like sugar, and I’m definitely not into that.
With these cookies, I wanted to add flavor with brown butter and real vanilla bean. The chocolate on top, just makes them even better.

The details
Brown the butter, then let it cool off in the freezer a bit. Once it’s cooled (you only need 15 minutes), you can start mixing and baking.
Beat the butter with the sugar and vanilla bean powder. You’ll want to beat for at least a minute to really infuse the butter with the vanilla flavor. Next, add an egg and all the dry ingredients, then roll, cut, and bake. There’s absolutely nothing fancy here.
Whenever I make any kind of cut-out cookie, I always like to roll out the dough, cut the cookies, and then freeze the cut cookies on a baking sheet for a few minutes. This ensures that the cookies hold their shape. To cut my cookies, I used a simple circle cookie cutter and a holiday tree.
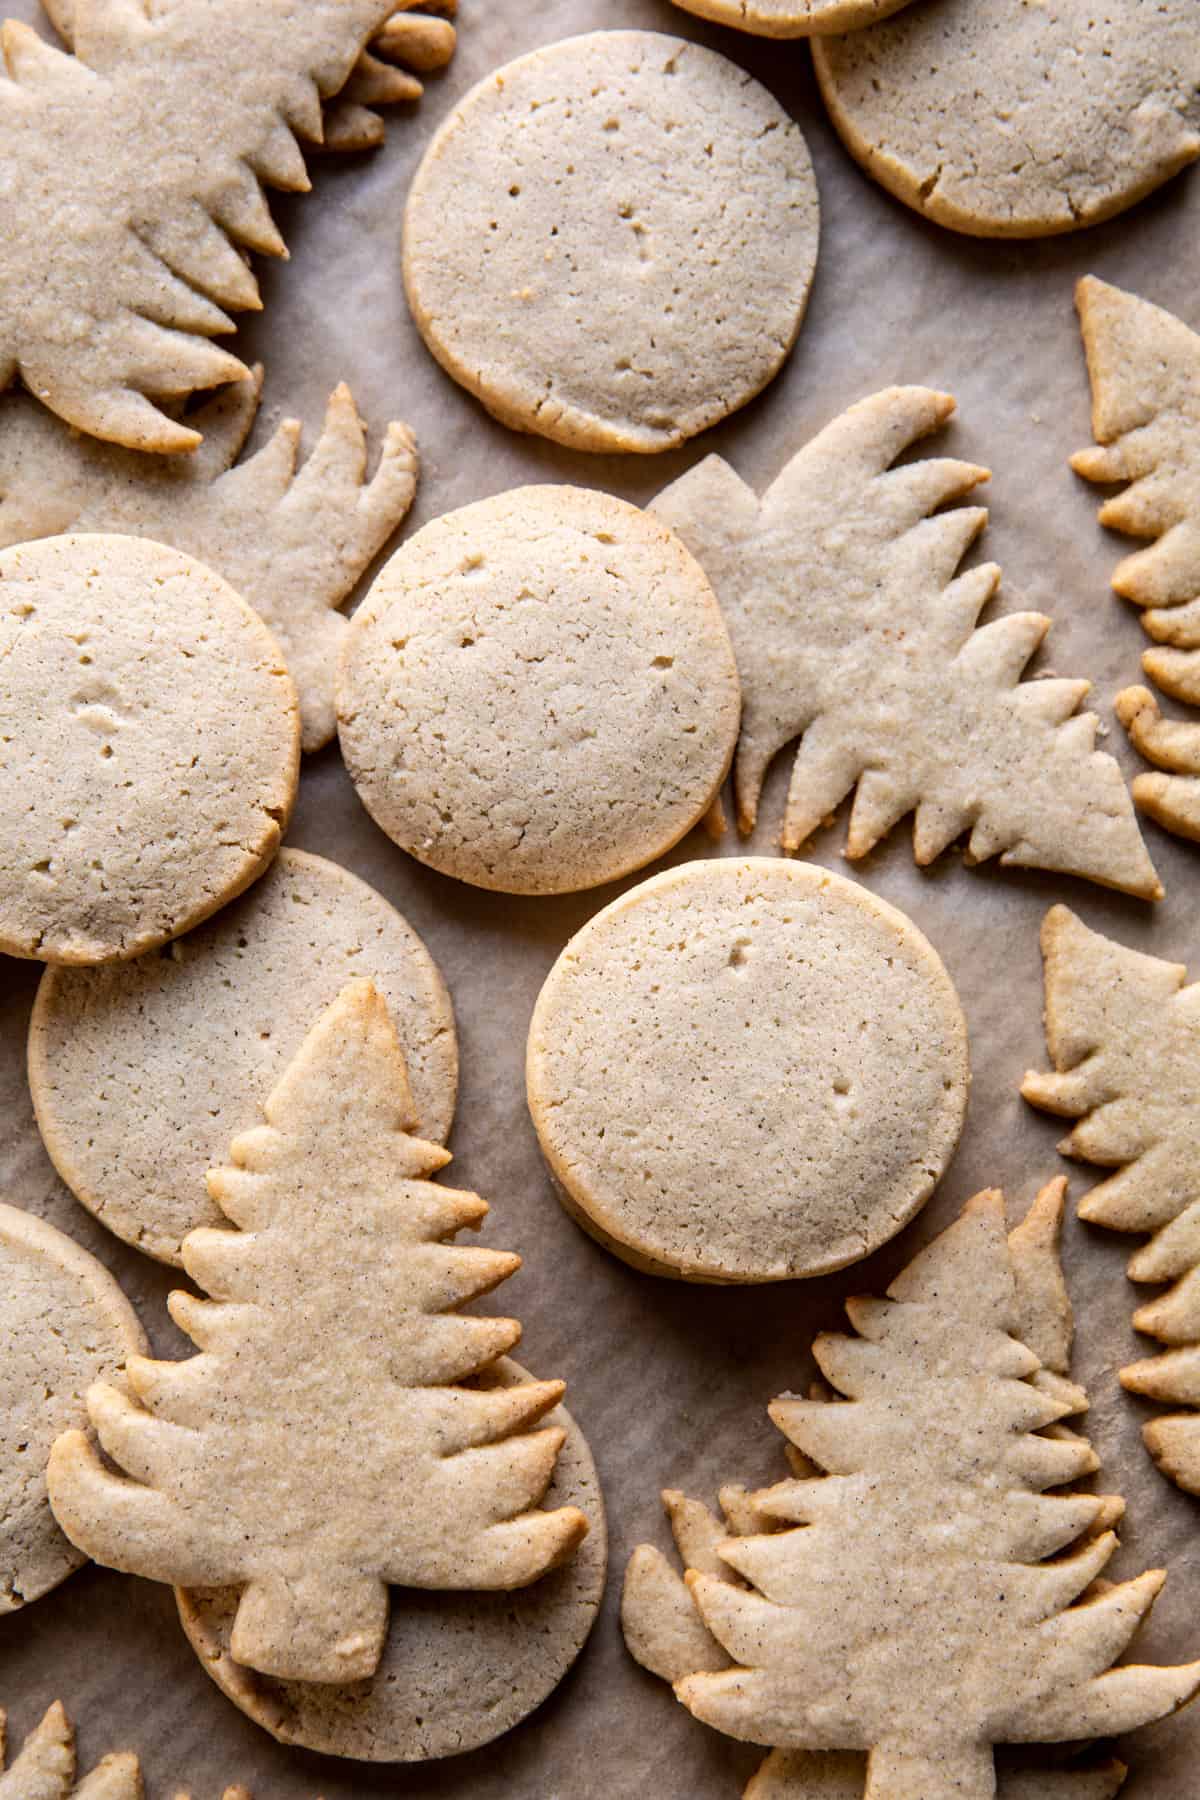
If you want to skip the rolling – simply slice n’ bake
I LOVE slice-n-bake cookies, and you can easily slice-n-bake with this dough!
Just divide the dough in half as directed, then roll each piece of dough into a log and chill in the fridge until totally solid.
If you have an almost empty roll of wrapping paper around, cut the roll and fit it around each log, this will prevent the dough from forming a straight edge in the fridge!
And when ready to bake, simply slice-n-bake!

Decorating is easy
I kept the icing simple, since I wanted the color to remain white but still have a nice flavor. I added a small amount of maple syrup and lots of vanilla.
It’s simple, but with the chocolate on top, perfect!
When it comes to cookies, I try to keep the decorating as easy as can be, and this is EASY. I used melted chocolate to draw on the cords for the lights, then used mini holiday M&M’s for the lights.

Doesn’t get easier, but looks so cute once finished!
Asher wasn’t around when I made these, so I can’t wait to make these again soon with her. She’s going to love them! They’re the perfect Christmas cookie to make with kids!

Looking for other Christmas cookies? Here are my favorites:
Vanilla Ginger Shortbread Wreaths
Lastly, if you make these Easy Vanilla Bean Christmas Lights Cookies, be sure to leave a comment and/or give this recipe a rating! Above all, I love to hear from you guys and always do my best to respond to each and every comment. And of course, if you do make this recipe, don’t forget to tag me on Instagram! Looking through the photos of recipes you all have made is my favorite!
Easy Vanilla Bean Christmas Lights Cookies
Servings: 22 cookies
Calories Per Serving: 119 kcal
Nutritional information is only an estimate. The accuracy of the nutritional information for any recipe on this site is not guaranteed.
You can now create an account on our site and save your favorite recipes and access them on any device! You can keep track of your favorite recipes and generate a shopping list for recipes in your collections.
Already Registered? Login Now
-
1. Add 6 tablespoons butter to a small saucepan set over medium heat, cooking until the butter begins to brown, about 3-4 minutes. Remove from the heat and transfer to a heatproof bowl. Stick in the freezer to chill, 10 minutes, but no longer.2. Preheat the oven to 350° F. Line a baking sheet with parchment paper.3. In a mixing bowl, beat together the remaining 6 tablespoons butter, the cooled browned butter, sugar, and vanilla bean powder until combined. Add the egg and mix until combined. Add the flour, baking soda, and salt, beat until combined and the dough forms a ball. If the dough feels too wet to roll out, add 2-4 tablespoons additional flour.4. Divide the dough in half. Roll out the dough on a floured piece of parchment paper to 1/4 inch thickness. Make sure you’re using enough flour or your dough will stick. Cut out the cookies using circle and Christmas tree cutters. Transfer the cookies to a parchment-lined baking sheet. I recommend using a floured spatula to lift the cookies. Cover the baking sheet and place in the freezer until firm, 15 minutes. Roll out the leftover scraps, and repeat with the remaining dough.5. Bake the cookies on the middle rack of the oven for 8-10 minutes or until just lightly golden. Let cool. 6. Meanwhile, make the icing. In a medium bowl, whisk together the powdered sugar, maple syrup, vanilla, and 1 tablespoon water until smooth and drizzly. If needed, thin the glaze by adding water – 1 tablespoon at a time, until drizzly. 7. Spoon the icing onto each cookie, spreading it to the edges. Let sit to dry. Add the melted chocolate to a sandwich bag and cut a small portion of the corner off. Draw 2 lines onto each round cookie and then a squiggly line up the trees. Press mini M&Ms into the chocolate as “lights” (look through the photos for examples).
Tip: If you have an almost empty roll of wrapping paper around, cut the roll down the center, then fit it around each log, this will prevent the dough from forming a straight edge in the fridge.


