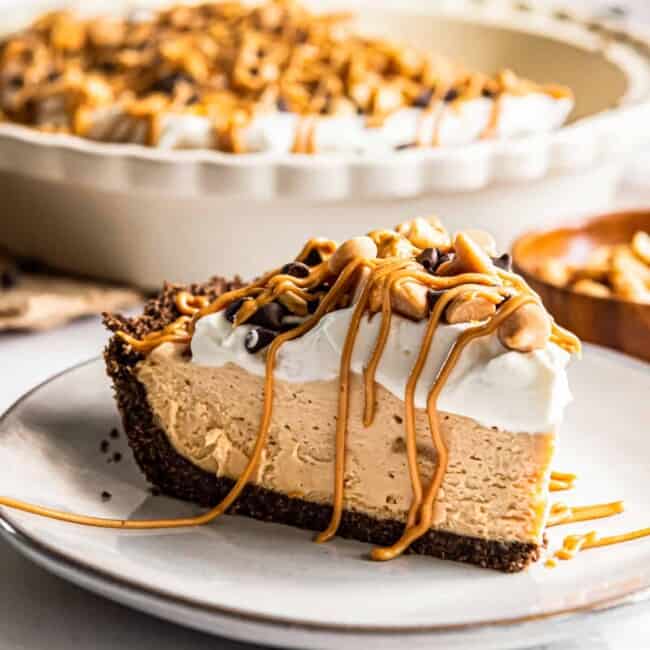
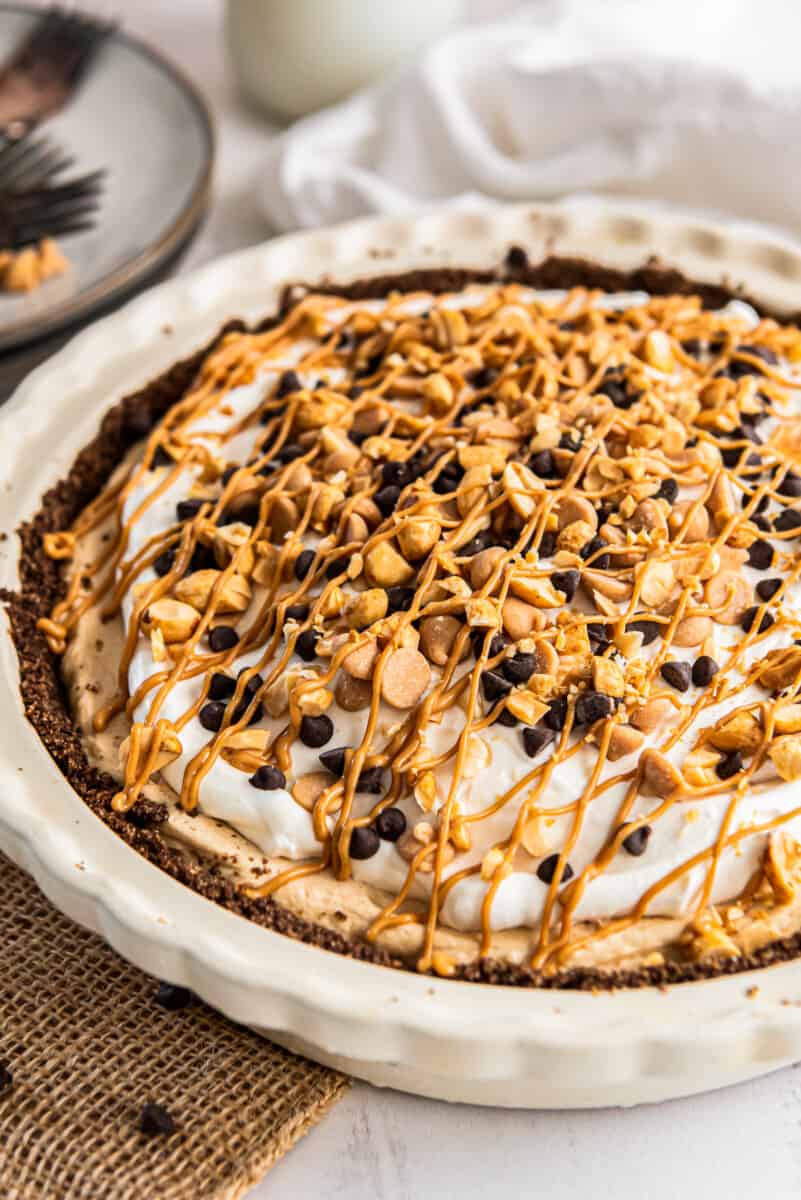
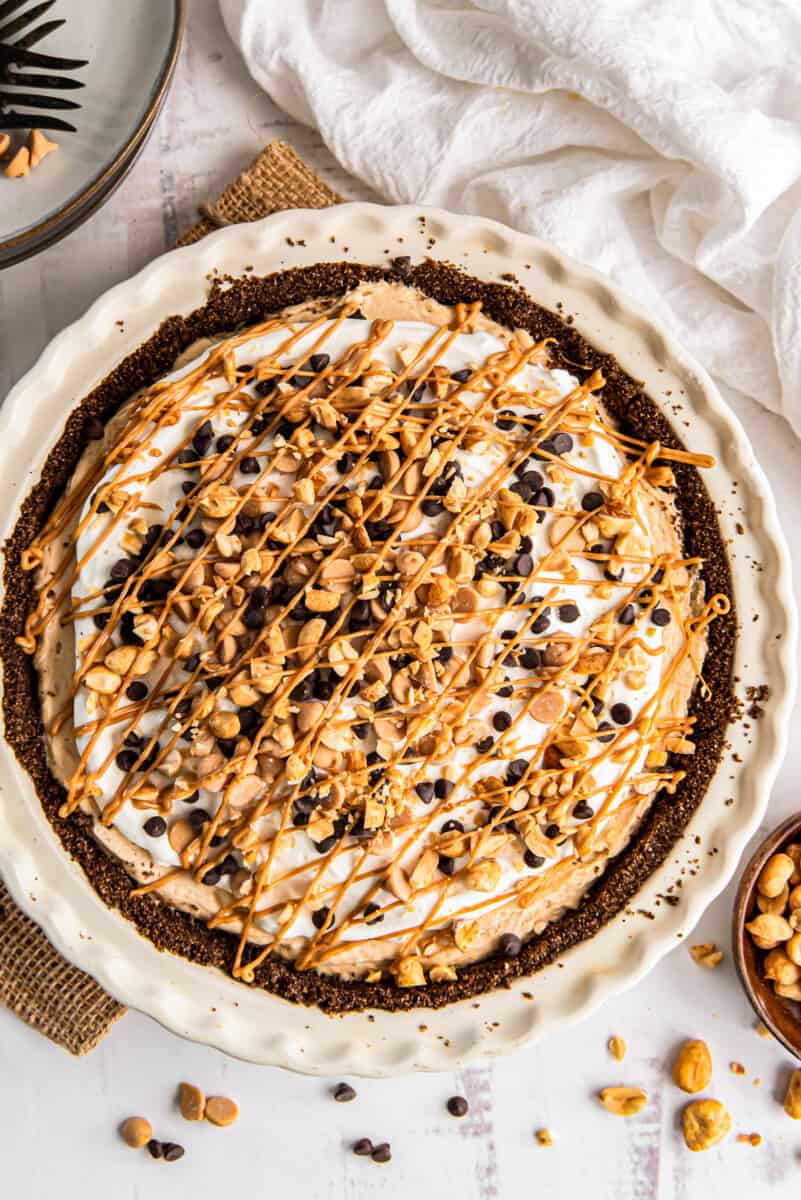
Peanut butter pie is the ultimate dessert to share during the holidays. It starts with a chocolate crust and is then loaded with no bake peanut butter goodness. Topped with whipped cream and peanut butter and chocolate chips, everyone will love this pie.
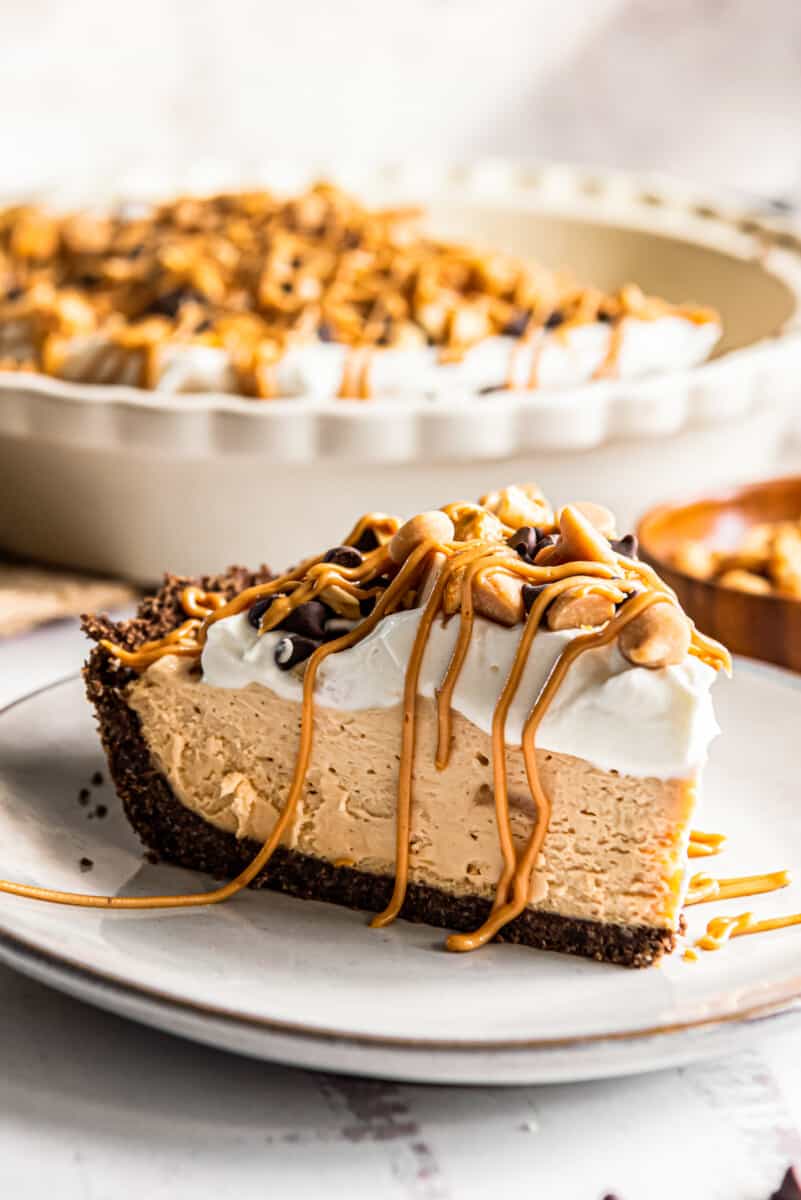
Peanut Butter Pie Recipe
Peanut butter pie is the ultimate dessert for people who love the combination of peanut butter and chocolate! It’s almost like a giant Reese’s peanut butter cup in pie form.
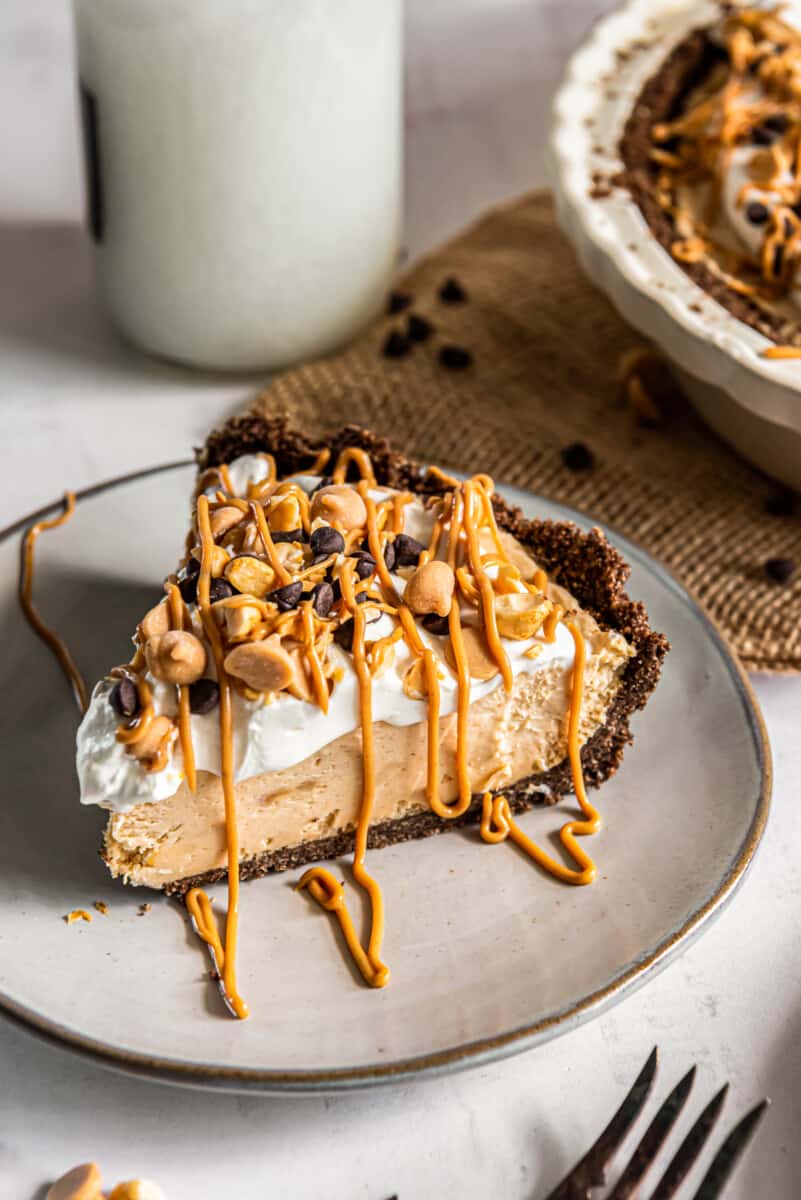
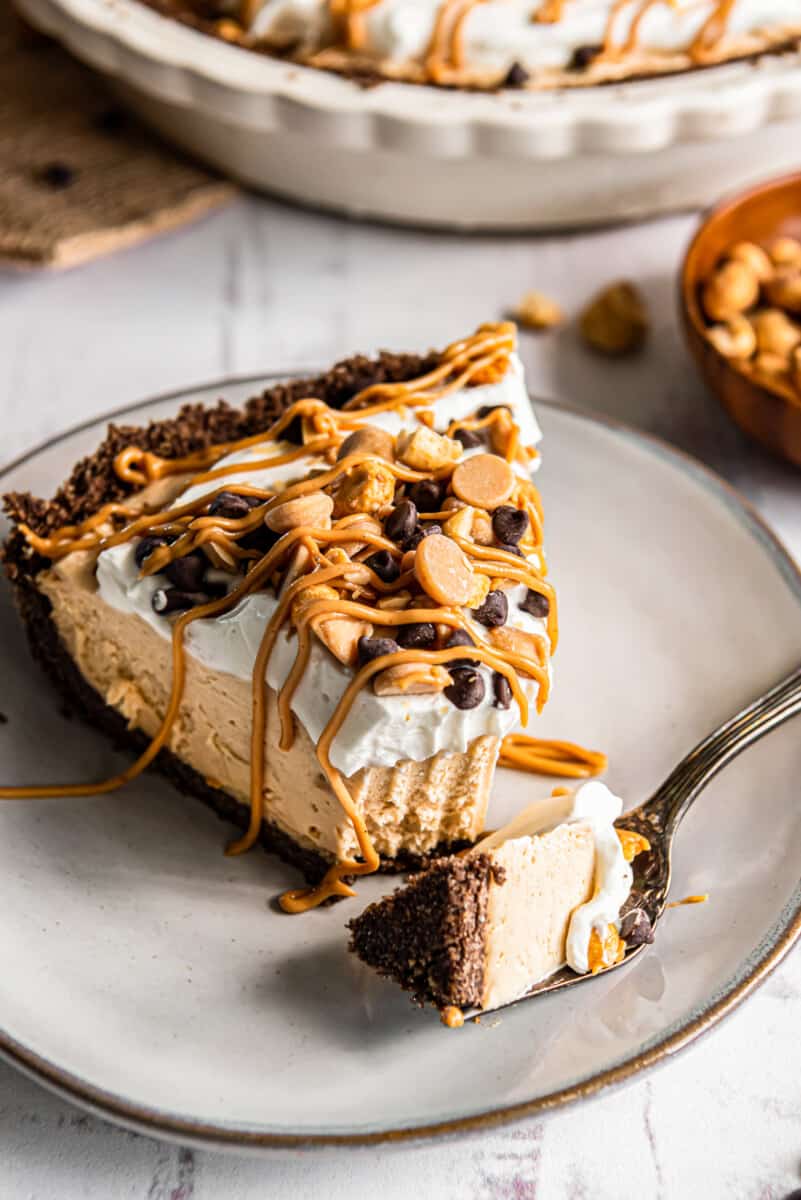
This pie starts with a sweet chocolate crust, is filled with a no bake peanut butter mouse and is then topped with even more peanut butter and chocolate goodness. It’s the ultimate dessert for peanut butter lovers!
This pie makes a great addition to dessert time but is fancy enough for birthdays and holidays. Just be prepared, everyone will love this no bake pie so much that they are going to going to want the recipe asap!
Why you’ll love this Chocolate Peanut Butter Pie recipe:
- EASY TO MAKE: Some pies are intricate and take a lot of time in the kitchen. This chocolate peanut butter pie is easy to make, is no bake and great for even beginner bakers.
- NO BAKE PIE: This pie is so easy to make in part because it’s a no bake pie! You do need to bake the crust briefly, but the whole pie doesn’t need to be baked.
- SIMPLE INGREDIENTS: There are only 8 required ingredients for this pie recipe and they are easy to find at most grocery stores.
Once you have gathered all your ingredients, you will also want to grab a mixing bowl, food processor, pie pan, spatula and hand mixer. You will need to make your crust first and then add your peanut butter filling.
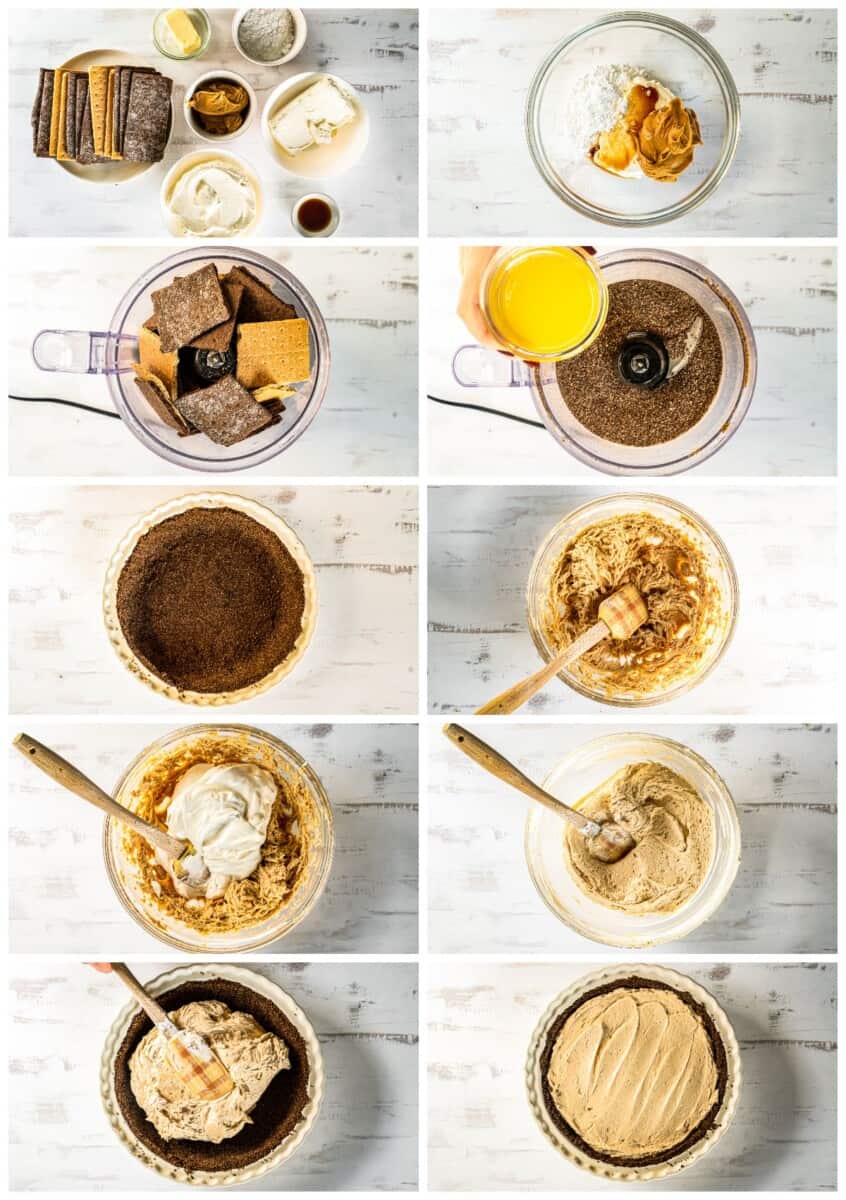
How to make Peanut Butter Pie
Be sure to see the recipe card below for full ingredients & instructions!
- Pulse your graham crackers in a food processor until they are fine crumbs.
- Add the melted butter and continue to pulse until combined.
- Press the pie crust into a pie pan.
- Bake for 7-9 minutes.
- Whip together the cream cheese, peanut butter, powdered sugar and vanilla.
- Fold in the whipped cream.
- Add the peanut butter filling to your cooled pie shell.
- Chill for 2 hours or more.
- Add your whipped cream and toppings before serving.
Yes, you absolutely can use a pre-made pie crust for this peanut butter pie. Using a pre-made pie crust will save you some time and make this dessert come together even faster!
Oreos make a great pie crust and would be a fun substitute for graham crackers. Feel free to use your favorite Oreos for the pie crust.
This is such a versatile recipe and you can easily substitute the peanut butter for your favorite nut butter. Almond or cashew butter and even Nutella make great substitutes.
You can freeze the entire pie after adding the filling. Instead of wrapping it and placing in the fridge, you can place it directly in the freezer. Allow to thaw when you go to unfreeze it.
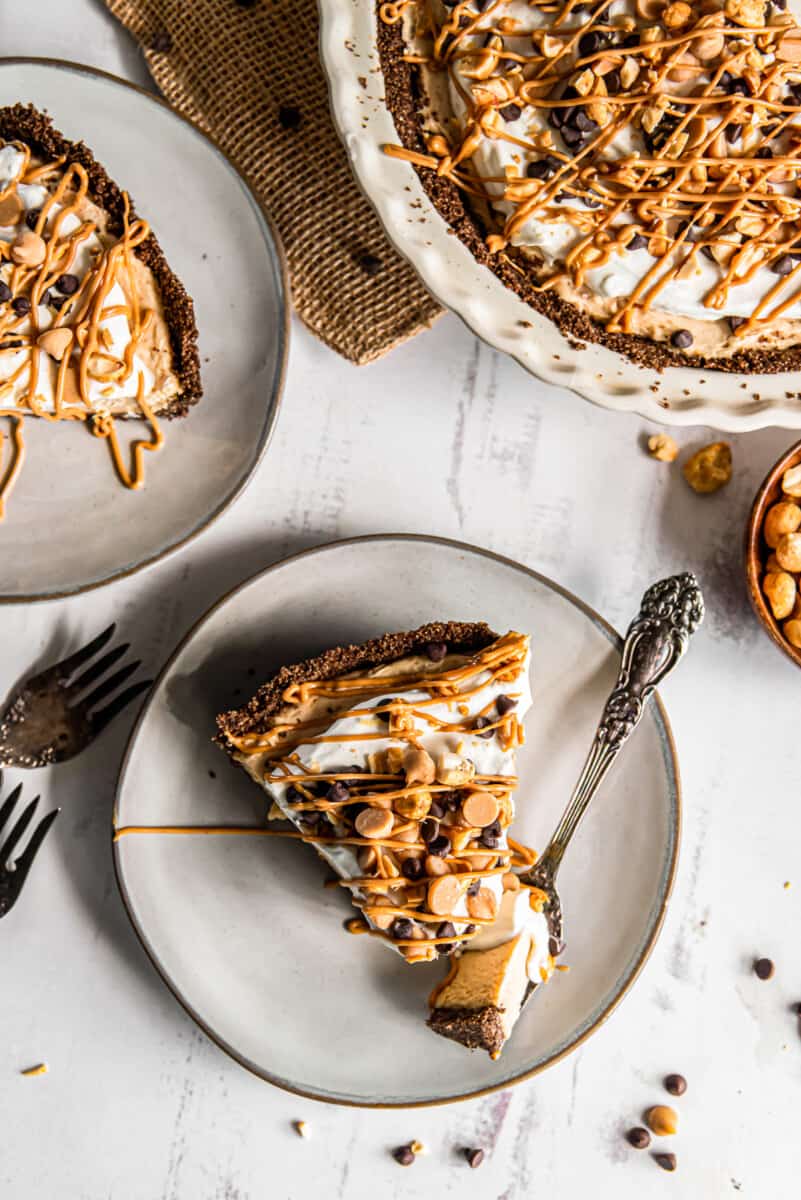
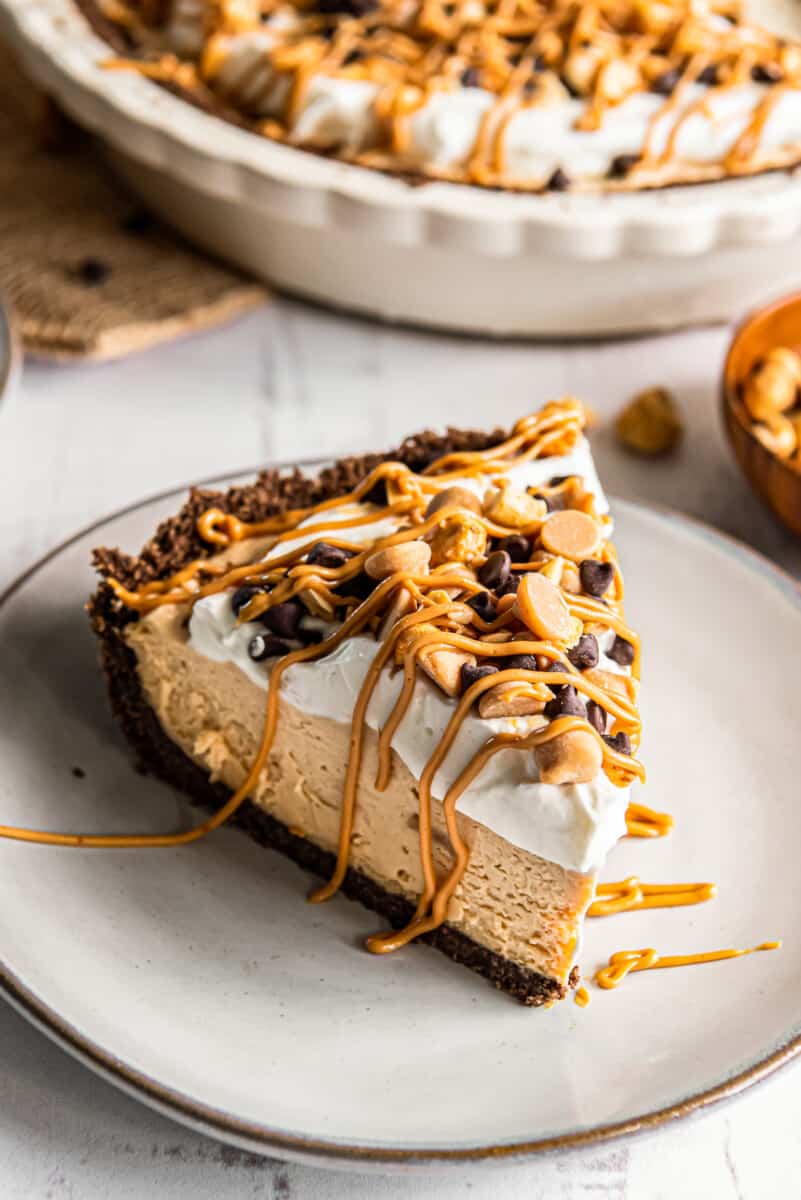
The toppings on this peanut butter pie are optional, but a great addition. They add another layer of flavor plus a few different textures. Some of the suggested garnishes are peanuts, chocolate chips, peanut butter chips or melted chocolate and peanut butter.
Tips!
- Allow the pie crust to cool completely before adding in the filling. If the pie crust is still warm, it will hurt the integrity of the peanut butter filling.
- Scrap down the sides of the bowl when mixing your ingredients together. You want to make sure that everything is fully incorporated before adding it to the pie crust.
- This pie does need time to firm up in the fridge. Make sure you allow it at least 2 hours before slicing. You can make it the night before and keep it in the fridge until it’s time to enjoy.
You can serve this pie at any event, potluck or holiday. It’s a great pie to bring to Thanksgiving, Christmas or even Easter dinner. It’s one that kids and adults will love and I can guarantee you won’t have any leftovers.
More Pies to Try:
This mile high peanut butter pie is every peanut butter and chocolate lovers dream. It is full of decadent flavor and is super easy to make. Whip up this easy pie recipe today!
If you make this recipe be sure to upload a photo in the comment section below or leave a rating. Enjoy!

