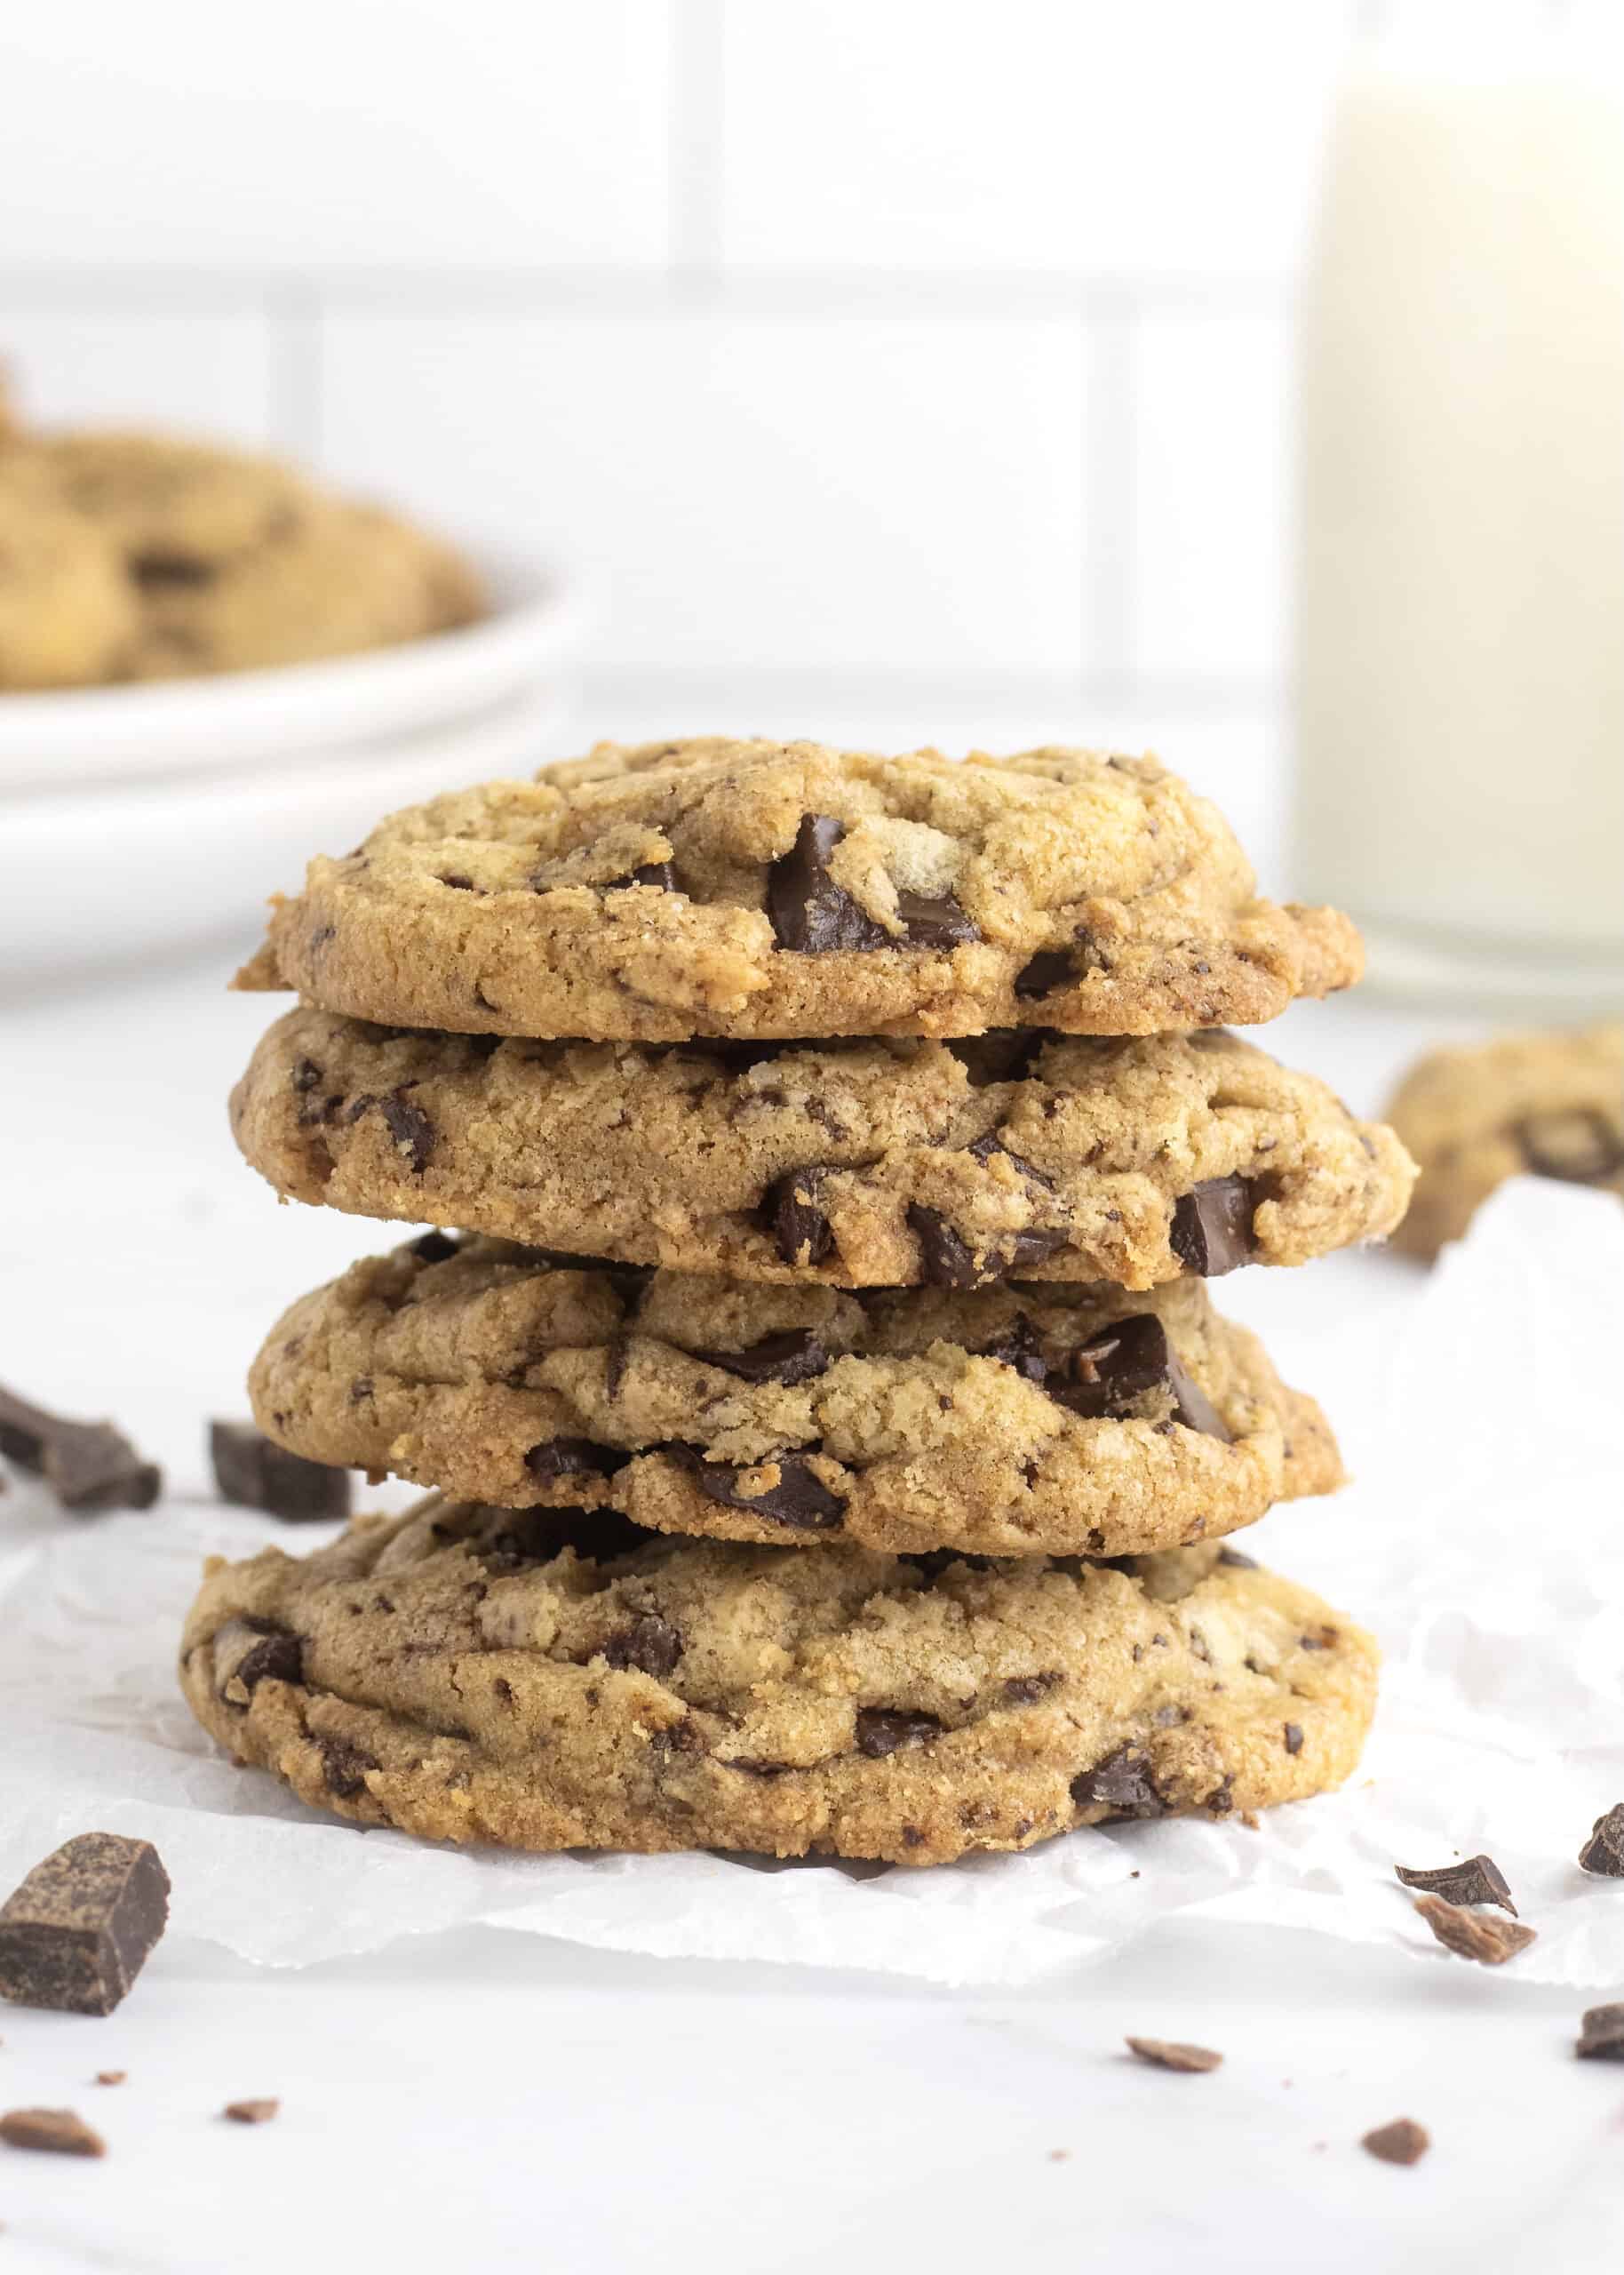
Crispy, chewy, sweet, salty, nutty and oh-so chocolatey! My Perfect Chocolate Chip Cookies are cookie perfection!
Originally published on May 15, 2014.
Crazy for Cookies
I love cookies! I mean, who doesn’t? But I really, really love them! So I decided to create a recipe for my perfect chocolate chip cookies–one that could become my go-to recipe for all the cookie cravings. Several pounds of butter and lots of chocolate later, my mission was complete and my most craveable cookie yet has been created. I’m so thrilled to have this awesome recipe and I’m even more excited to share it with you!
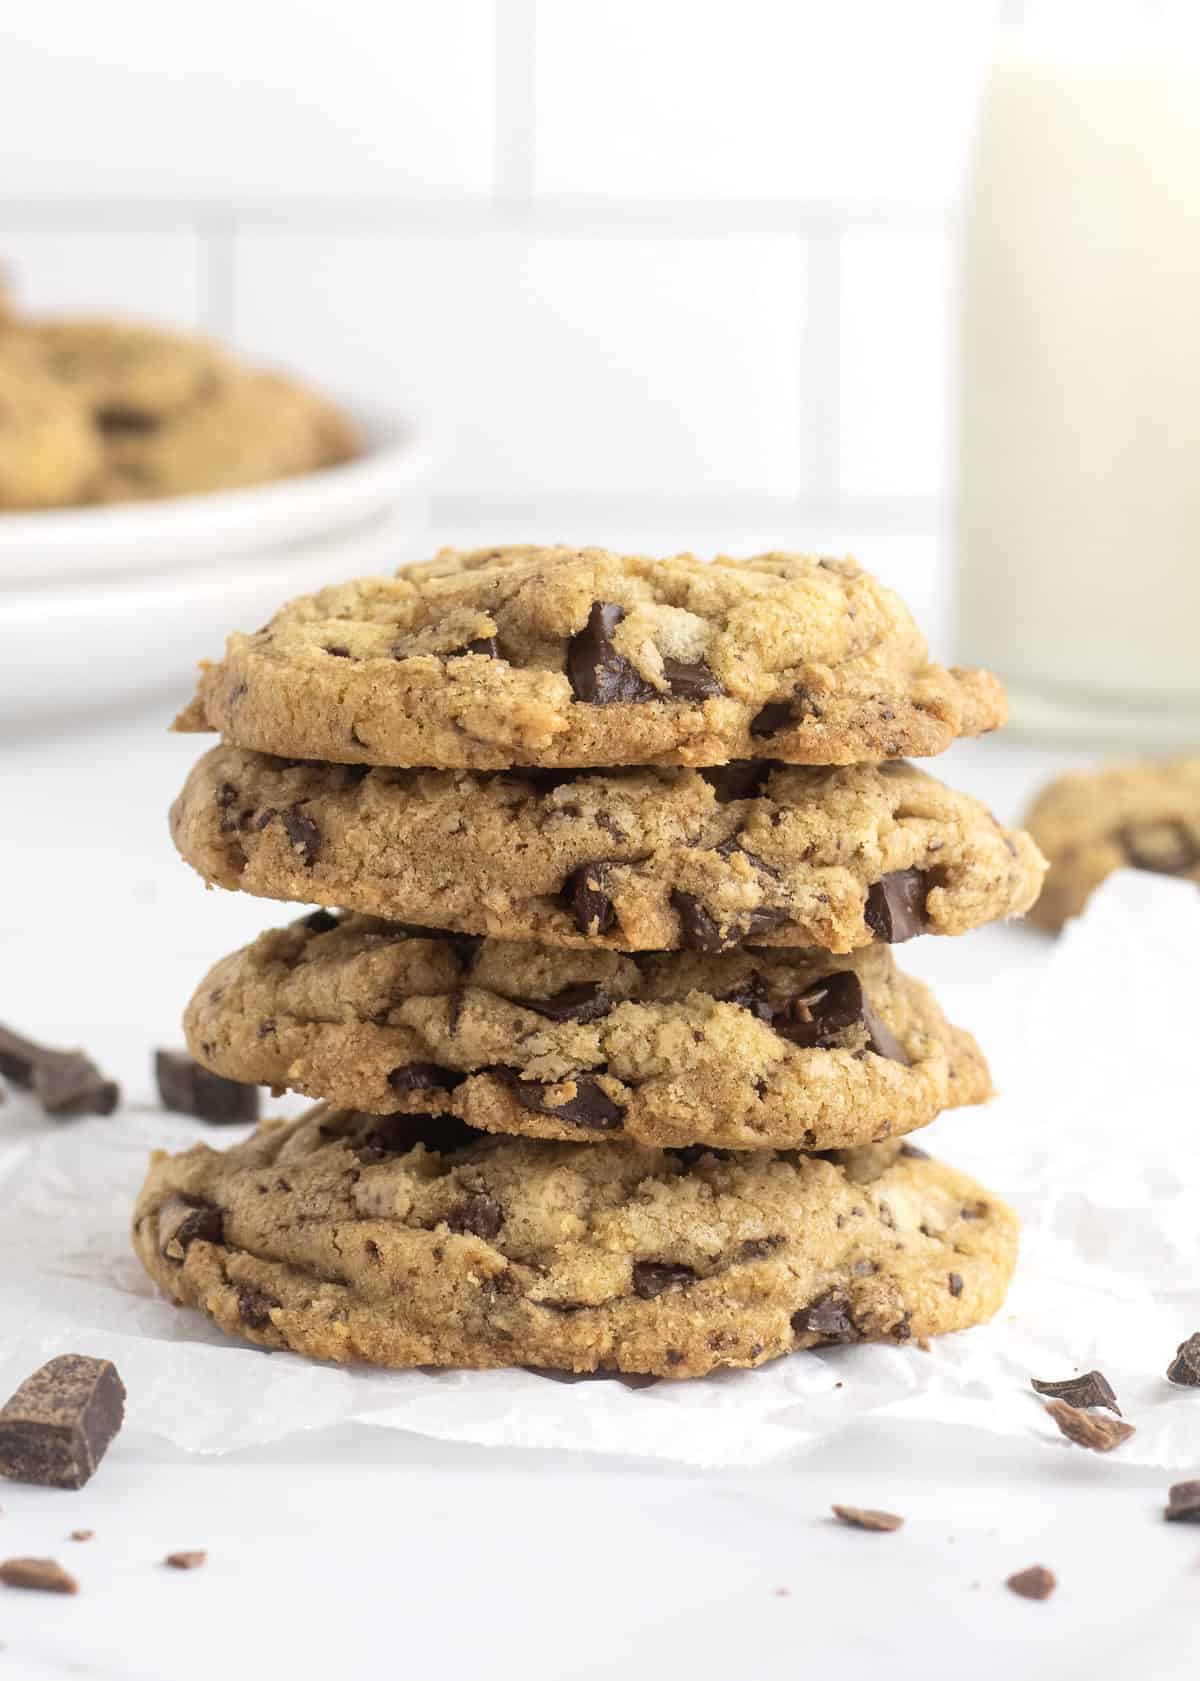
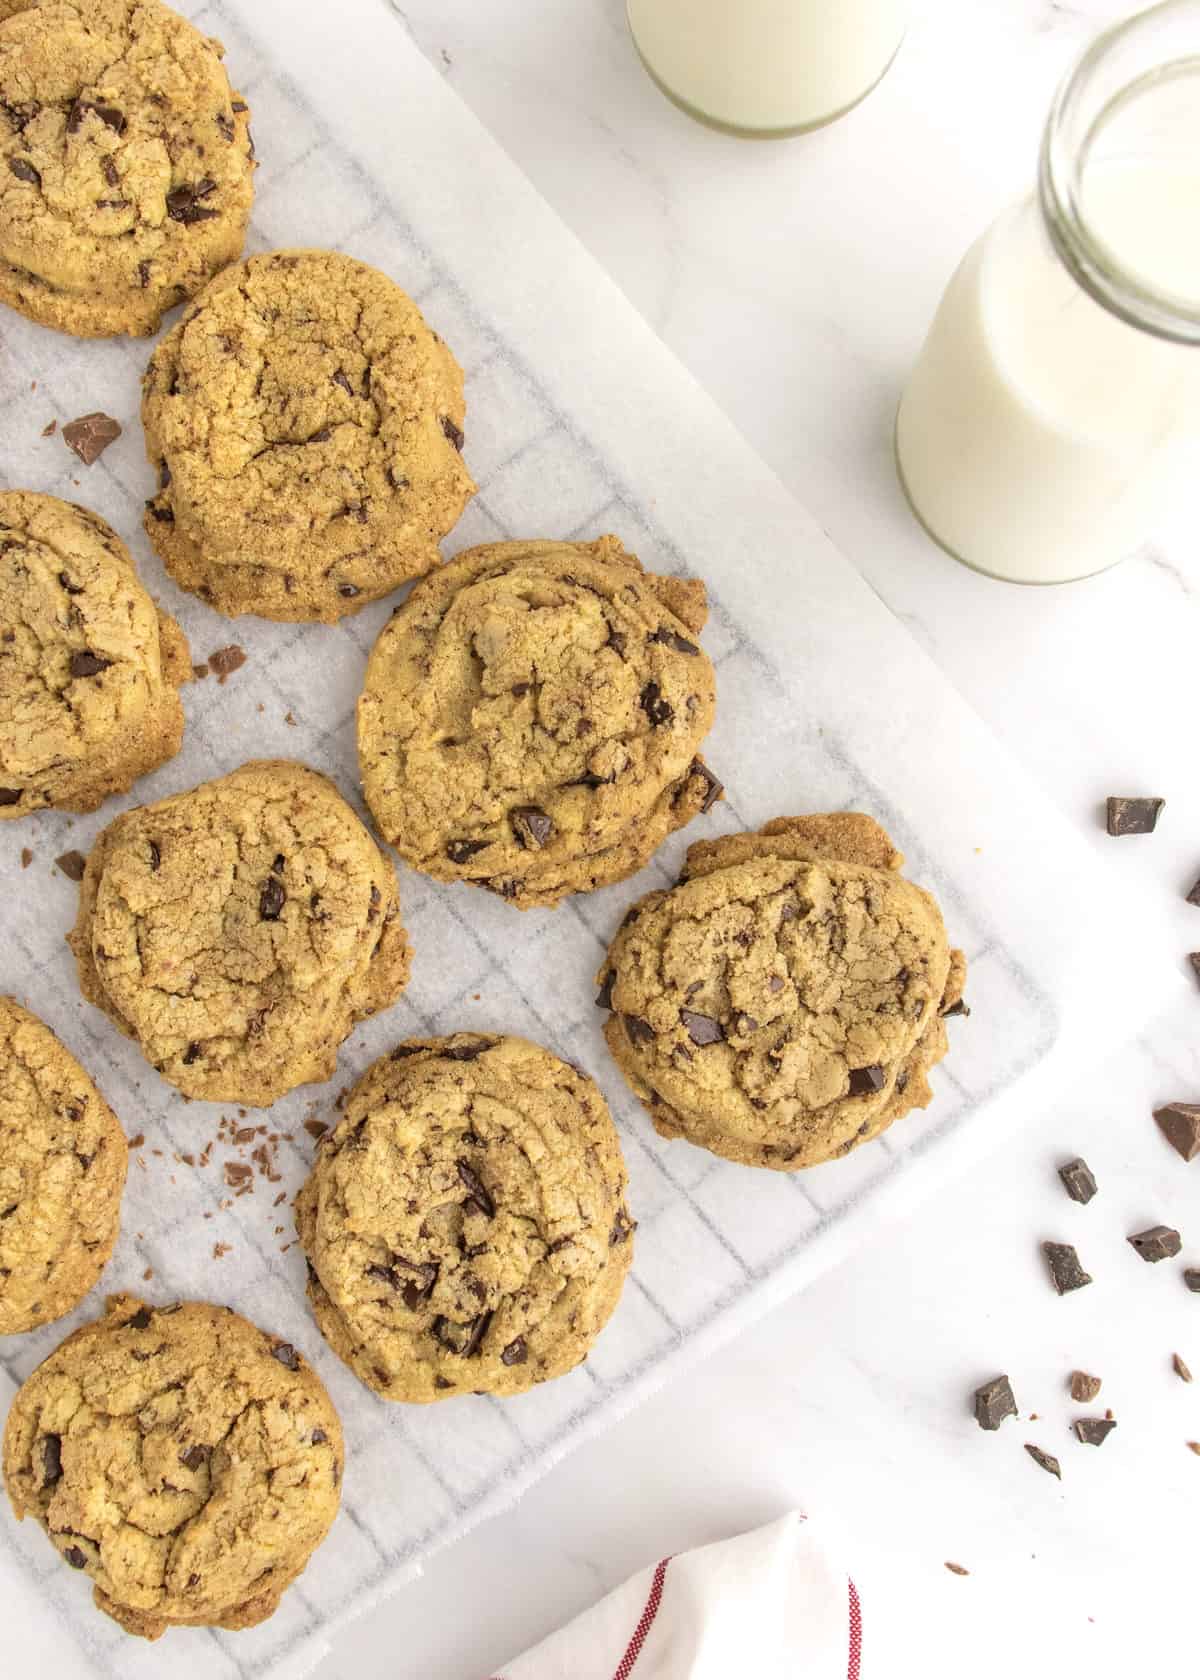
My perfect chocolate chip cookies are crisp around the edges, chewy in the center, perfectly sweet, a little salty, nicely nutty and loaded with chocolate. Be still my heart!
I’m obsessed with these cookies and have already baked them so many times that I have the recipe and the methods memorized. I’m confident you’ll love them too and that you’ll be baking them for your family and friends over and over again! I know once you’ve tried them you’ll completely agree that the extra efforts are so worth the incredible results.
It’s All About Technique!
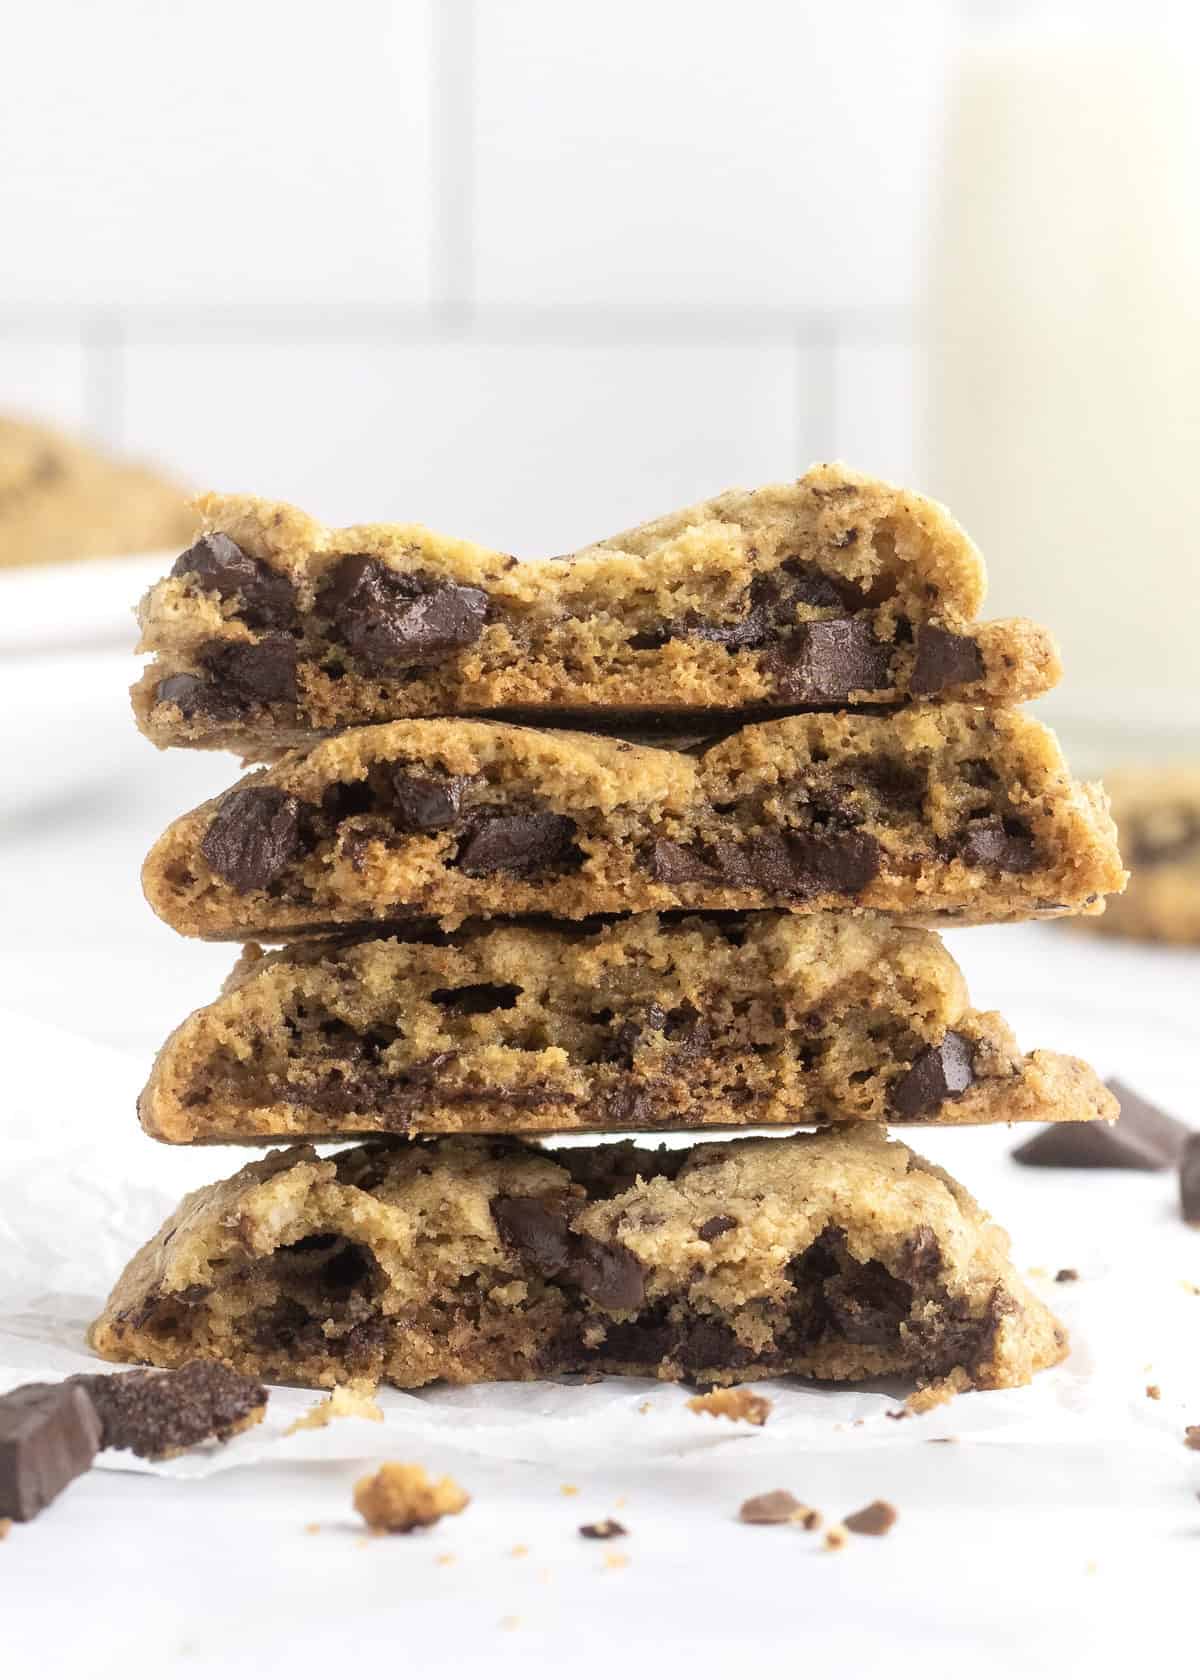
There are a few key steps and ingredients to creating these amazing cookies. First, great quality chocolate is a requirement. I chop the chocolate into uneven little chunks so they spread all throughout the dough and create these irresistible little pockets of melting chocolate in every bite!
Next up is the butter and we go to the extra effort of browning the butter so that the cookies are enhanced with a wonderful rich nutty flavor. When it comes to the eggs, a 2-to-1 ratio of yolks to whites gives the cookies a slight fudge-like texture. Also, you’re going to whip the eggs with the white sugar and vanilla in the bowl of your electric mixer until it thickens before adding the browned butter and brown sugar so it all blends nicely and bakes to the perfect taste and texture all throughout the cookie. Enough talk! Let’s bake!
How to Make My Perfect Chocolate Chip Cookies
In a light colored medium-sized saucepan over medium heat, melt the butter. Continue to cook, swirling the pan frequently, until the butter is a golden brown and gives off a nutty aroma, about 3-5 minutes. The butter will start to bubble and foam and then subside as the water evaporates and the milk solids start to turn a light brown color. Just as it starts to turn light brown and you smell that nutty aroma, remove it from the heat and pour into a bowl and refrigerate for 15 minutes.
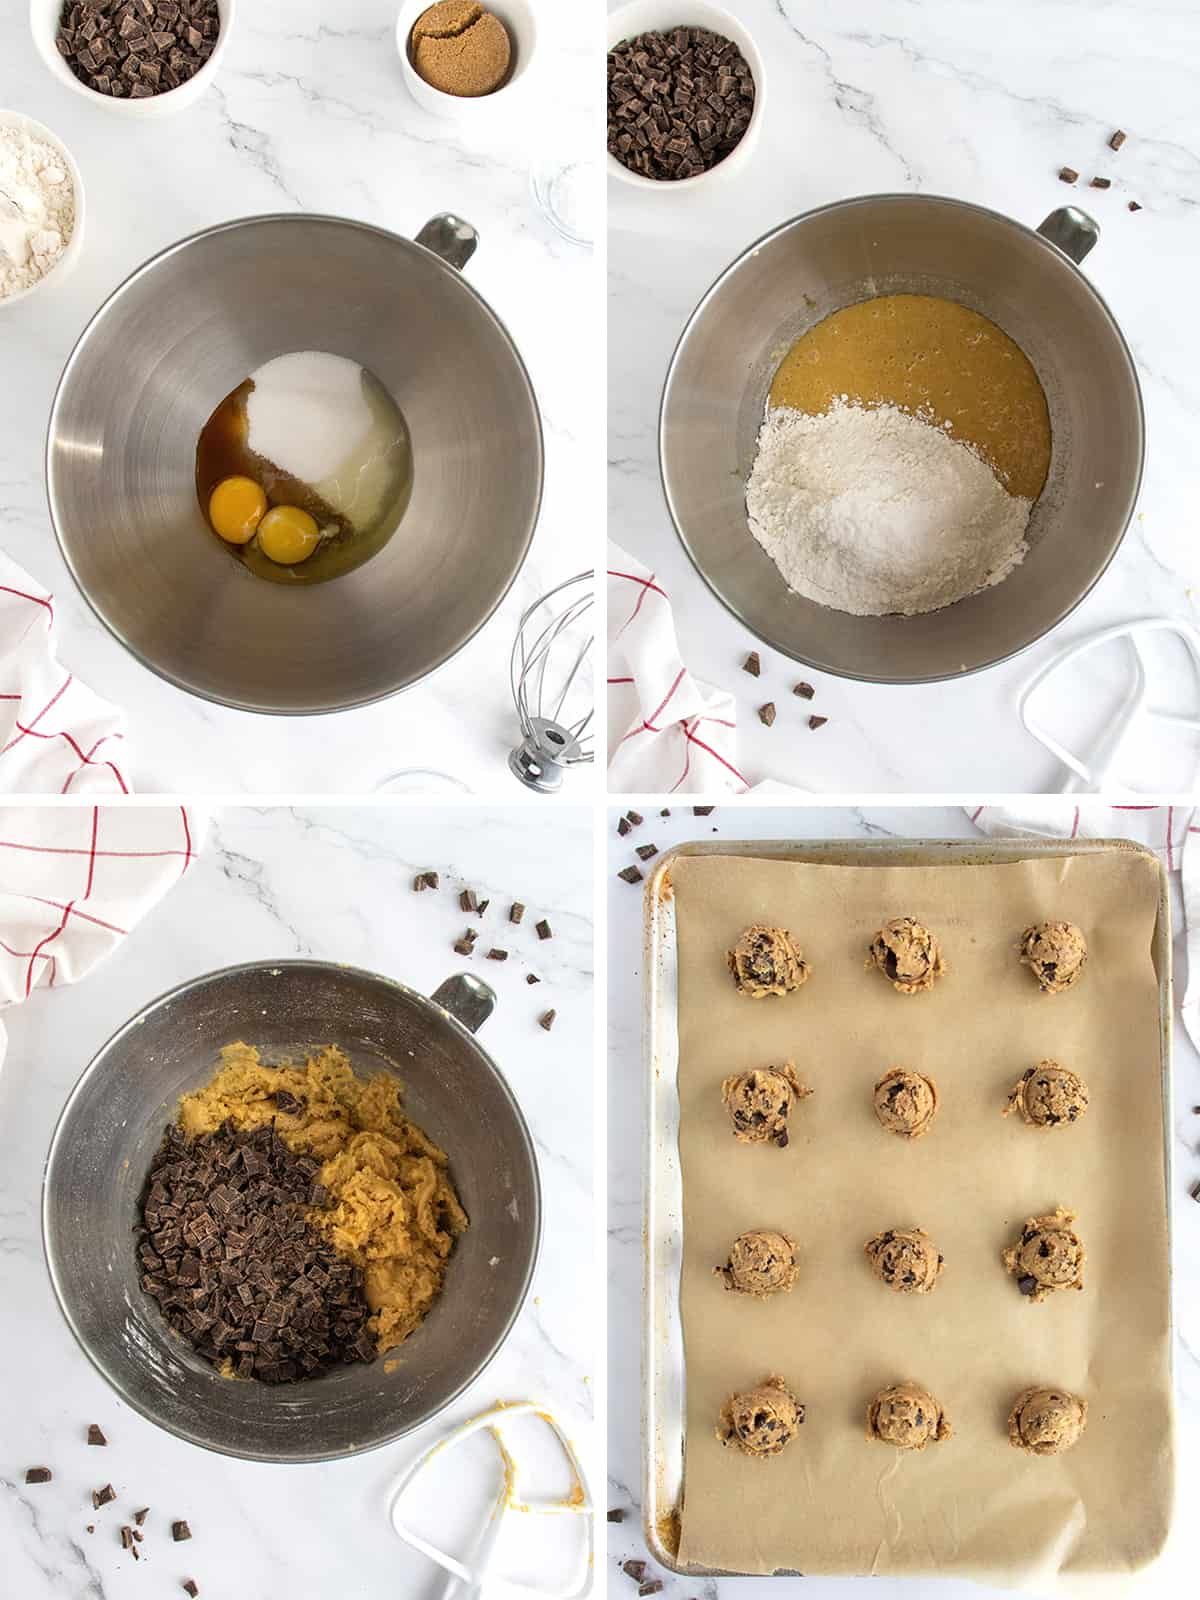
Next, place the egg, egg yolk, sugar and vanilla in the bowl of an electric mixer fitted with the whisk attachment. Beat on medium-high speed until mixture is pale yellow and starts to thicken, about 3 minutes.
Once the browned butter has cooled for 15 minutes, whisk the brown sugar into it. Add the butter mixture to the egg mixture in the bowl of the electric mixer. Whisk on medium speed for about a minute.
Replace the whisk attachment with the paddle attachment. In a separate bowl, whisk together the flour, baking soda and salt. Add to the wet ingredients in the mixer and mix on low speed until just barely combined.
Add the chocolate and mix on low speed until dough comes together and chocolate is mixed throughout.
Line two baking sheets with parchment paper. Scoop 2 tablespoon-sized portions of dough about an inch apart on the lined baking sheets. Lightly press down on the top of each one with the palm of your hand. Cover with plastic wrap and refrigerate for at least an hour.
Position baking rack on the very top shelf of your oven. Preheat oven to 325°F. Remove one cookie sheet from the refrigerator and bake on the top rack for 15-18 minutes, rotating after 10 minutes. Cookies should be crisp around the edges with some craggle and visible chew on top. Let cookies cool on the cookie sheet for 10 minutes before transferring to a wire rack to cool completely. Remove the other cookie sheet from the refrigerator and bake the same way.
Store in an airtight container. Enjoy!
More Amazing Cookie Recipes
You would never believe these chewy Flourless Oatmeal Chocolate Chip Cookies were made with no flour. Yummy yum! These S’mores Pudding Cookies are chewy cookies loaded with all the yumminess of a s’more. Mmmm-AZING!! One Cookie Dough, Seven Possible Flavors takes one deliciously perfect cookie dough base, multiplies it by seven scrumptious flavor options, and bakes up customized cookies that equal one happy crowd! It’s like delicious cookie math.

Get your bake on and enjoy every bite! Can’t wait to hear how much you love them! If you make My Perfect Chocolate Chip Cookies, be sure to snap a picture and share it with me or tag me on Instagram @thebakermama so I can see.  I love seeing how inspired and creative y’all get with the recipes I share.
Enjoy!
xoxo,


My Perfect Chocolate Chip Cookies
Prep Time: 1 hour 30 mins
Cook Time: 15 mins
Total Time: 1 hour 45 mins
Yield: 18
Category: Dessert
Description
Crispy, chewy, sweet, salty, nutty and oh so chocolatey! Cookie perfection!
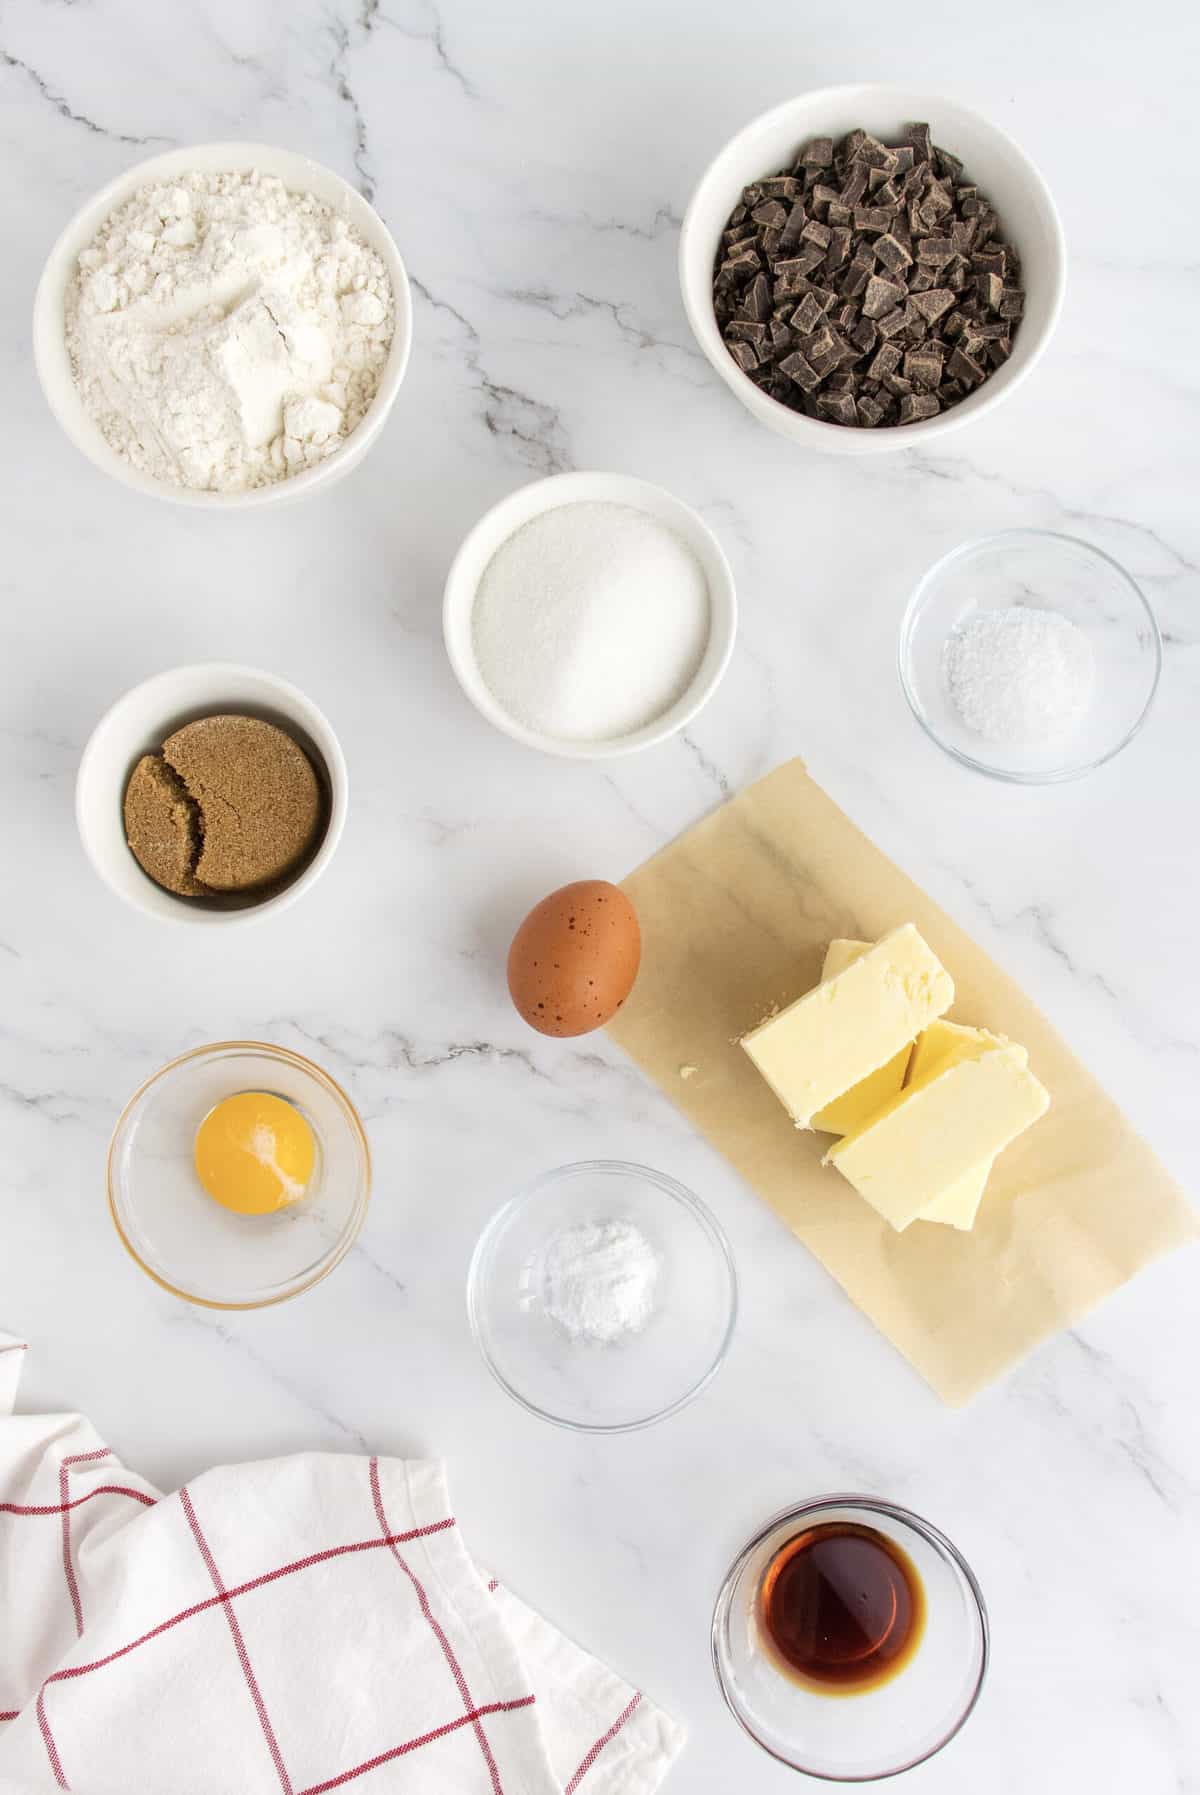
- 1 cup (2 sticks) unsalted butter
- 1 large egg
- 1 large egg yolk
- 1 cup granulated sugar
- 2 teaspoons vanilla
- 1/3 cup dark brown sugar
- 2 cups flour
- 3/4 teaspooon baking soda
- 1–1/2 teaspoons kosher salt
- 1–1/2 cups chopped semi-sweet chocolate or chocolate chips
Instructions
- In a light colored medium-sized saucepan over medium heat, melt the butter. Continue to cook, swirling the pan frequently, until the butter is a golden brown and gives off a nutty aroma, about 3-5 minutes. The butter will start to bubble and foam and then subside as the water evaporates and the milk solids start to turn a light brown color. Just as it starts to turn light brown and you smell that nutty aroma, remove it from the heat and pour into a bowl and refrigerate for 15 minutes.
- Place the egg, egg yolk, sugar and vanilla in the bowl of an electric mixer fitted with the whisk attachment. Beat on medium-high speed until mixture is pale yellow and starts to thicken, about 3 minutes.
- Once the browned butter has cooled for 15 minutes, whisk the brown sugar into it. Add the butter mixture to the egg mixture in the bowl of the electric mixer. Whisk on medium speed for about a minute.
- Replace the whisk attachment with the paddle attachment. In a separate bowl, whisk together the flour, baking soda and salt. Add to the wet ingredients in the mixer and mix on low speed until just barely combined.
- Add the chocolate and mix on low speed until dough comes together and chocolate is mixed throughout.
- Line two baking sheets with parchment paper. Scoop 2 tablespoon-sized portions of dough about an inch apart on the lined baking sheets. Lightly press down on the top of each one with the palm of your hand. Cover with plastic wrap and refrigerate for at least an hour.
- Position baking rack on the very top shelf of your oven. Preheat oven to 325°F. Remove one cookie sheet from the refrigerator and bake on the top rack for 15-18 minutes, rotating after 10 minutes. Cookies should be crisp around the edges with some craggle and visible chew on top. Let cookies cool on the cookie sheet for 10 minutes before transferring to a wire rack to cool completely. Remove the other cookie sheet from the refrigerator and bake the same way.
- Store in an airtight container. Enjoy!
Notes
You can skip the refrigeration step and the cookies will still taste great, but the refrigeration enhances the flavor and texture of the cookie so if you have the time, I would recommend it!
