
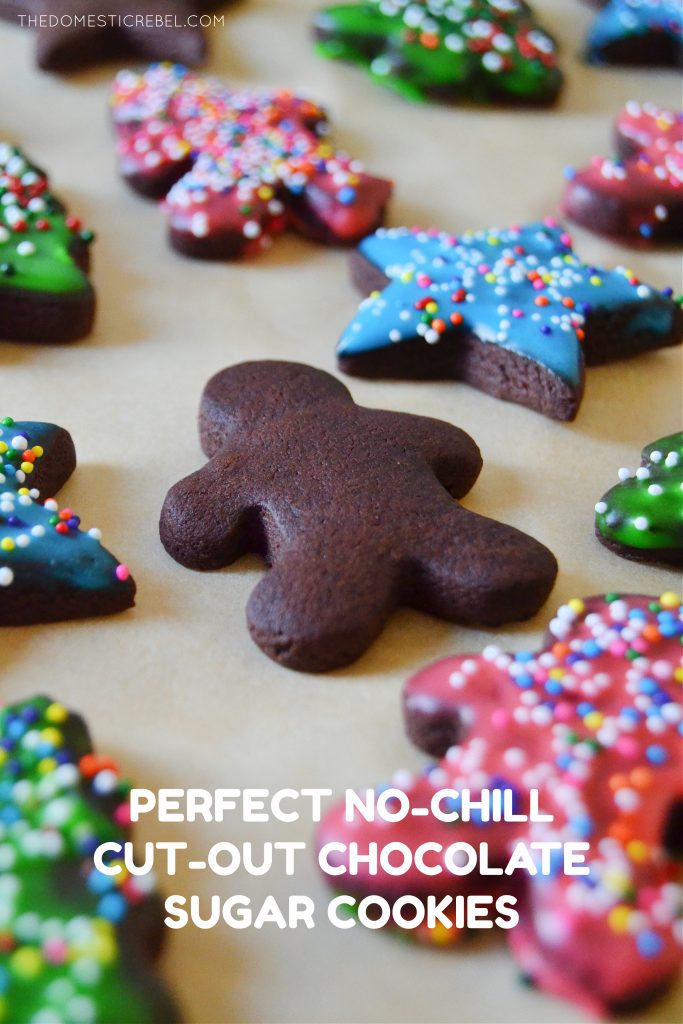
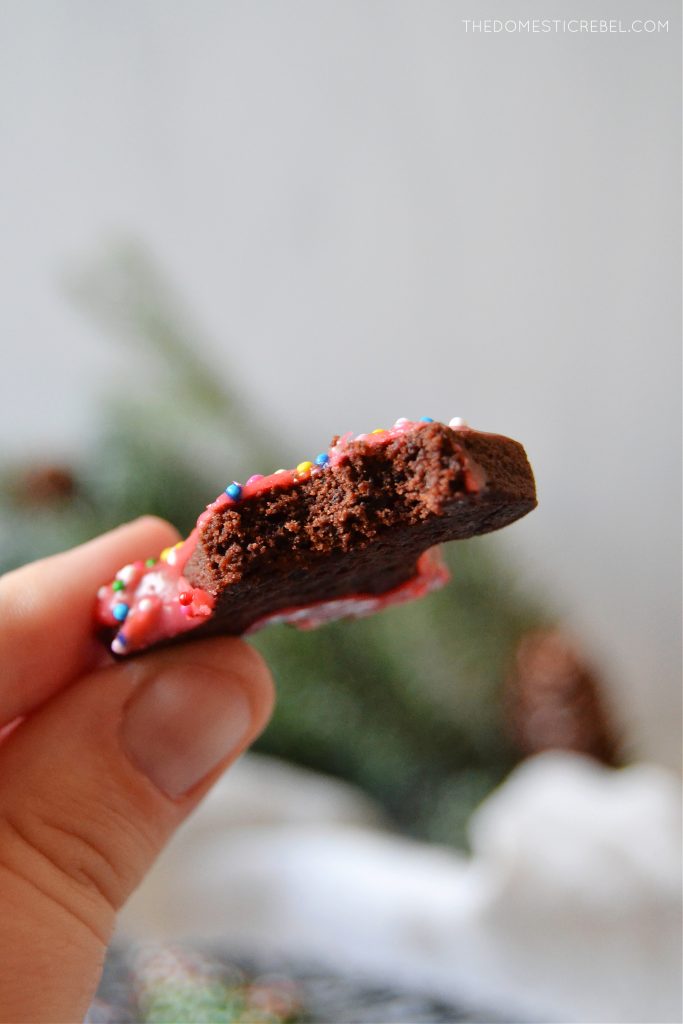
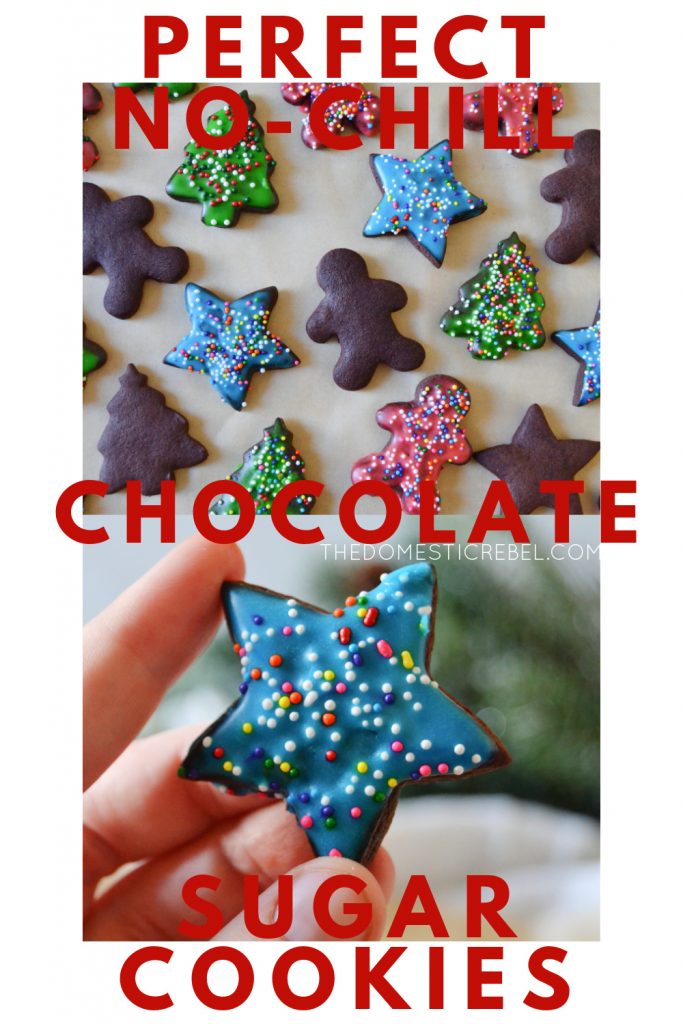
These Chocolate Cut-Out Sugar Cookies are absolutely PERFECT! They don’t require any chill time, bake up in a snap, and taste amazing! They’re great as is or topped with royal icing or my favorite royal “glaze.” Super easy and SO great to have on hand for the holidays!
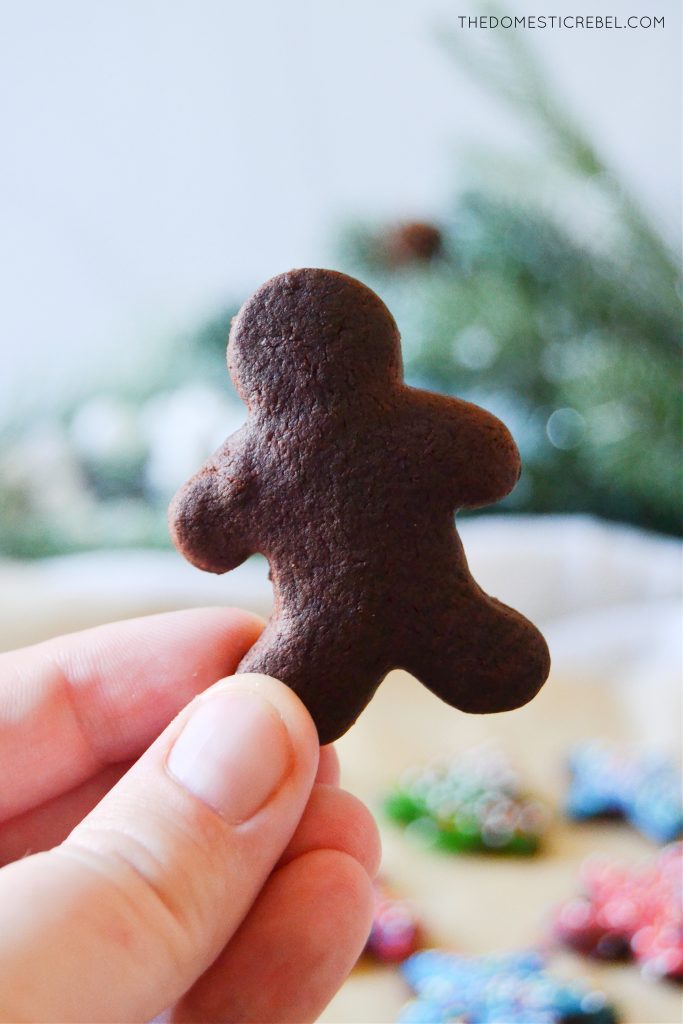
I did it! I created a chocolate sugar cookie that doesn’t suck!
Most chocolate sugar cookies leave little to the imagination. They’re dry, flavorless, spread too much, or just have too many issues and drama for a humble cookie. I mean, if I wanted issues and drama, I would watch an episode of Real Housewives. But not these cookies! They have everything and more and I promise they are all that and the whole damn bag of chips.
They’re based off of my Perfect No-Chill Cut-Out Sugar Cookie recipe that I posted last year. This sugar cookie recipe is my go-to for tried and true PERFECT sugar cookies every time. They taste amazing, don’t spread too much, don’t require chilling time and ice beautifully. Plus, they package well, make a ton and are just all around fantastic. This chocolate version is the same except, of course, chocolaty!
The Cookies
The cookies themselves are made with a few simple ingredients you probably have on hand, including:
- Butter, for flavor and to hold things together
- Confectioners’ sugar: the sugar we’re using in the recipe and to keep the cookies really light and tender
- Egg: to bind things together and add some moisture and chewy texture
- Pure vanilla extract: for flavor, obviously!
- Unsweetened cocoa powder: for the chocolaty flavor!
- Baking powder: to help the cookies bake beautifully
- All-purpose flour: to hold the dough together
- Salt: to balance the sweetness and flavors
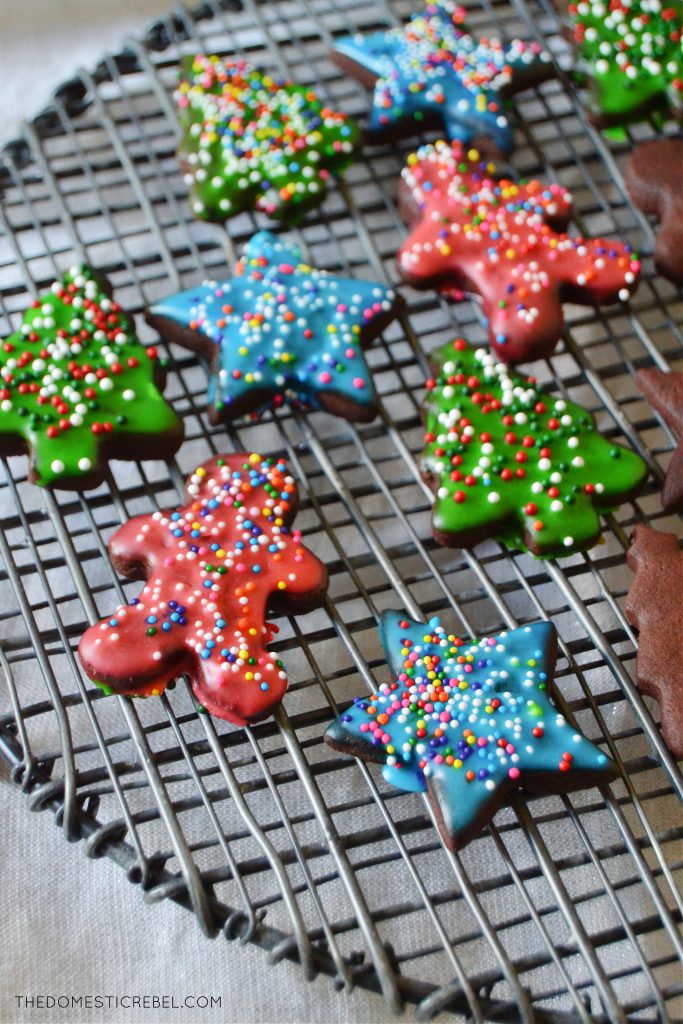
See? Super easy. You’ll mix up the cookie dough and roll it out about 1/4″ thickness, then cut into shapes using your favorite cutters. Note that I used miniature cookie cutters here which means I yielded a lot more cookies. I like using mini cookie cutters because you get more and they are less likely to spread when they’re small. Think about it: the larger the cookie, the longer it has to bake and the bigger the surface area is. When it spends more time in the oven taking longer to cook, it tends to spread more. Smaller cookies spread less. It’s science, people! ? Just keep this in mind when selecting your cutter size that size can make a difference in how your cookie ultimately spreads and bakes, and the quantity you’ll yield.
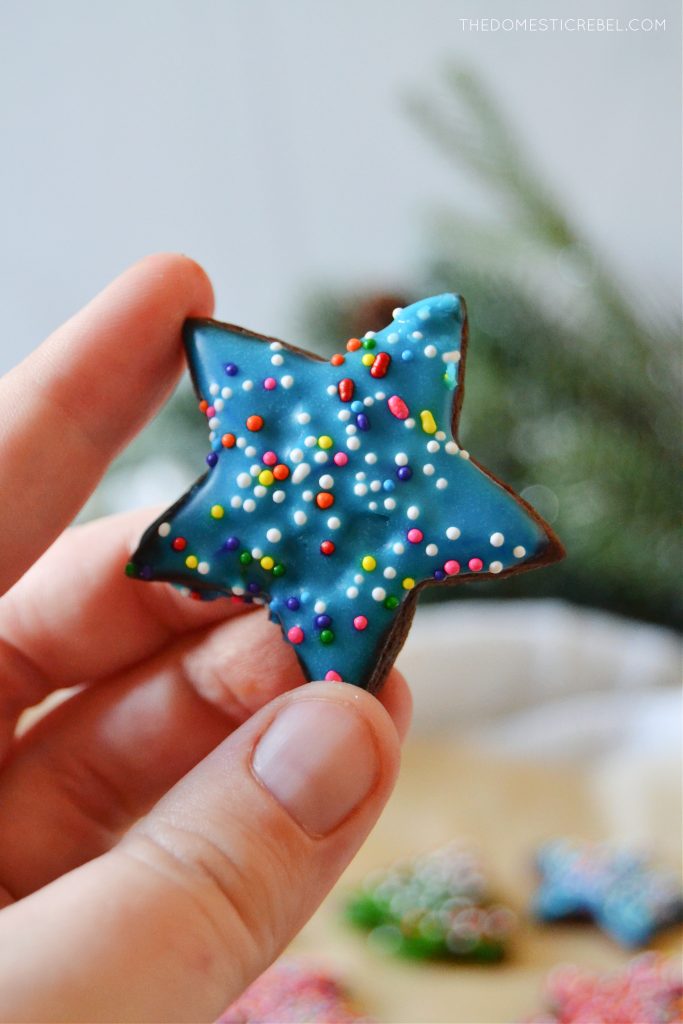
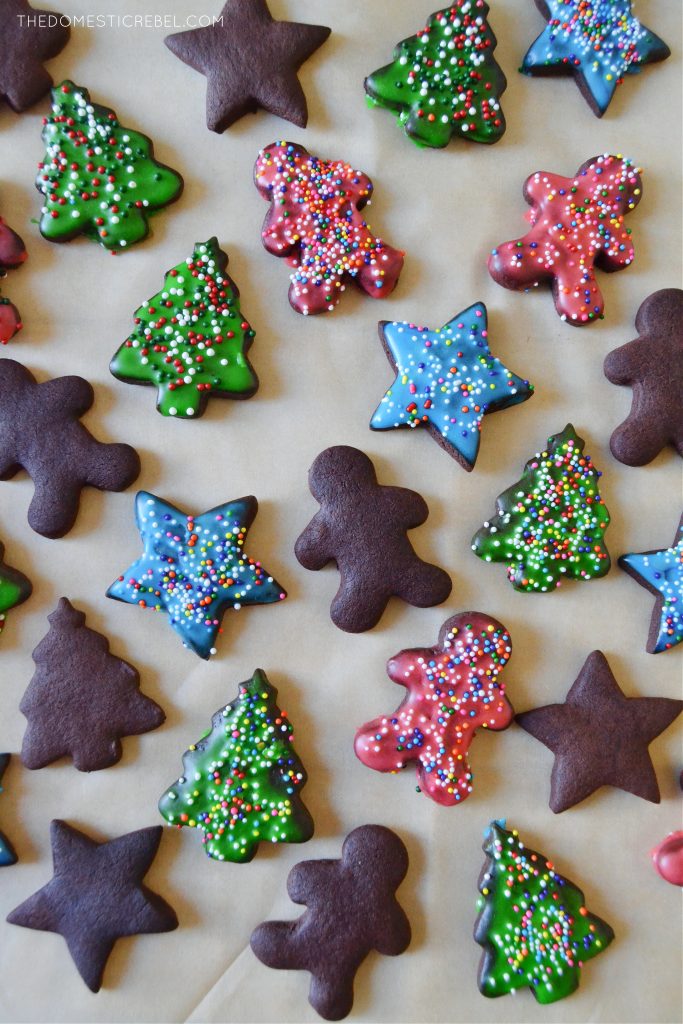
Lastly, we’ll top these with my favorite royal icing “glaze.” Traditional royal icings are stiff and complicated. You have to pipe, flood, wait – it’s too much drama. This glaze works like a royal icing without the hassle. Just whisk it up, dip the cookies in the glaze, allow the excess to drip off, and voila! Super easy. It even hardens like a royal icing so the cookies can be stored, packed or stacked.
Chocolaty, sweet, soft and perfect Chocolate N0-Chill Cut-Out Sugar Cookies! Welcome to your new favorite cookie!
*adapted from my Perfect No-Chill Cut-Out Sugar Cookies recipe
No-Chill Chocolate Cut-Out Sugar Cookies
These No-Chill Chocolate Cut-Out Sugar Cookies are PERFECT for the holidays or any time of year, really! They yield soft, perfectly shaped cookies with no need to chill and a delightful chocolate flavor for a fun twist on a classic sugar cookie. Don’t skip on the royal icing “glaze” recipe either!
Ingredients
For the Cookies:
- 1 cup (2 sticks) unsalted butter, softened
- 1½ cups confectioners’ sugar
- 1 large egg
- 2 tsp pure vanilla extract
- 3/4 cup unsweetened cocoa powder I like Ghirardelli
- 2 tsp baking powder
- 1/2 tsp salt
- 2¼ cups all-purpose flour
For the Royal “Glaze”:
- 1/4 cup warm water
- 1 Tbsp light corn syrup
- 1/4 tsp pure vanilla extract
- 3 cups confectioners’ sugar
- Liquid or gel food coloring, if using
- Sprinkles, if desired
Instructions
-
Preheat oven to 400° degrees F. Line 2 baking sheets with parchment paper or silicone liners. Set aside.
-
In the bowl of a stand mixer, cream together the softened butter and confectioners’ sugar with the paddle attachment until light and fluffy, about 2 minutes. Add in the egg and beat well, followed by the vanilla extract. Scrape down the bottom and sides of the bowl if needed. Add in the cocoa powder, baking powder, salt, and flour and mix on low speed until just combined and a soft dough comes together.
-
Dust a flat work surface with cocoa powder. I like using cocoa powder instead of flour so it doesn’t tint your beautiful brown dough white. Roll out half of the dough using a rolling pin until the dough is about 1/4″ thick.
-
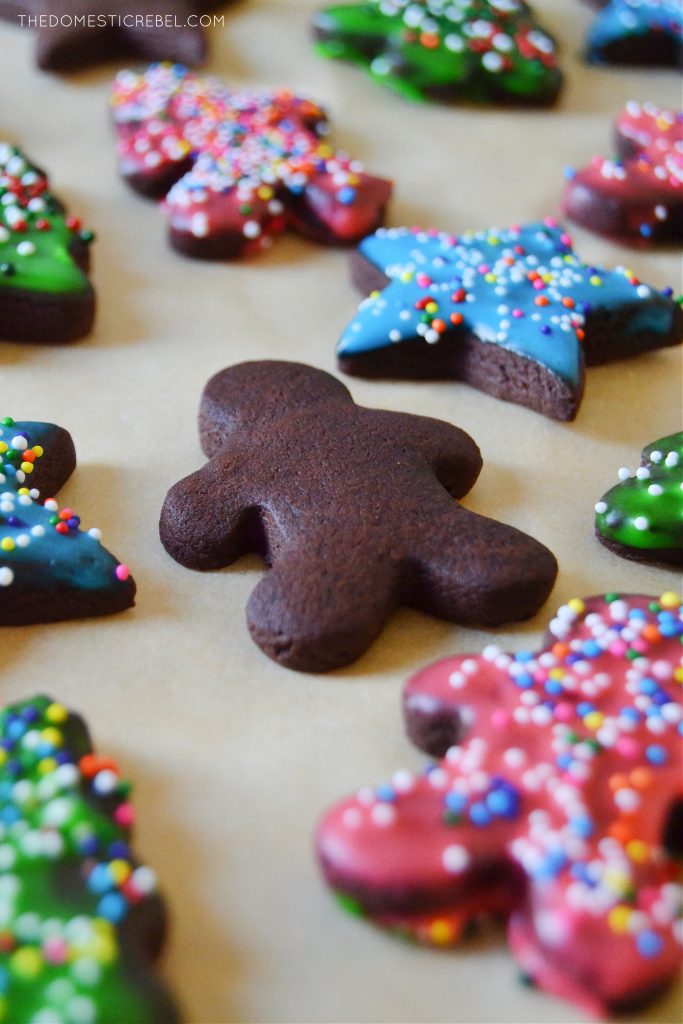
Use cookie cutters (I like using small 1-1½” ones) to cut out your favorite shapes and place them on the prepared baking sheets about 1″ apart from one another. Reroll the dough and cut more shapes until all the dough has been used.
-
For miniature cookies about 1-2″ in size, bake for 7-9 minutes, rotating pans halfway through baking time. My mini cookies baked at exactly 7:30. For larger cookies, about 2-3″ in size, bake for about 8-11 minutes, rotating pans halfway through baking time to ensure even cooking. Allow cookies to cool on the sheets about 10 minutes before transferring to a wire rack to cool completely.
-
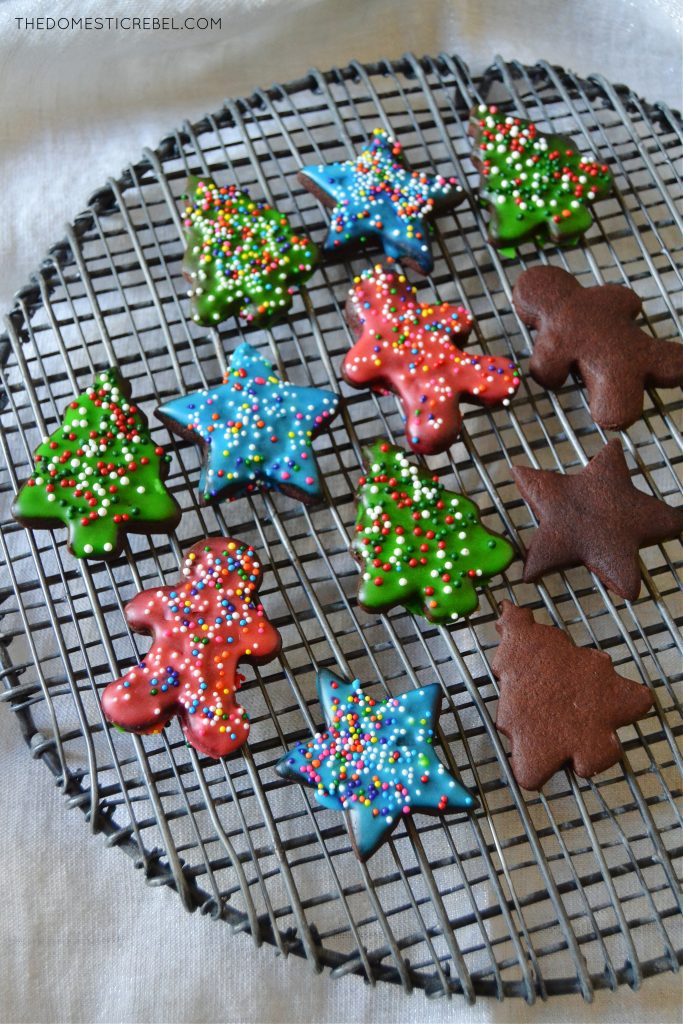
For the royal glaze: In a medium bowl, whisk together the warm water, corn syrup, vanilla extract and confectioners’ sugar until glossy and smooth. Divide among bowls and tint with food coloring, if desired. Dip each cookie, one at a time, face down into the glaze and allow excess glaze to drip off. Place back onto the wire rack and immediately garnish with sprinkles, if using. Allow glaze to set and harden before packing or storing the cookies.
Notes
Keep in mind that the larger size cookie cutter you use, the more prone to spreading you’ll have. The larger the cookie, the more time it spends in a hot oven = more time to spread. For this reason, I like using cookie cutters in the 1″-2″ range. This keeps the baking time minimal and their likelihood of spreading minimal as well!
These will soon become a new family favorite!
Have a super sweet day!
xo, Hayley
