Making fluffy, delicious whole wheat bread at home is easier than you think! This small batch whole wheat bread recipe is the ticket. It can be made in a KitchenAid or Bosch mixer or by hand!
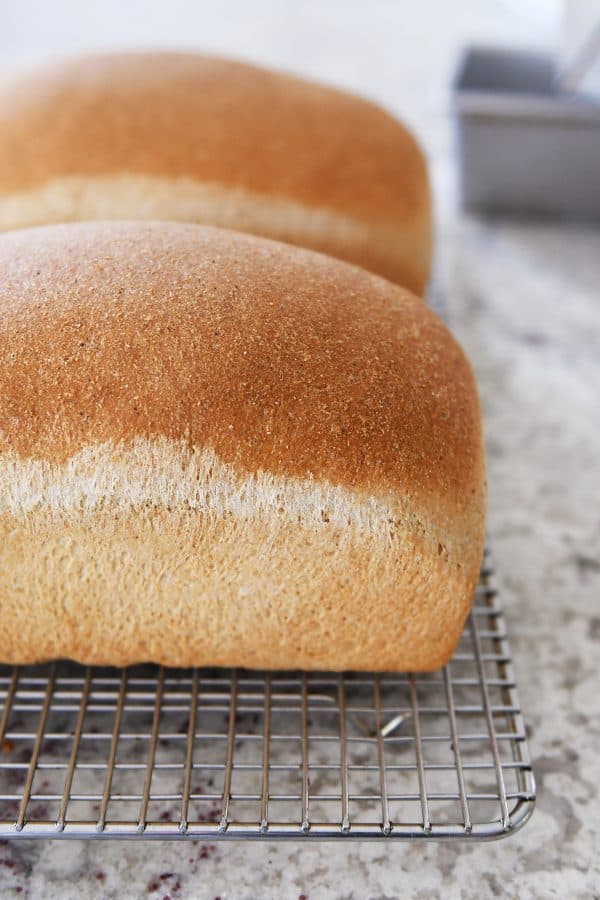
If you are new to making whole wheat bread at home or you want a recipe that doesn’t yield 13 loaves, today’s your day.
I’m walking you through how to make a smaller batch of whole wheat bread. It’s so easy. And it yields fluffy, soft, and delicious bread (yep, even with 100% whole wheat flour!).
I’ll be honest, my phase of life (with five hungry kids) isn’t conducive to small batch anything. Large batches are where its at with me and mine, especially with bread because the extra loaves freeze beautifully to be pulled out at a moment’s notice.
BUT, I also recognize not everyone’s life mirrors the chaos of my own. Many of you want to bake fewer loaves of bread at a time…either because of household numbers OR because you are mixing the dough by hand or with a KitchenAid mixer.
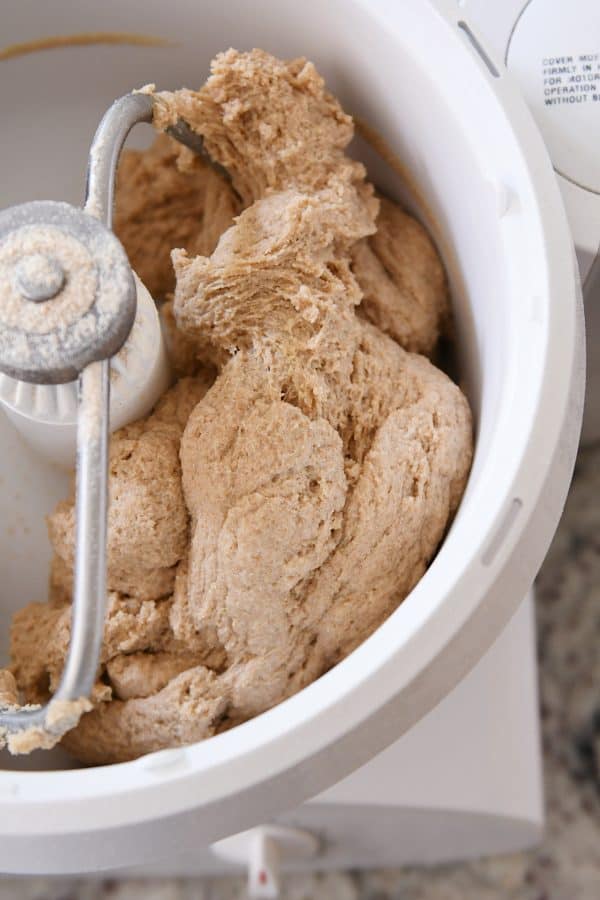
I almost always use my Bosch Universal stand mixer {aff. link} to make bread. It’s huge. It’s powerful. And it’s perfect for large batches of bread.
But many of you over the years have written/commented to me that you want a recipe for a smaller batch of bread that works great in a KitchenAid mixer.
“Small batch” may mean different things to different people, but the recipe I’m sharing today is small batch in my book. It produces two perfect loaves of whole wheat bread.
I’m showing you the step-by-step of this small batch whole wheat bread recipe below.
But first, here’s a look at some past posts that might be helpful before we start:
The Best Whole Wheat Bread Recipe (this post has the original whole wheat bread recipe that I make most and what this small batch recipe is modified from; the full recipe yields 5-6 loaves and is best made in a heavy-duty mixer like a Bosch Universal – it’s too much dough for a standard KitchenAid)
Step-by-Step Tutorial for Whole Wheat Bread (a quick-glance picture tutorial for making the bread recipe linked above)
Bosch vs. KitchenAid (an in-depth look at these two stand mixers with some insight into why I use the Bosch for bread recipes; the comments on that post are helpful, too)
Wheat 101: Where to Buy, Different Types of Wheat, Etc. (quick overview – I almost always use hard white wheat berries and I grind them at home; if you are using storebought wheat flour, look for white wheat flour for a lighter color/textured loaf, otherwise hard red wheat flour can be used…the loaf will be darker in color and possibly a bit more dense)
Wheat Grinding 101: All About Wheat Grinders (I have a KoMo Wolfgang grain mill that I keep on my counter 24/7 and use for grinding wheat; these Harvest mills are a less expensive/great starter option)
For the purposes of this tutorial, I am using my KitchenAid mixer, but this recipe can also be easily made in a Bosch stand mixer or by hand. {I have the Costco version of this KitchenAid mixer; I haven’t tested this recipe with other KitchenAid models.}
To start, add three cups whole wheat flour, 1 1/2 tablespoons yeast, and 1/4 cup vital wheat gluten* to the bowl of the mixer fitted with the dough hook.
*Quick note about the vital wheat gluten – this ingredient helps develop the gluten in bread and will also help yield a nice, fluffy loaf (fyi: gluten can also be subbed for a tablespoon or so of each cup of all-purpose flour in white bread as a sub to using bread flour). Vital wheat gluten is often found in the baking aisle at the grocery store (near the flour). Many brands of vital wheat gluten have Vitamin C added which is just fine to use in this recipe or other bread recipes. I usually buy my gluten from Amazon – the Bob’s Red Mill brand or the Honeyville brand {aff. links}.
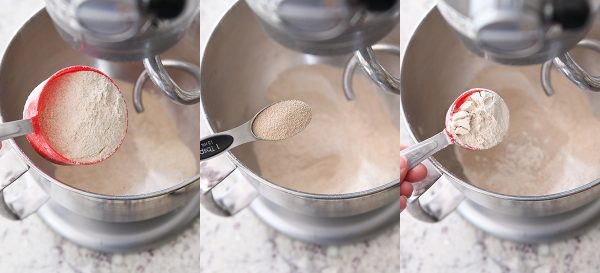
Mix the dry ingredients together and add 2 3/4 cups warm water.
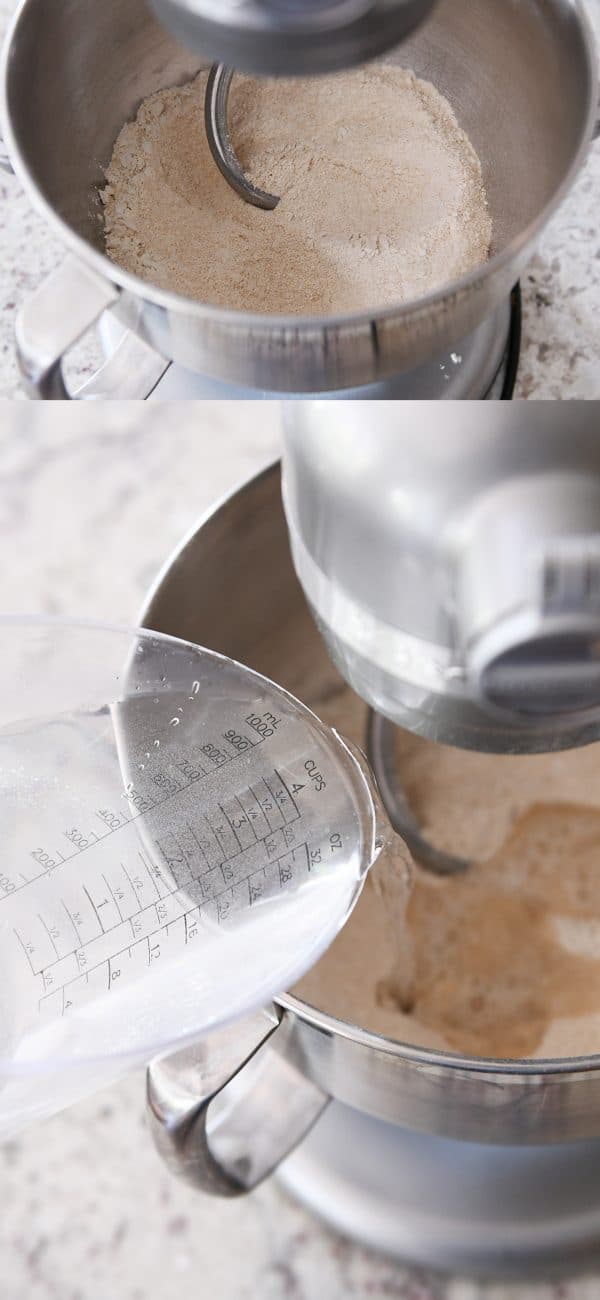
Start mixing on low speed. I find with the KitchenAid that I need to use a rubber spatula to scrape the sides and bottom at this point in the recipe when the mixture is very wet.
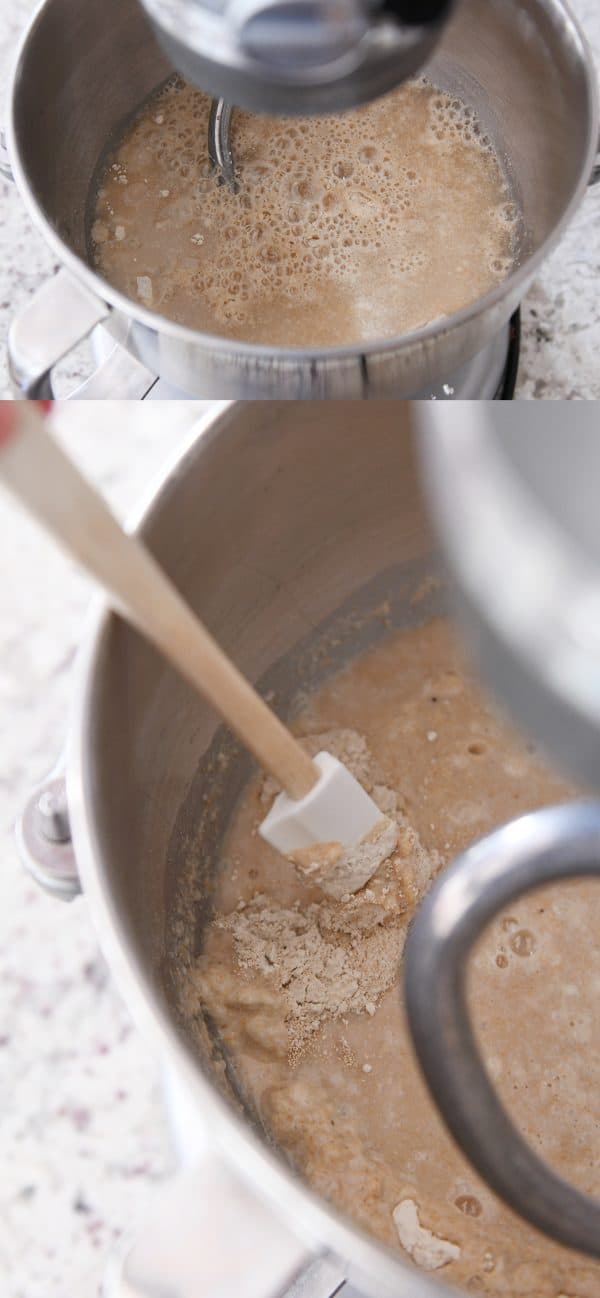
Let this “sponge” mixture rest for 10-12 minutes until it is slightly puffy – some little bubbles may form at the surface.
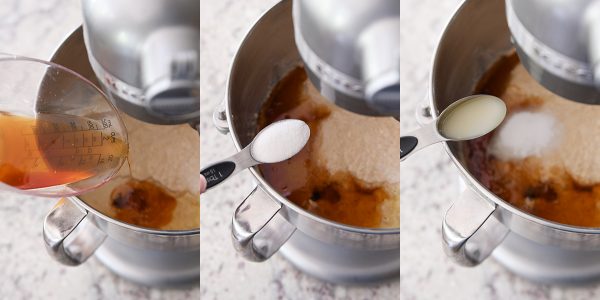
Add 1/3 cup oil, 1/3 cup honey, 1 tablespoon salt and 1 tablespoon lemon juice, bottled or fresh (you can sub in a finely crushed 1000mg tablet of vitamin c instead of the lemon juice; one or the other is needed to help activate the gluten).
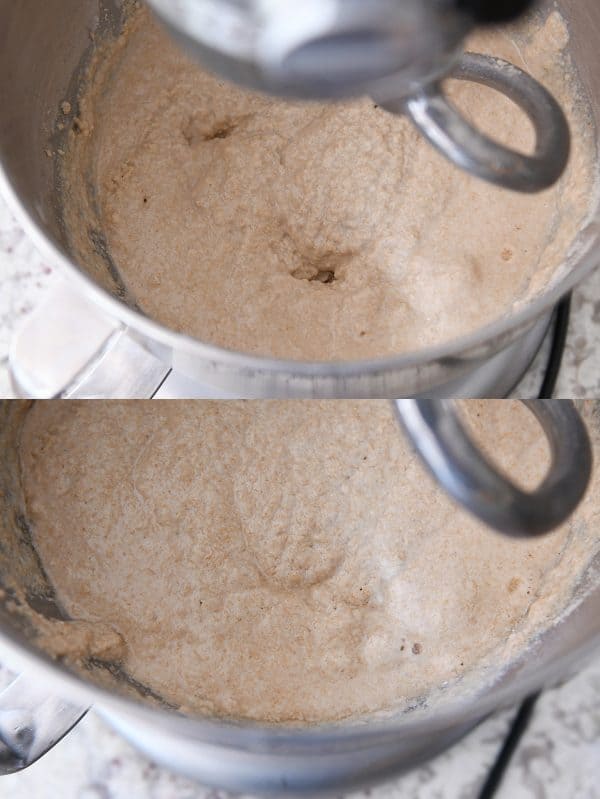
Mix on low speed with the dough hook and then with the mixer continuing to run, begin adding flour gradually to the mixer.
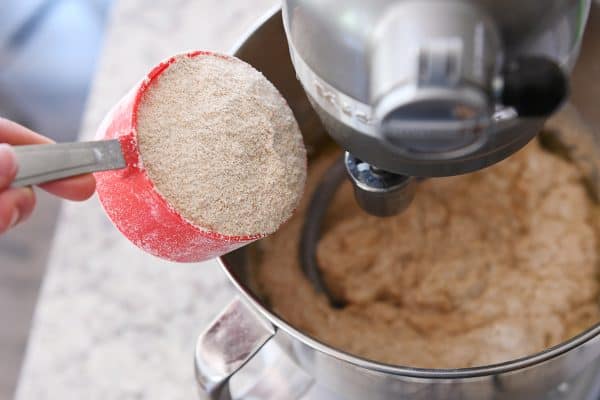
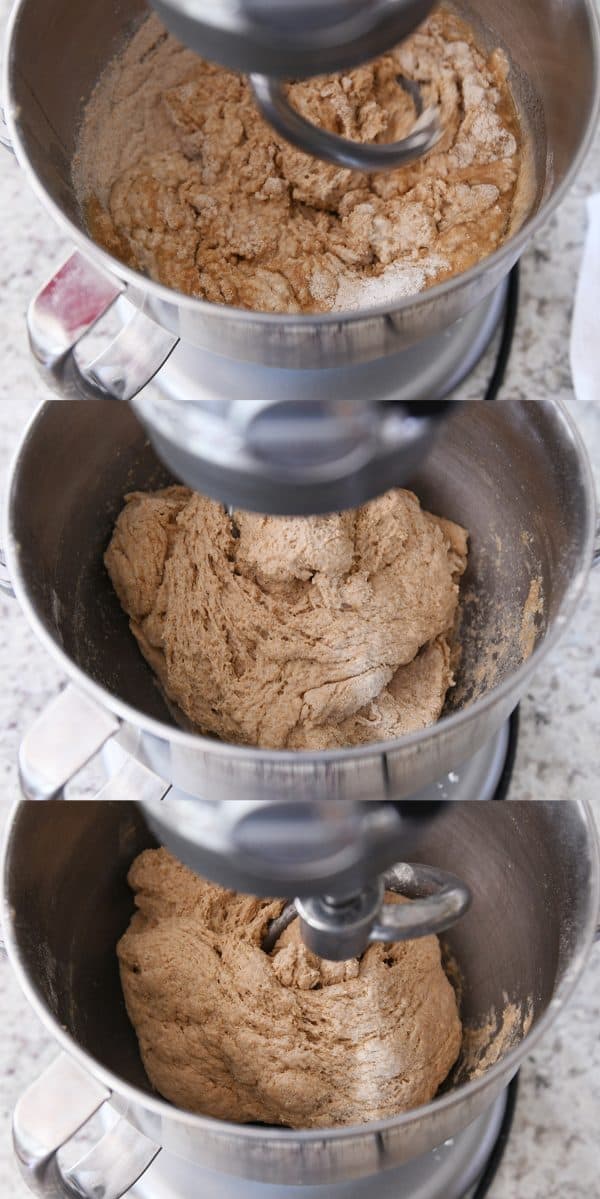
It’s going to be a shaggy mess for a while, but eventually it will start coming together. Continue adding flour until the dough pulls away from the sides of the bowl without leaving a lot of sticky residue. Be careful not to add too much flour at first; as the dough kneads the moisture in the dough will continue absorbing more flour.
If there continues to be a lot of stickiness, it’s ok to keep adding flour (even if you are several minutes into what you thought was the final kneading process).
I add about 2-3 cups. Don’t get hung up on the exact amount of flour needed; it will vary from person to person based on a lot of bread making factors like humidity, elevation, how we each measure flour, etc.
Let the dough knead on speed 1 or 2 for 6-7 minutes until it is soft and smooth.
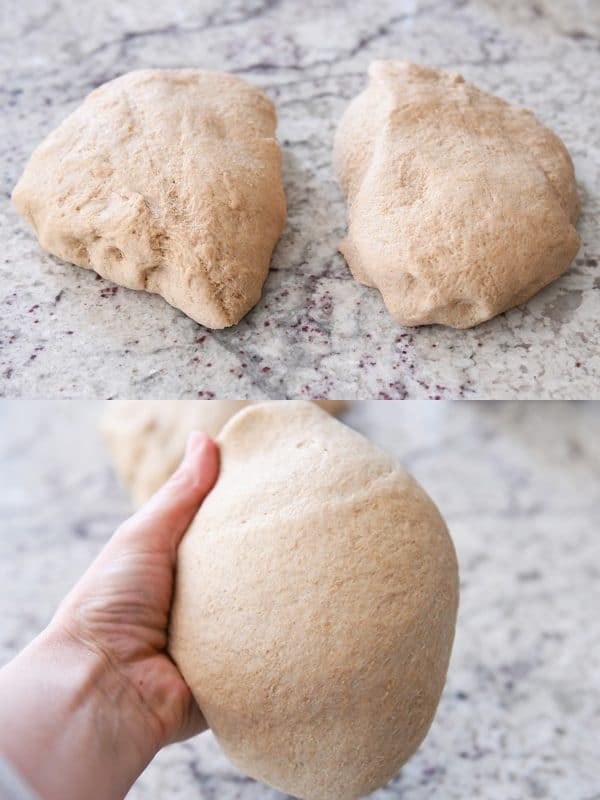
Turn the dough onto a lightly greased counter and split into two even pieces. Form into an even, taught loaf shape and place in lightly greased 8 1/2-X 4 1/2-inch bread pans.Here’s a video I posted several years ago to demonstrate how I shape loaves of bread before baking. Skip to :52 if you don’t want to hear me blabbing at the beginning.
FYI: my favorite bread pans after all these years are still these Chicago Metallic pans and also these USA bread pans {aff. links} (love the USA ones maybe even more than the Chicago ones; although keep an eye on baking as the bread bakes a little faster…but more evenly…in them).
Let the dough rise, covered, in a warm, draft-free spot until it is 1-2 inches above the edge of the bread pan. I use these large, white, tea towels {aff. link} for covering the dough (I use them when making rolls and all other breads, too).
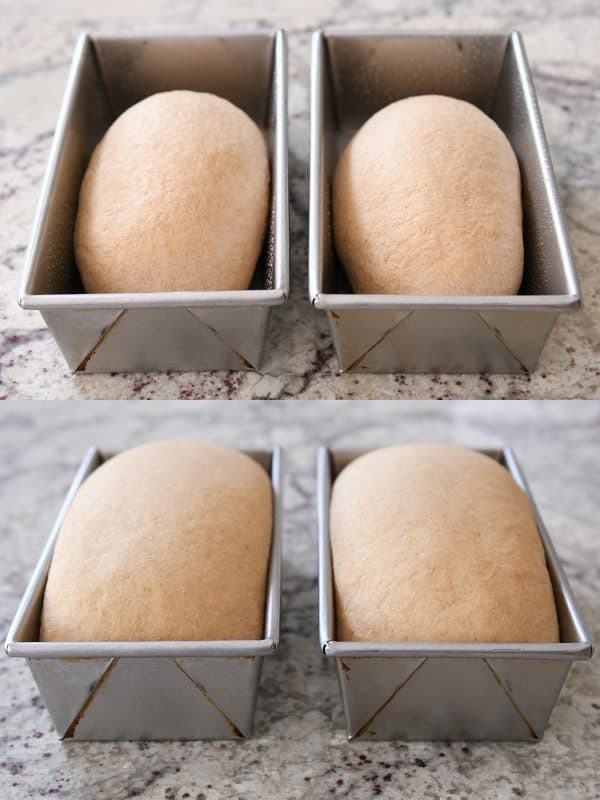
Bake in a 350 degree F preheated oven for 28-32 minutes until golden and baked through (an instant-read thermometer should register about 180-190 degrees if you are into taking the bread’s temp).
Turn the bread out onto a wire rack.
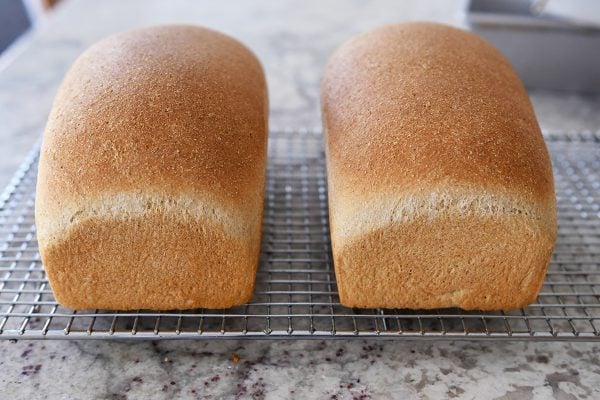
Don’t forget to slather the top with butter at this point while the bread is still warm, if so desired, and let the bread cool.
This bread freezes great! I pop the cooled loaves into one of these bread bags {aff. link} and freeze until we want to eat it all up.
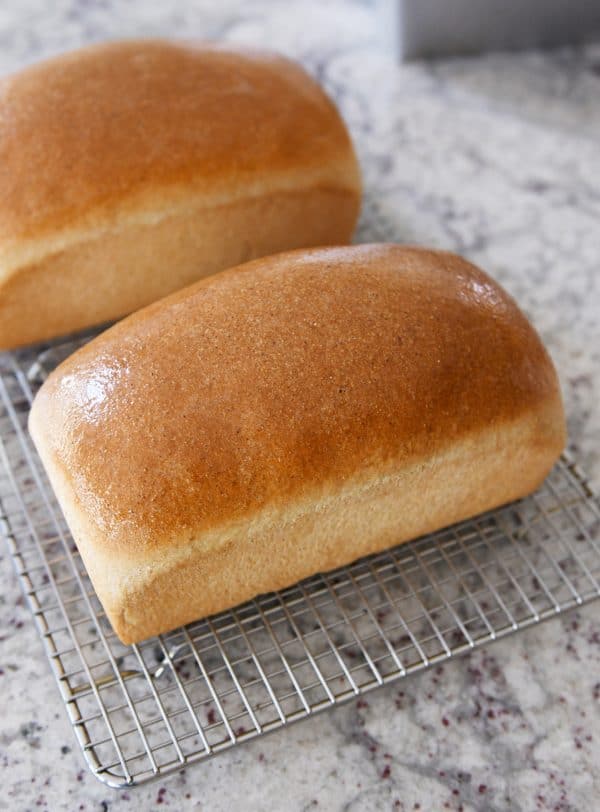
There you go! Making two loaves of whole wheat bread is doable and dare I say, quite easy!I hope this recipe fits the bill for those of you that don’t need 5+ loaves of bread hanging around at a given time and/or you have a smaller capacity mixer (like a KitchenAid) and therefore need the perfect small batch whole wheat bread recipe for it.
Happy bread making!
One Year Ago: Pumpkin Cream Cheese Muffins
Two Years Ago: Double Chocolate Chunk Muffins
Three Years Ago: White Bean Chicken Chili
Four Years Ago: Classic Slow Cooker Chili
Five Years Ago: White Texas Sheet Cake
Yield: 2 loaves
Perfect Whole Wheat Bread {Small Batch; Two Loaves}

Ingredients:
- 5-6 cups whole wheat flour (I prefer white whole wheat vs red whole wheat)
- 1 1/2 tablespoons instant yeast
- 1/4 cup vital wheat gluten (see note)
- 2 3/4 cups warm water
- 1 tablespoon lemon juice (bottled or fresh)
- 1/3 cup oil
- 1/3 cup honey
- 1 tablespoon salt
Directions:
- In the bowl of a stand mixer fitted with the dough hook, mix together 3 cups of the whole wheat flour, yeast, and gluten. Add the warm water and mix well. Cover the bowl and let the mixture rest for 10-12 minutes.
- Add the lemon juice, oil, honey, and salt. Mix on low speed.
- With the mixer running on low speed, continue adding flour 1/2 cup at a time until the dough pulls away from the sides of the bowl (don’t overflour! A little stickiness is ok as long as the dough forms a ball and doesn’t leave a lot of residue on your fingers).
- Let the mixer knead the dough for 5-6 minutes until the dough is soft and smooth.
- Turn the dough onto a lightly greased counter and divide in half. Shape each half into a taut loaf and place in a lightly greased loaf pan (8 1/2- X 4 1/2-inches).
- Cover the loaf pans and let the loaves rise until they are 1-2 inches above the edge of the loaf pan.
- Preheat the oven to 350 degrees F. Make sure an oven rack is in the middle/center position. Bake the loaves for 28-32 minutes until golden and baked through (an instant-read thermometer should register 180-190 degrees in the center of the loaf).
- Turn the bread onto a wire rack. Brush the tops with butter, if desired. Let cool completely.
Notes:
This bread recipe does not require the dough to rise before being shaped into loaves and letting the loaves rise in the bread pans. However, if you find your bread is a little dense after baking and cooling, letting the dough rise after kneading may help with that, as well as making sure the dough isn’t overfloured.
Vital wheat gluten is often found in the baking aisle at the grocery store (near the flour). Many brands of vital wheat gluten have Vitamin C added; those are ok to use in this recipe. I usually buy my gluten from Amazon – the Bob’s Red Mill brand or the Honeyville brand {aff. links}.
All images and text ©.
Follow @melskitchencafe on Instagram and show me the recipes you are making from my blog using the hashtag #melskitchencafe. I love seeing all the goodness you are whipping up in your kitchens!
Recipe Source: adapted from my favorite whole wheat bread recipe (thanks to Julie, a MKC reader, and her sister-in-law, Becky, who were the first to tell me they’d trimmed down this recipe)
Disclaimer: I am a participant in the Amazon Services LLC Associates Program, an affiliate advertising program designed to provide a means for me to earn fees by linking to Amazon.com and affiliated sites.

