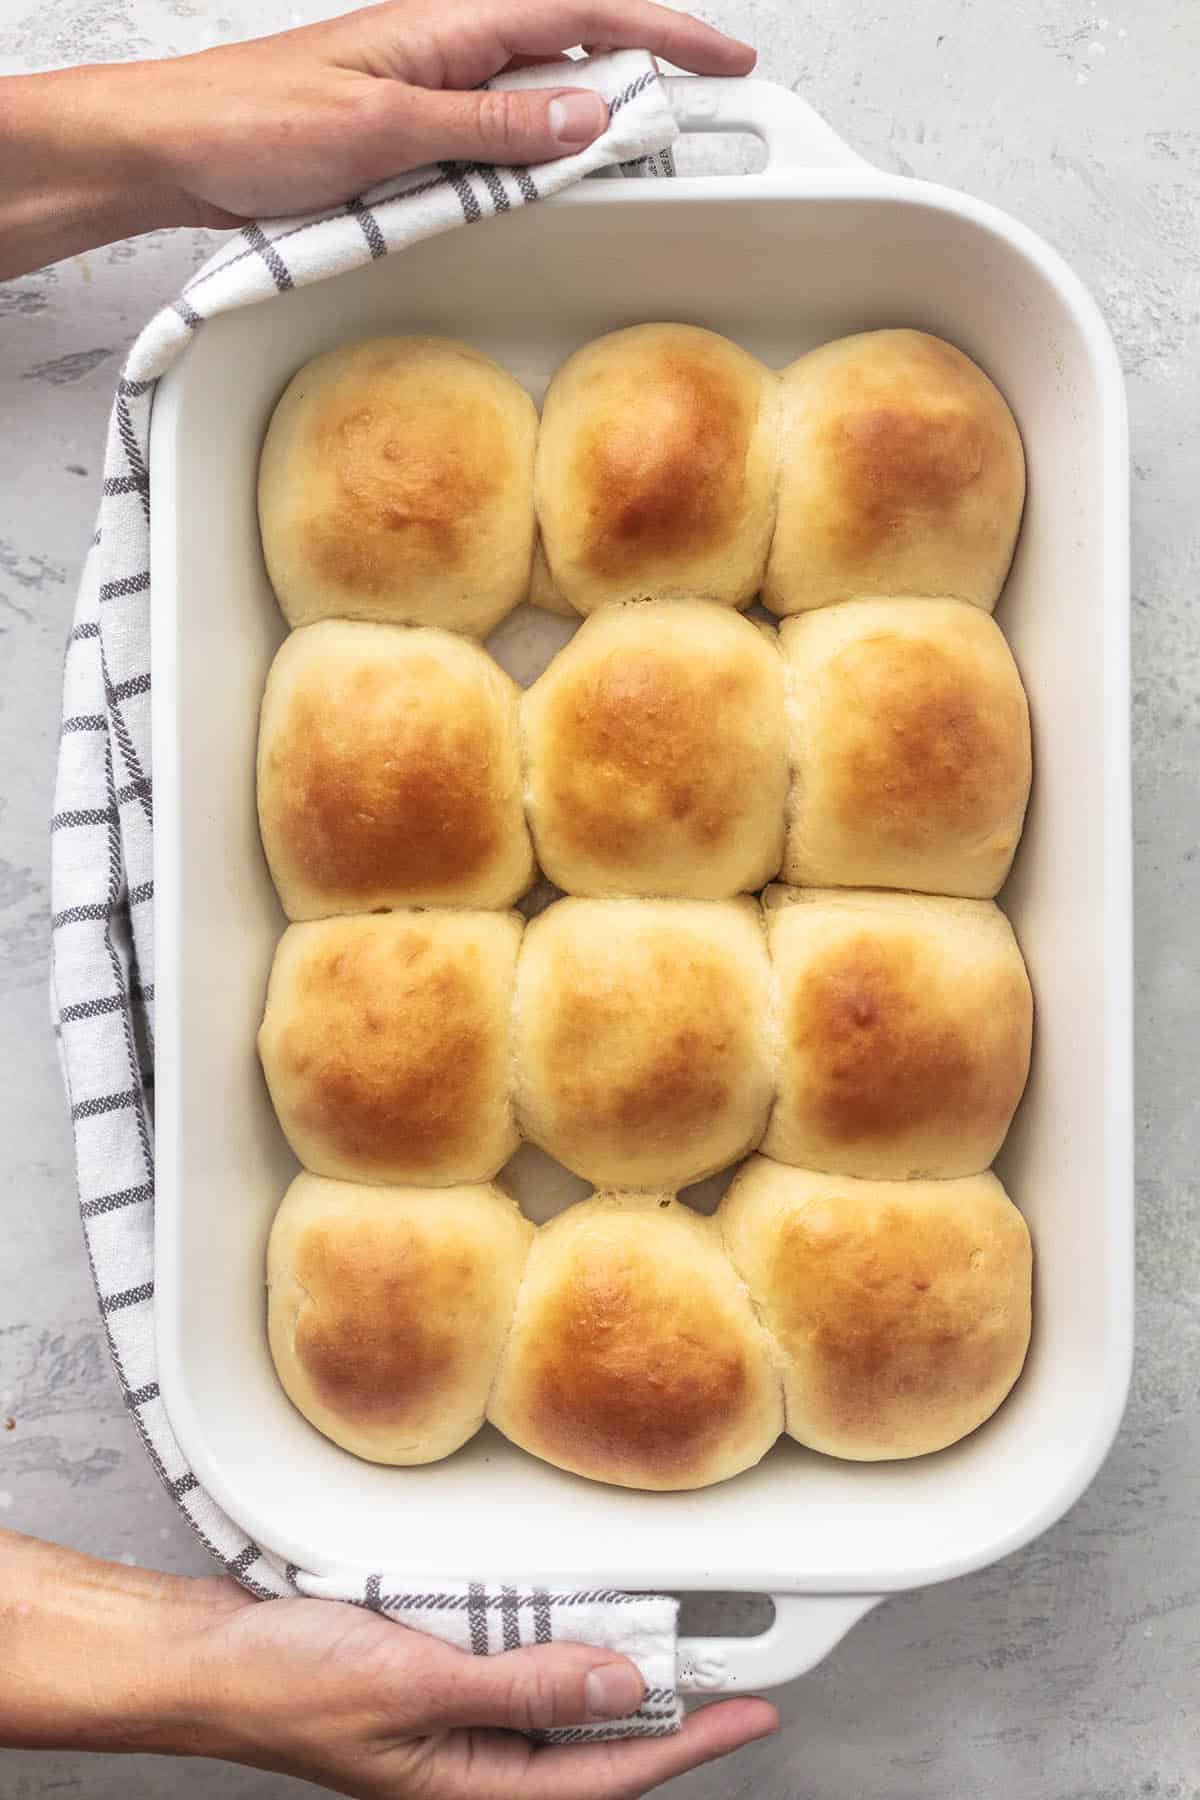
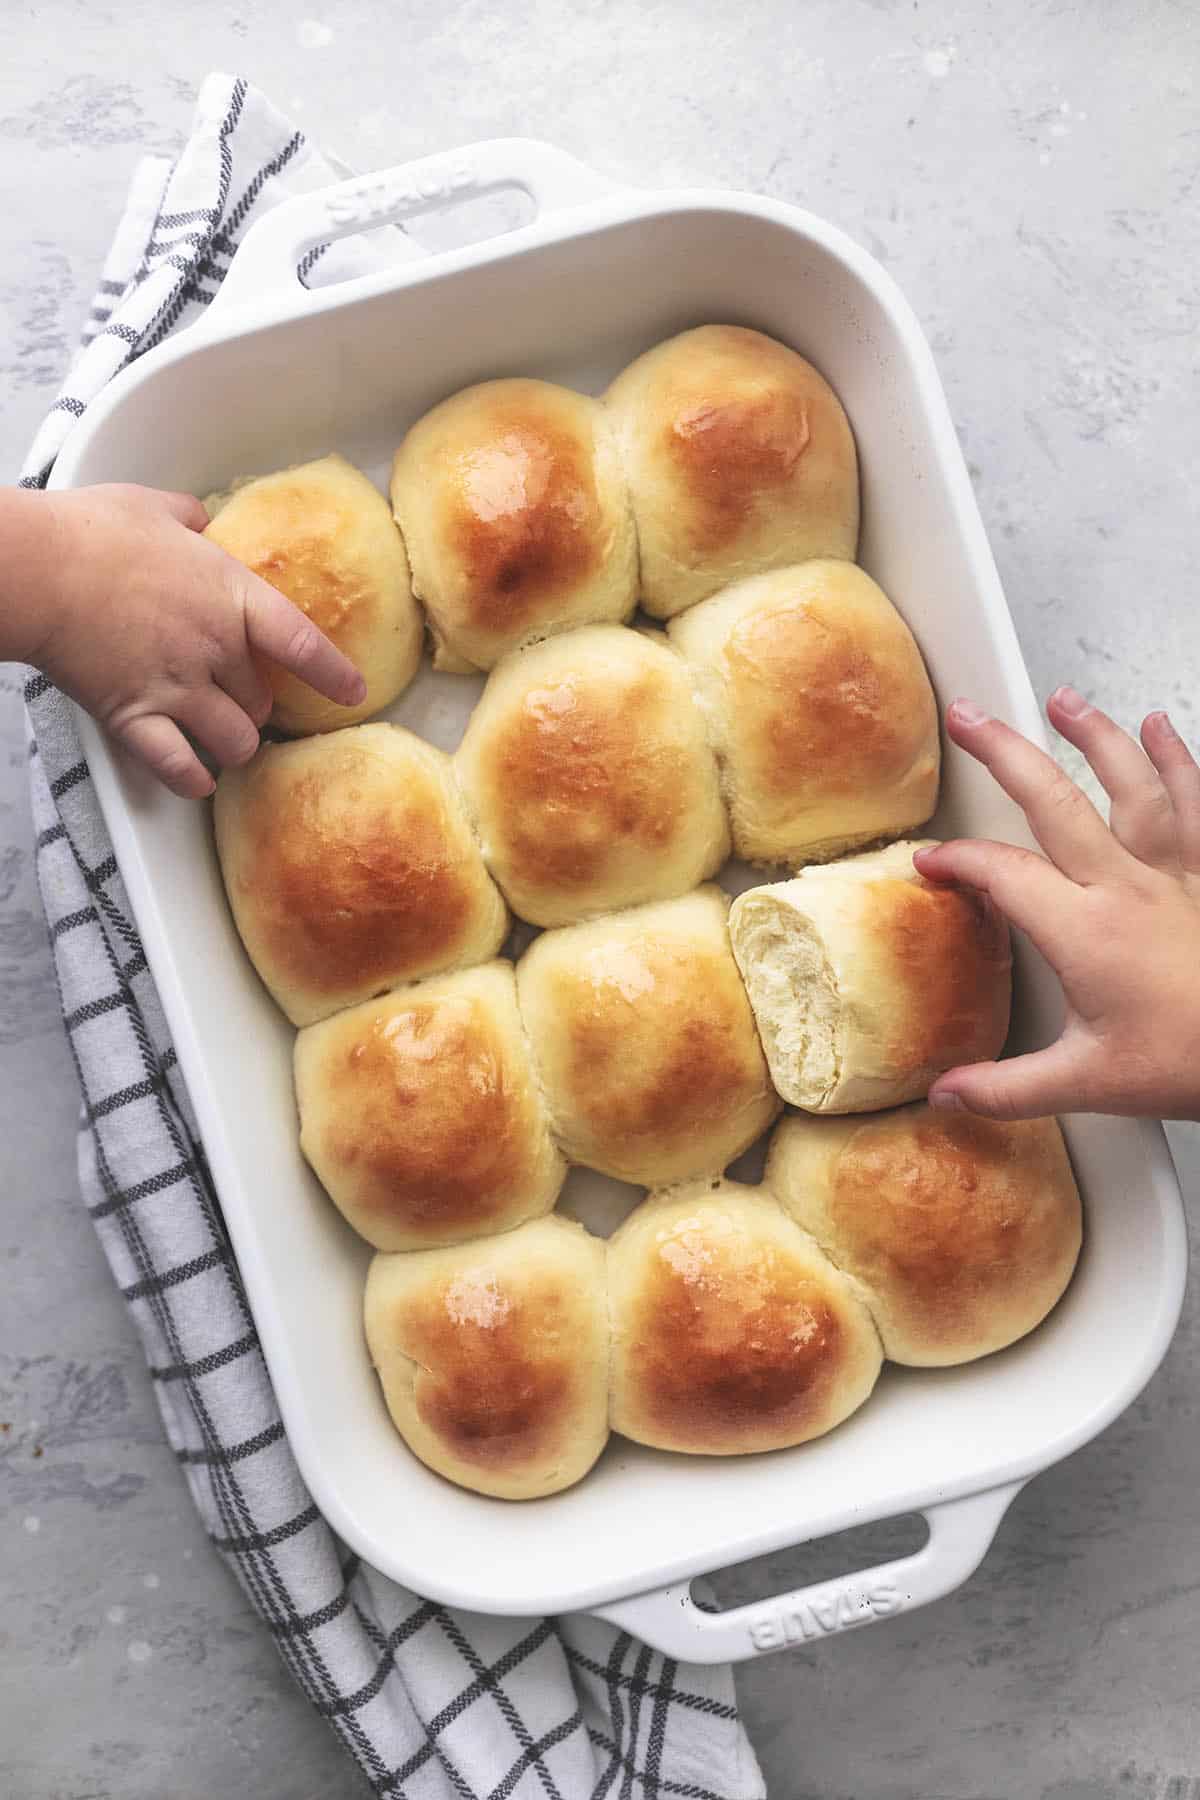
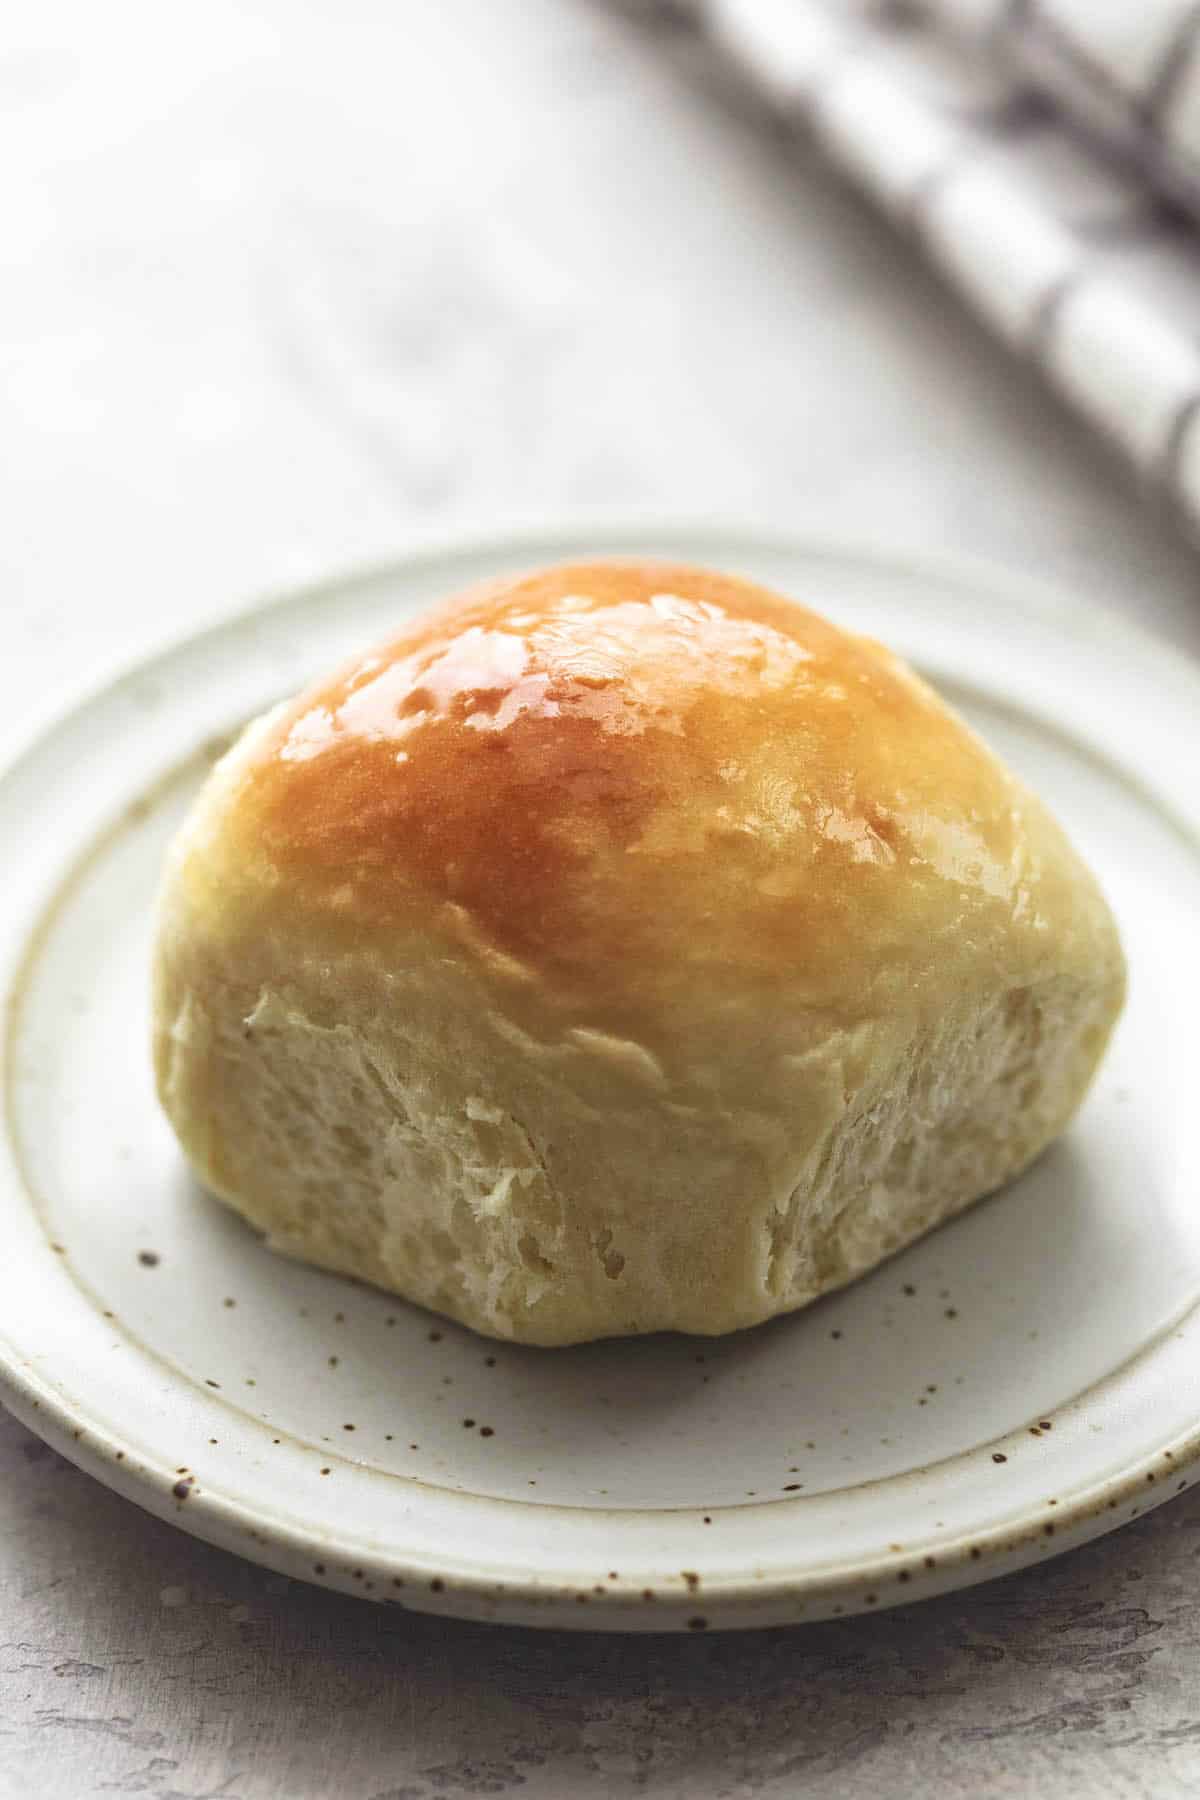
These homemade buttermilk dinner rolls simply cannot be beat! So soft and fluffy with the teensiest hint of tangy buttermilk, and baked and ready to eat with a big pat of butter or jam in just one hour!
For more homemade dinner bread ideas, check out my popular posts for Potato Rolls, Parker House Dinner Rolls, and Olive Garden breadsticks.

This post is in partnership with Fleischmann’s Yeast. All opinions are my own.
I cannot believe the holidays are here already! Any occasion where I can combine family and food together is always bound to be magical.
Take baking, for example. I grew up eating my mom’s bread and rolls that she made with buttermilk because she insisted that buttermilk makes the fluffiest, softest rolls and biscuits. She was not wrong!
Now I continue this tradition by making my own crowd-favorite buttermilk dinner rolls. They are so perfectly warm and soft, plus so super easy to make even my kids jump in on the fun and bring us all together in the kitchen for the making of, and eating of, these incredible dinner rolls. I love that I grew up helping my own mother make rolls like these in the kitchen during the holidays, and now I get to pass down this tradition with my own kids.
Why This Recipe Works
I could go on forever, but these are the top reasons I love this recipe…and you will too!
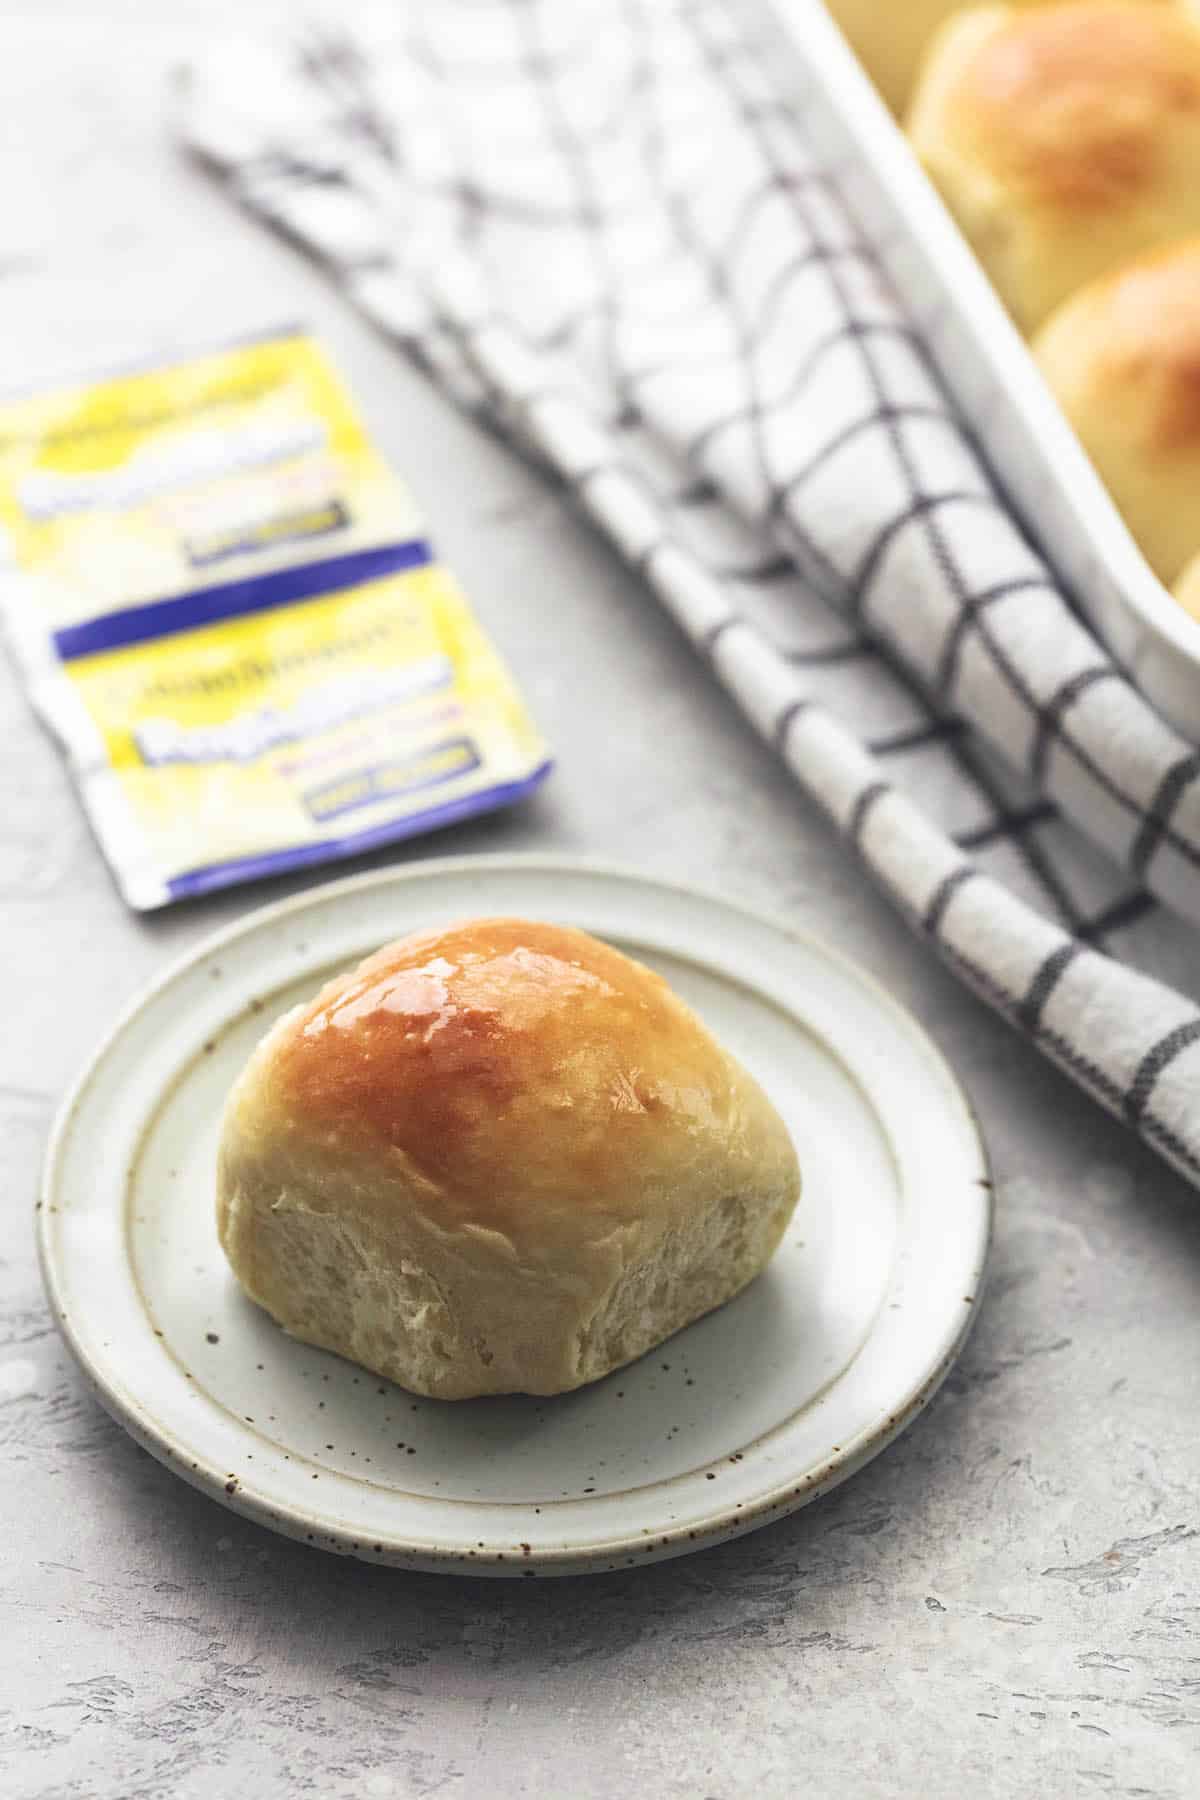
Fast — Really fast. It doesn’t get much better than homemade dinner rolls in just 45 minutes! Thanks to Fleischmann’s RapidRise® Yeast, you only have one quick rise time before popping these beauties in the oven.
Pantry staples — butter, flour, buttermilk, Fleischmann’s RapidRise® yeast, honey, salt, egg — that’s IT! 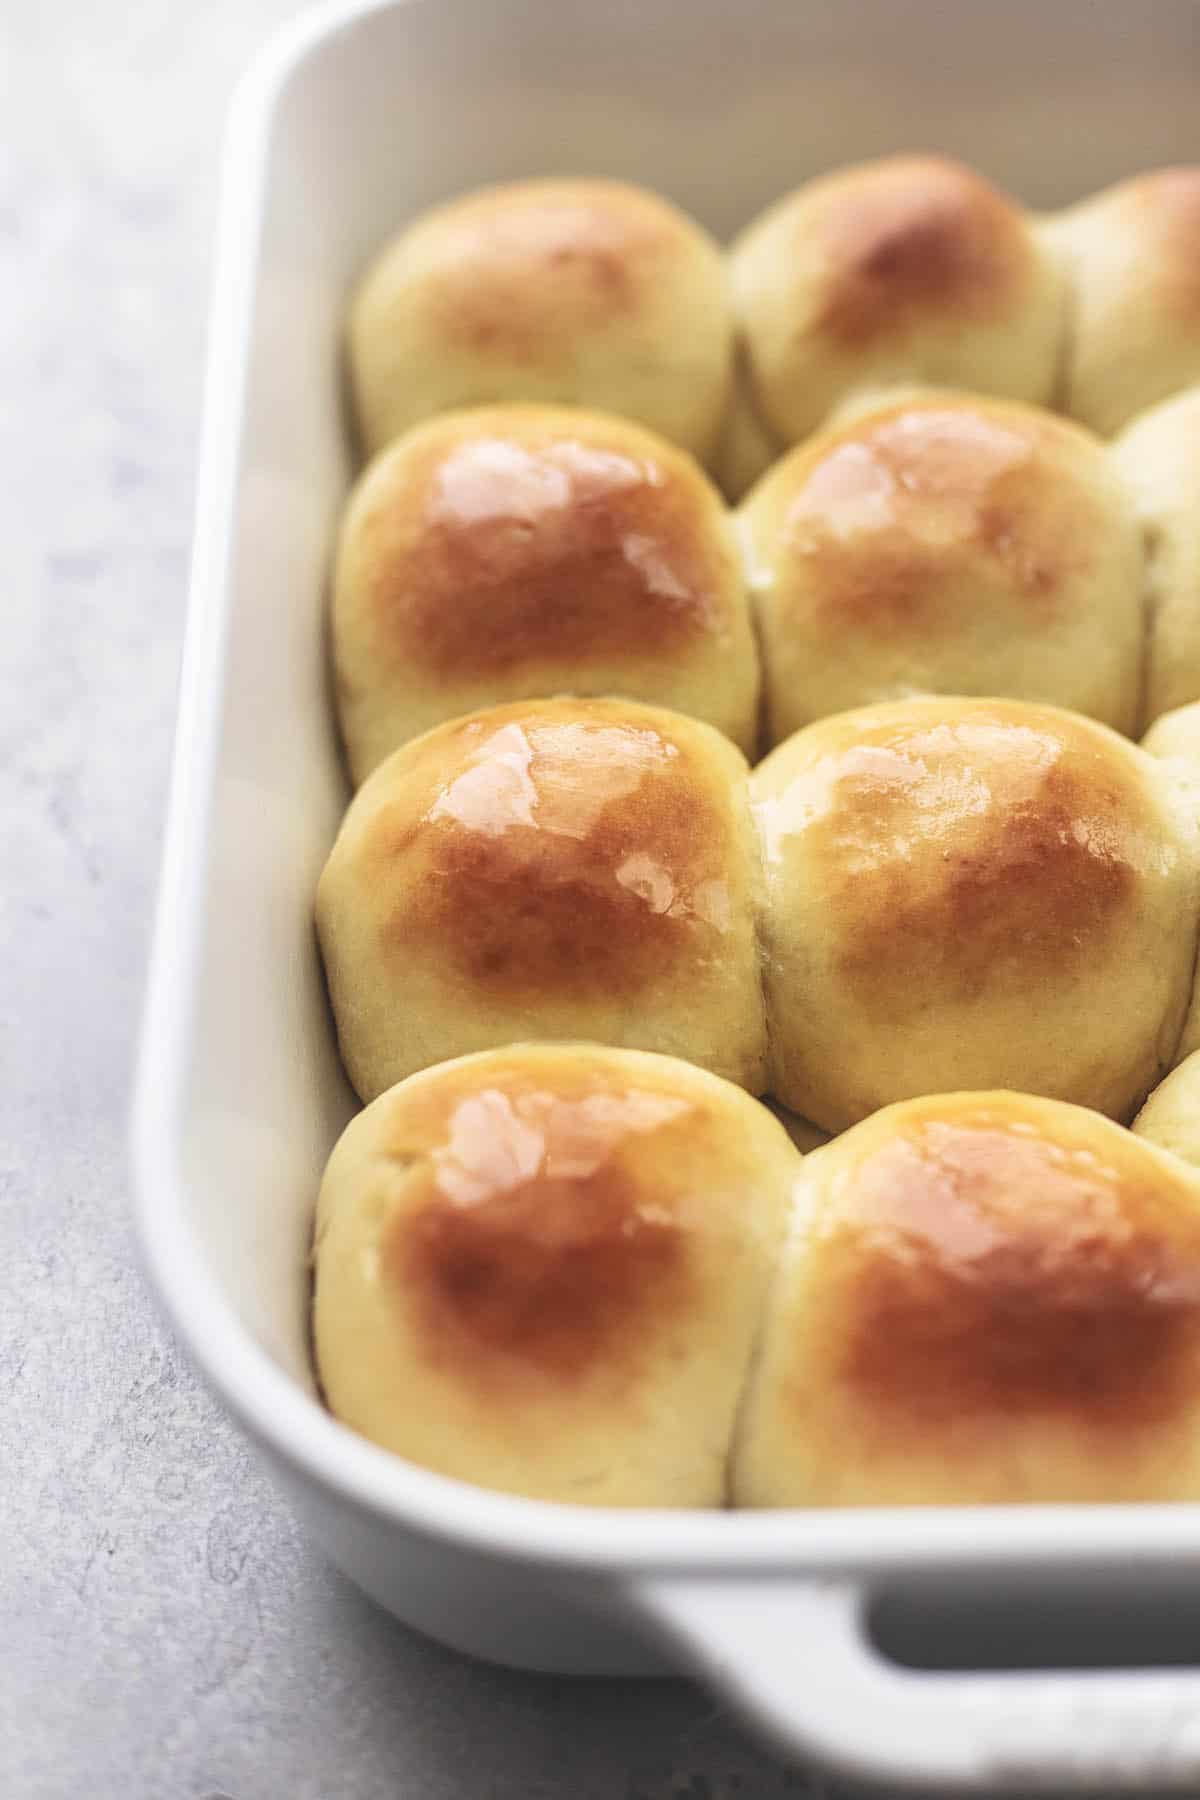
Quality yeast — I always use Fleischmann’s RapidRise® Yeast (also known as instant yeast) in my baked goods because it makes the rising time much, much faster without sacrificing any quality AND yields super soft, fluffy, and great-tasting dough every single time.
So versatile — Sure, you can eat them for the holidays with your turkey or ham, but they also make great leftovers. Perfect for egg sandwiches in the morning or quick slider sandwiches for an appetizer or dinner, or just as a quick treat on the go.
Stores great — Keep the rolls on the counter in a Ziploc bag or container for 2-3 days, pop them in the fridge for up to a week, or freeze for up to three months!
Here’s How You Make It
Making the dough
- Preheat your oven to 400 degrees.
- Butter a 9×13-inch pan.
- In a liquid measuring cup, pour in the buttermilk and 4 tablespoons of butter. Put the cup into the microwave for 20 seconds at a time, or until the butter is mostly melted (check after each 20-second increment). The buttermilk should feel warm but shouldn’t burn your finger when you test it.
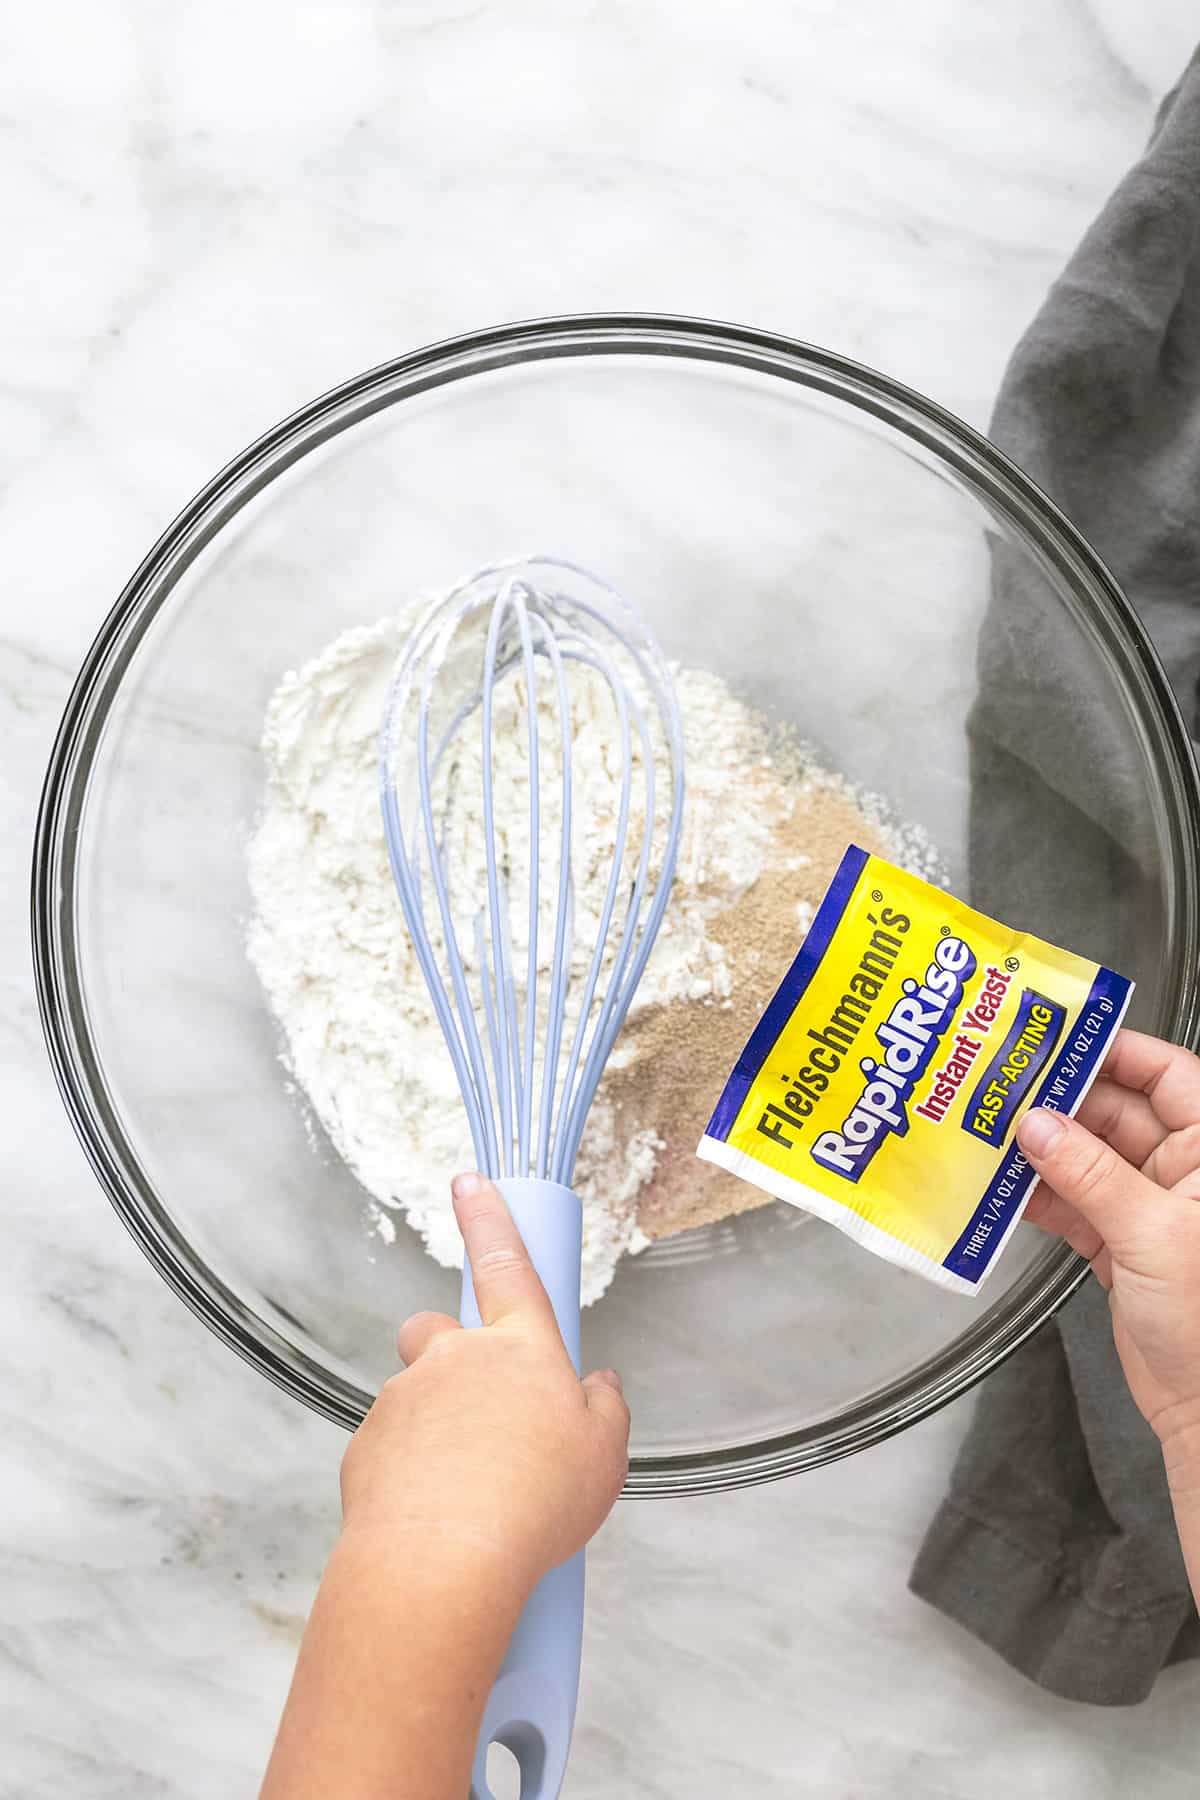
- In a large bowl, mix together the yeast and honey.
- To the yeast mixture, add the warmed buttermilk/butter.
- Then whisk in the salt and egg.
- Add to this 2.5 cups of flour.
Mixing the dough
- Mix the dough by hand, with an electric hand mixer, or using the dough hook of a stand mixer until the flour is totally incorporated.
- Add the rest of the flour, ¼ cup at a time, letting it mix in thoroughly before adding another ¼ cup, just until the dough just comes together enough to form a ball. It will still be sticky, that’s okay!
- Flour your hands and pull the dough out of the bowl, onto a lightly floured surface. Don’t use too much flour — “lightly” is the key word here.
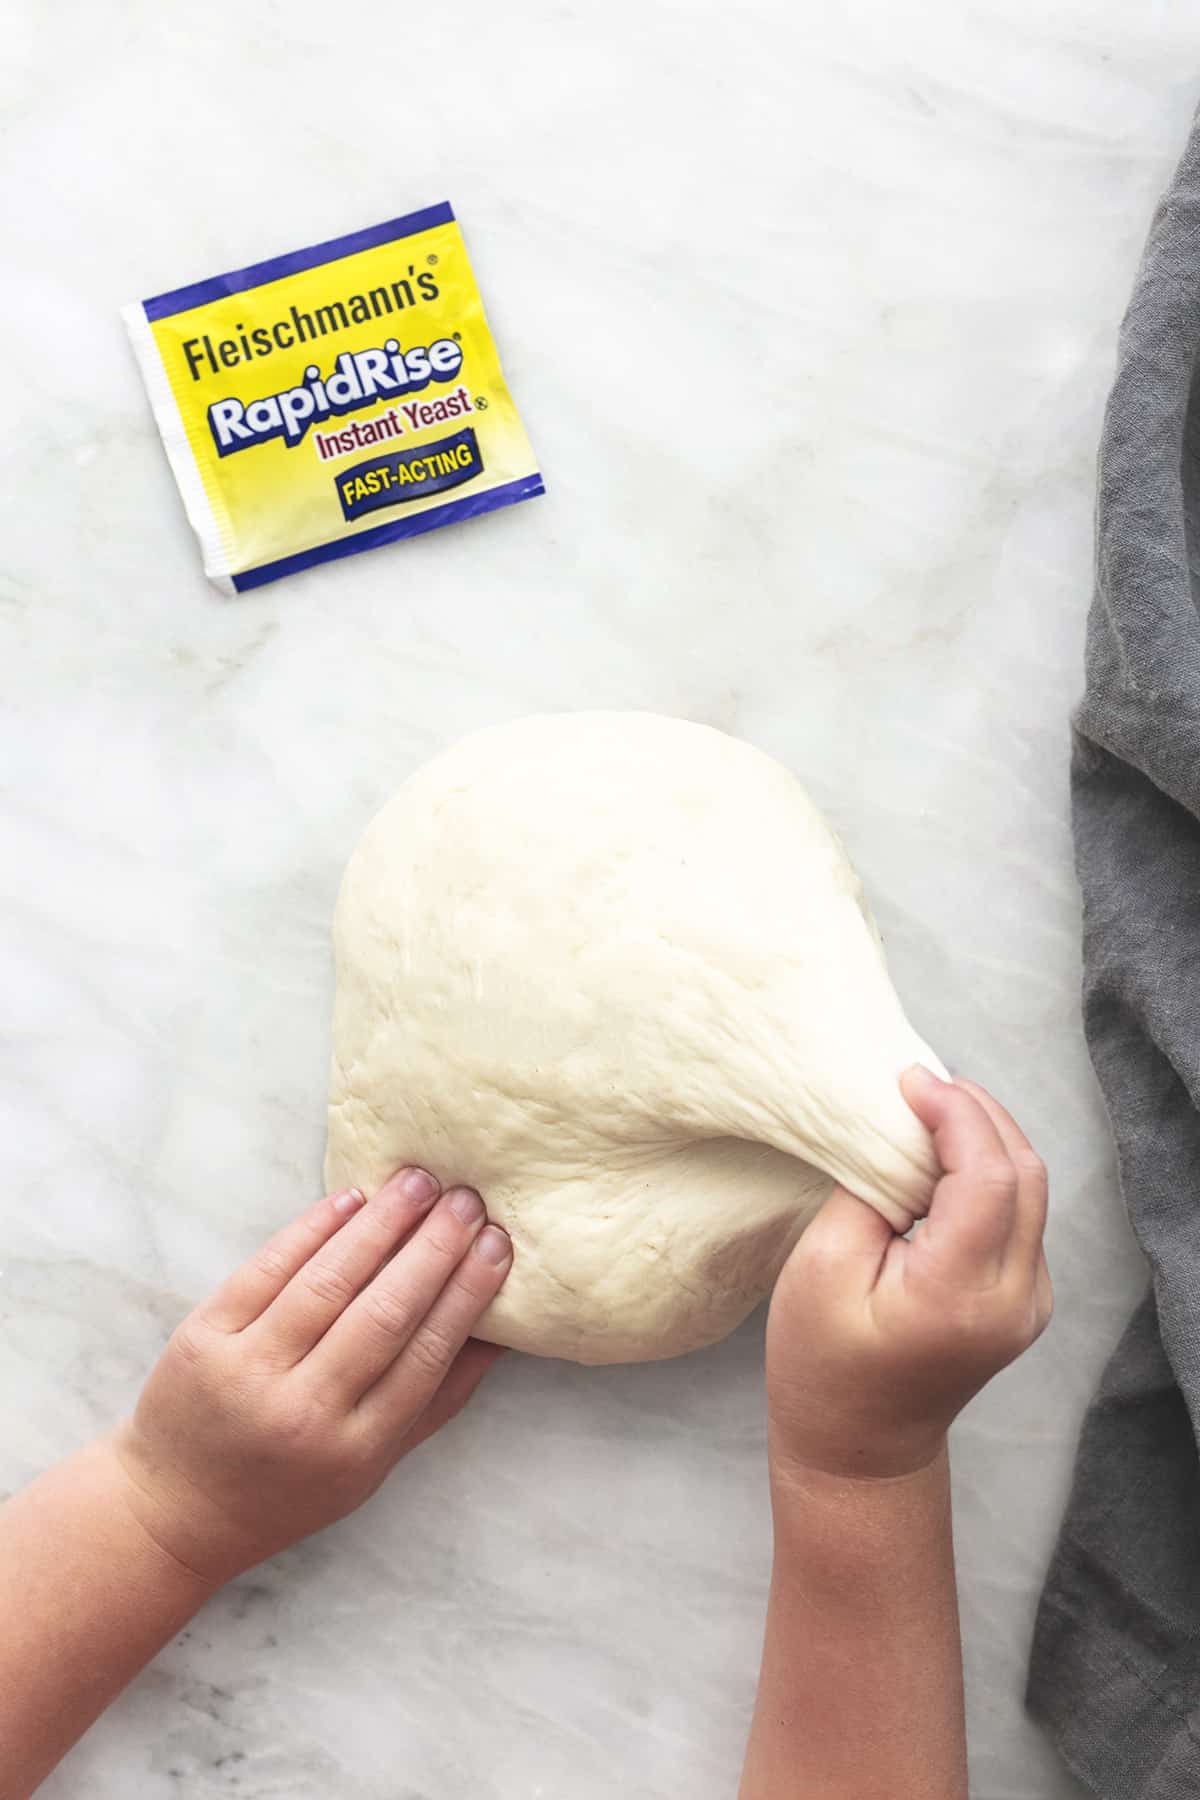
- Knead the dough for 4-5 minutes, or until the dough is smooth and elastic.

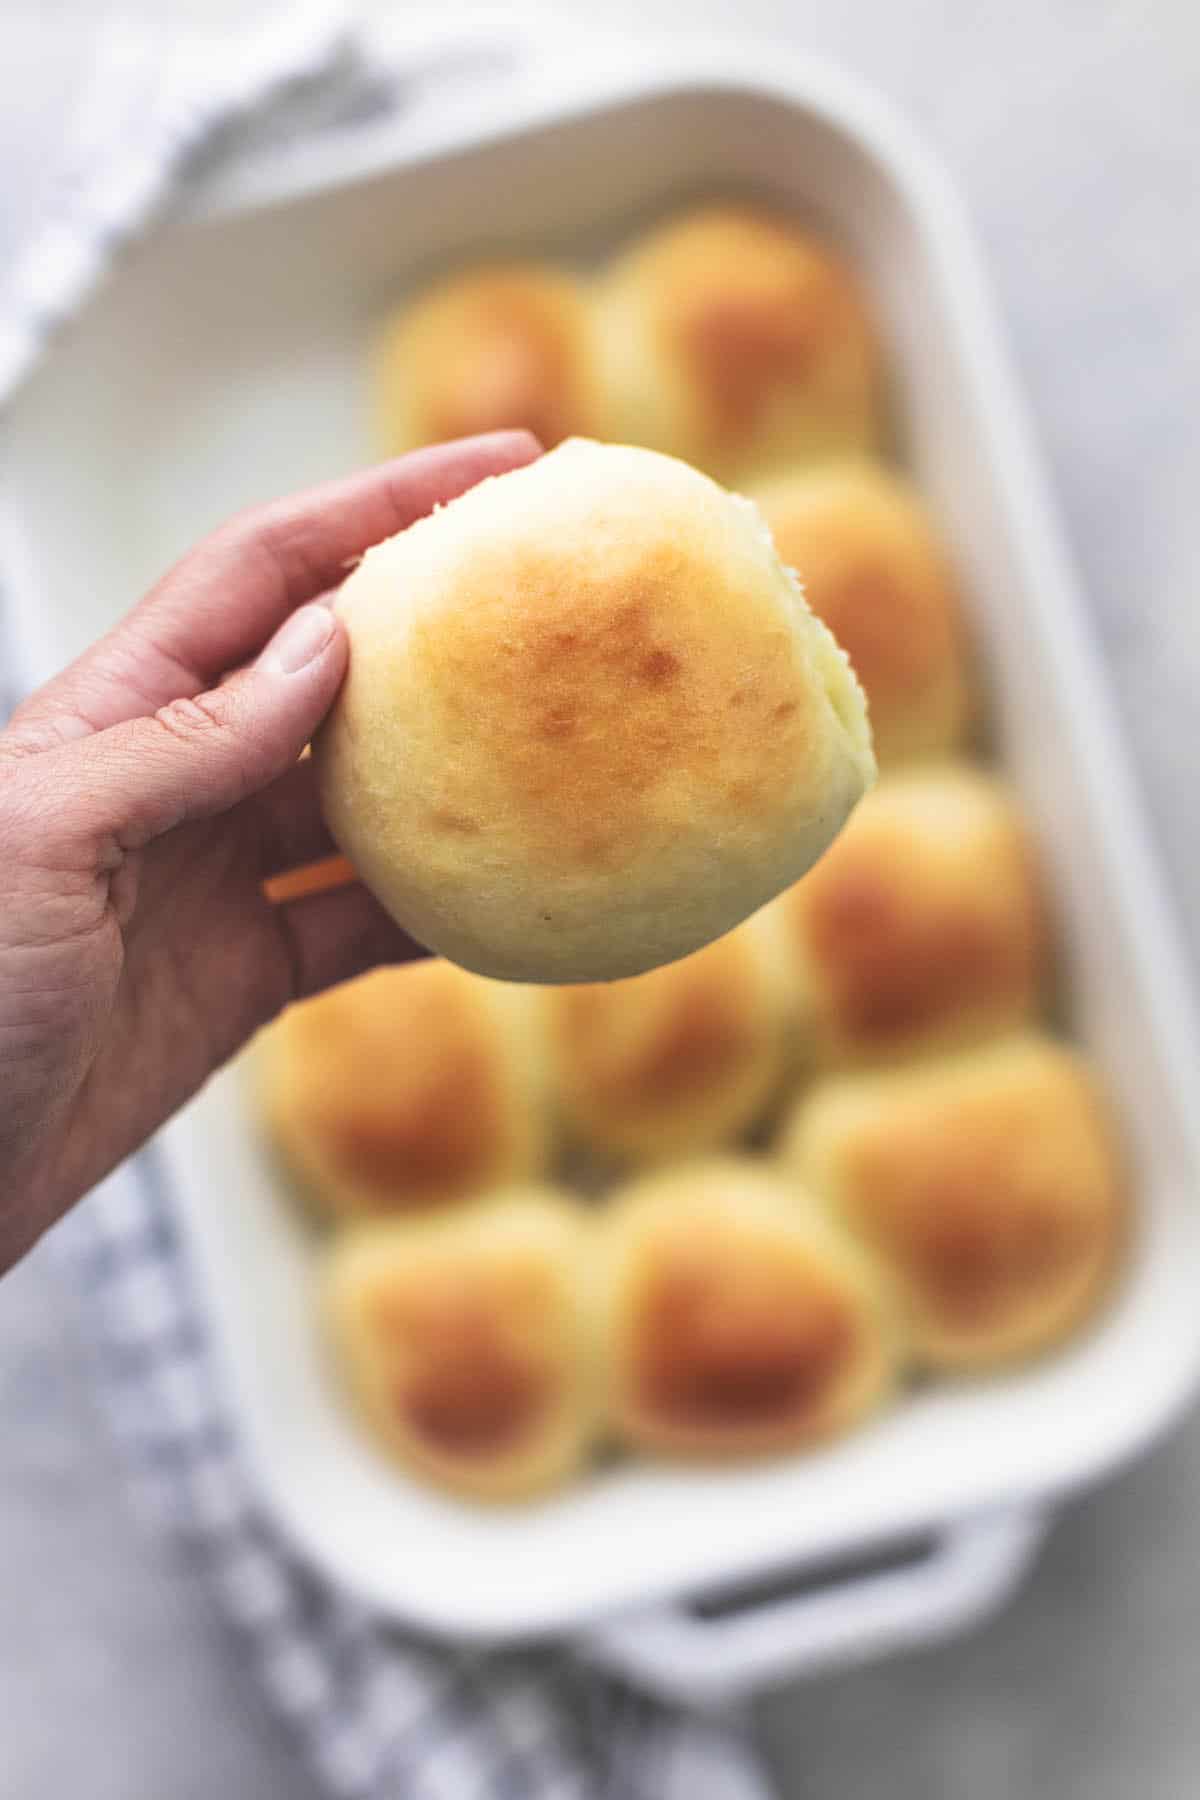
- Divide the dough into 12 equal pieces and roll each of those pieces into a ball.
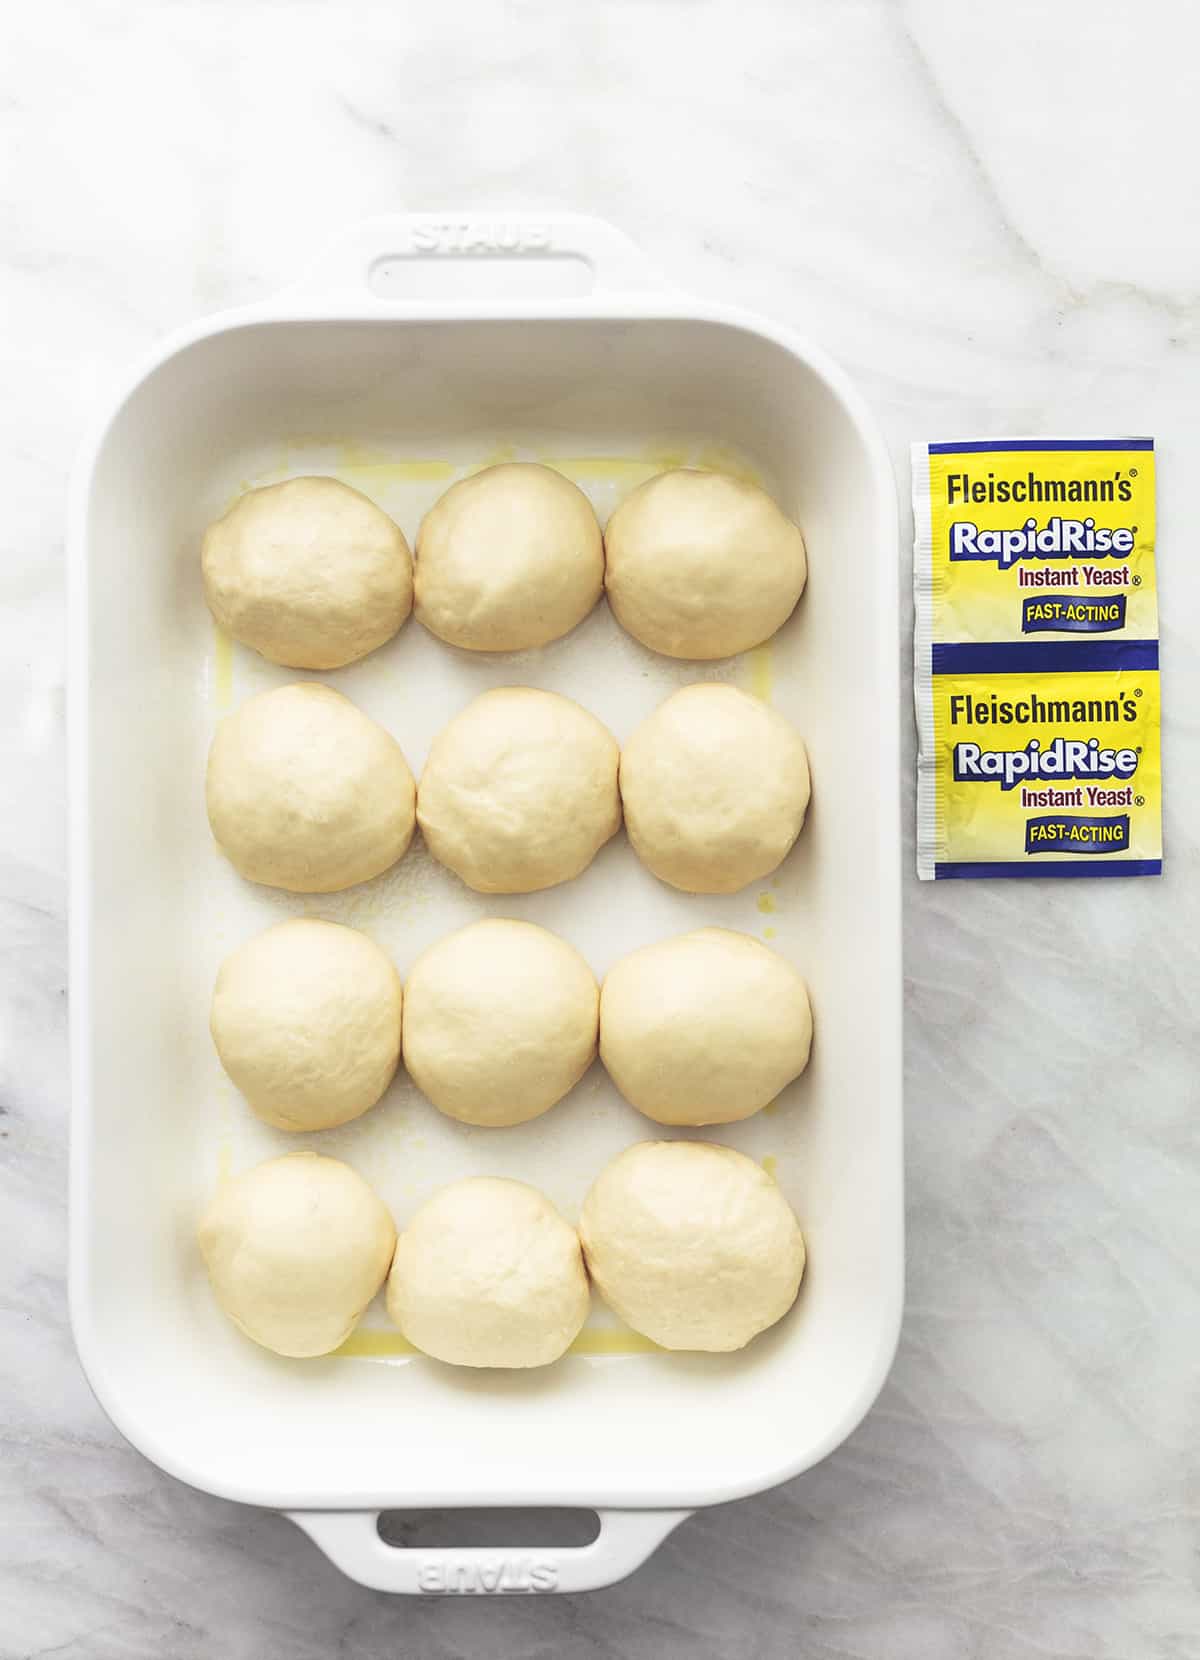
- Place the dough balls 1 inch apart onto your prepared baking pan.
- Cover the pan tightly with plastic wrap and allow it to rise for 10 minutes in a warm place. (Near the preheated oven always works for me.)

- After the 10-minute-rise, take off the plastic wrap and put in the oven for 15-20 minutes or until the dinner rolls are golden brown on top.
- After you take them out of the oven, brush right away with the leftover 2 tablespoons of melted butter and serve!
Expert Tips
- If you find that your dough is very sticky and difficult to knead, don’t despair! All you’ll need to do is lightly flour your hands again and knead a little more. (Be careful not to add too much flour to the dough as it will dry it out and your dinner rolls will come out lumpy and dense, rather than smooth and airy inside!)
- For the best quick rise, use Fleischmann’s RapidRise® Yeast in these buttermilk dinner rolls. The yeast saves tons of time because there is only one rise required, and it’s super simple to add right into your dry ingredients and follow the recipe, no need to hydrate the yeast in water first. It’s also gluten-free, and works great in bread machines as well.
- I like to cut these rolls in half and add butter to both sides. That’s all I need to enjoy these rolls. However, some other ideas include adding honey and butter, spreading homemade garlic butter, or even adding a spread of jams and preserves to go along with the rolls because why not?
Homemade is worth it when it comes to the bread on your holiday dinner table, so do yourself a favor and make the crowd-favorite side dish these amazingly quick and easy Buttermilk Dinner Rolls. You (and your guests!) will be so glad you did.
More Side Dish Recipes
Did you make this dish? Please rate the recipe below!
Servings: 12 rolls
-
Preheat the oven to 400 degrees and butter a 9×13 inch pan.
-
Add buttermilk and 4 tablespoons butter to a liquid measuring cup. Microwave for 20 seconds at a time until butter is mostly melted. Buttermilk should be very warm but you should still be able to touch it without burning your finger (about 110 degrees).
-
In a large bowl, combine honey and yeast.
-
Whisk in buttermilk and butter mixture.
-
Whisk in salt and egg.
-
Add 2 1/2 cups flour.
-
Mix (by hand, or with an electric hand mixer, or you can do this in the bowl of a stand mixer fitted with a dough hook attachment) until flour is completely incorporated.
-
Gradually add more flour, 1/4 cup at a time, until dough comes together just enough to form a ball. (It will stick be quite sticky! You should be able to handle it with heavily floured hands.)
-
With floured hands, transfer to a lightly floured surface (be careful not to use too much flour as it will dry out your dough) and knead for 4-5 minutes until dough is smooth and elastic.
-
Divide dough into 12 equal-size pieces and roll each into a ball. Place 1 inch apart in prepared pan.
-
Cover pan tightly with plastic wrap and let dough rise for 10 minutes in a warm place (I place mine near the preheated oven).
-
Uncover, and bake in preheated oven for 15-20 minutes until golden brown on top.
-
Brush immediately with remaining 2 tablespoons butter and serve.
Calories: 328kcal | Carbohydrates: 67g | Protein: 10g | Fat: 2g | Saturated Fat: 1g | Cholesterol: 17mg | Sodium: 133mg | Potassium: 129mg | Fiber: 2g | Sugar: 7g | Vitamin A: 65IU | Calcium: 45mg | Iron: 4mg