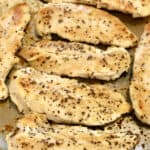
Basic pan-seared chicken is a staple for salads, casseroles, soups, and some of our favorite dinner boards. In this Basics by The BakerMama, I teach you how to pan-sear chicken tenderloins to perfection every time!

Basics by The Bakermama
Welcome to Basics by The BakerMama! I created this how-to series to help beginner cooks hone their skills, make the most of their time in the kitchen, and create great family memories. I hope you enjoy!
Feeling Like Chicken Tonight?
At the beginning of the week, I always pick up a couple (1-pound) packages of boneless skinless chicken tenderloins. I pan-sear them all and then store them in the refrigerator. That way, I can easily chop up a couple tenderloins each time I want to make a salad for lunch or add them to a dinner board.
How to Pan-Sear Chicken Tenderloins
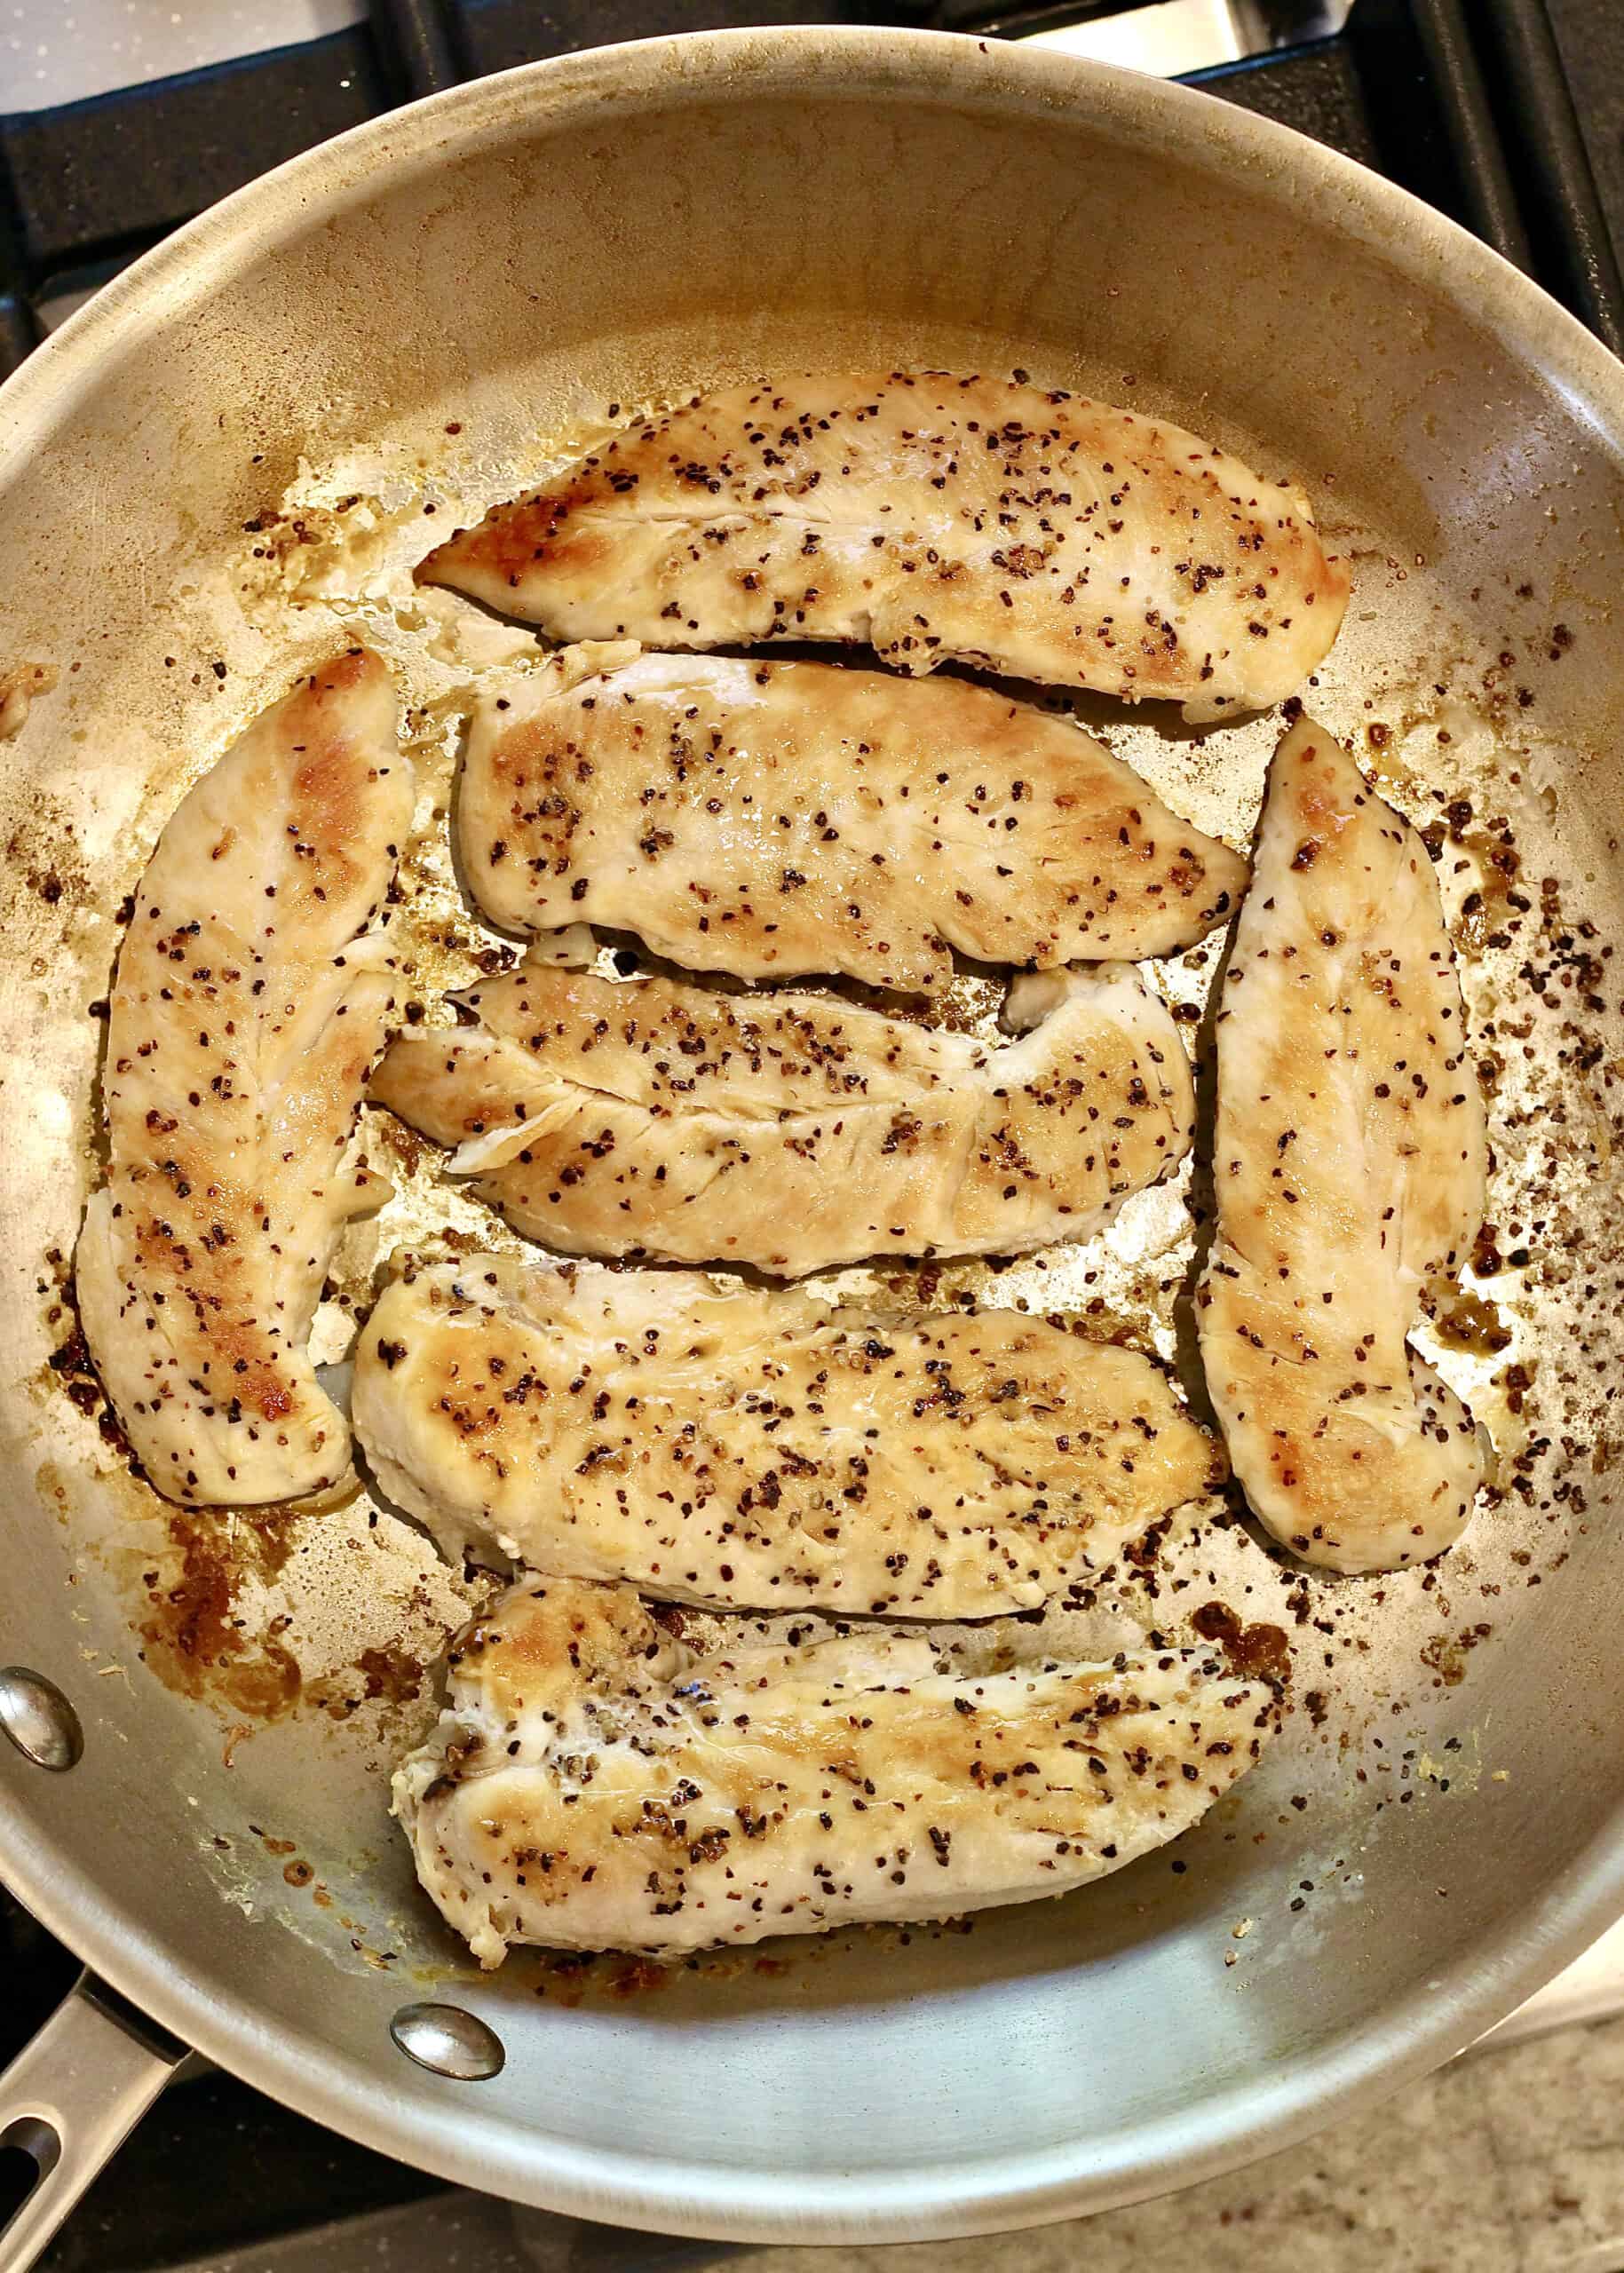
Pan-Searing chicken is a breeze. First, generously salt and pepper tops of your chicken tenderloins.

Then transfer them, seasoned side down, to a medium-heated skillet that’s been drizzled with a little olive oil. While they sear, season the other sides of the tenderloins with salt and pepper. Cook for about 3 minutes or until nicely browned before flipping. Sear for another 3 minutes.

Cover the pan with a lid and let continue to cook for another 1-2 minutes to add steam/moisture and ensure the chicken is cooked all the way through without drying out.

If you’re pan-searing larger chicken breasts it will take longer or thin-sliced chicken breast cutlets and chicken strips could take less time. You can test the internal temperature with a meat thermometer to ensure doneness. The thermometer should read 165˚F. If you don’t have a meat thermometer, slice into a few of the tenderloins to make sure they’re cooked all the way through with no pink in the middle.
That’s all there is to it! Perfectly pan-seared chicken with endless enjoyment options!
Build a Board or Make a Salad
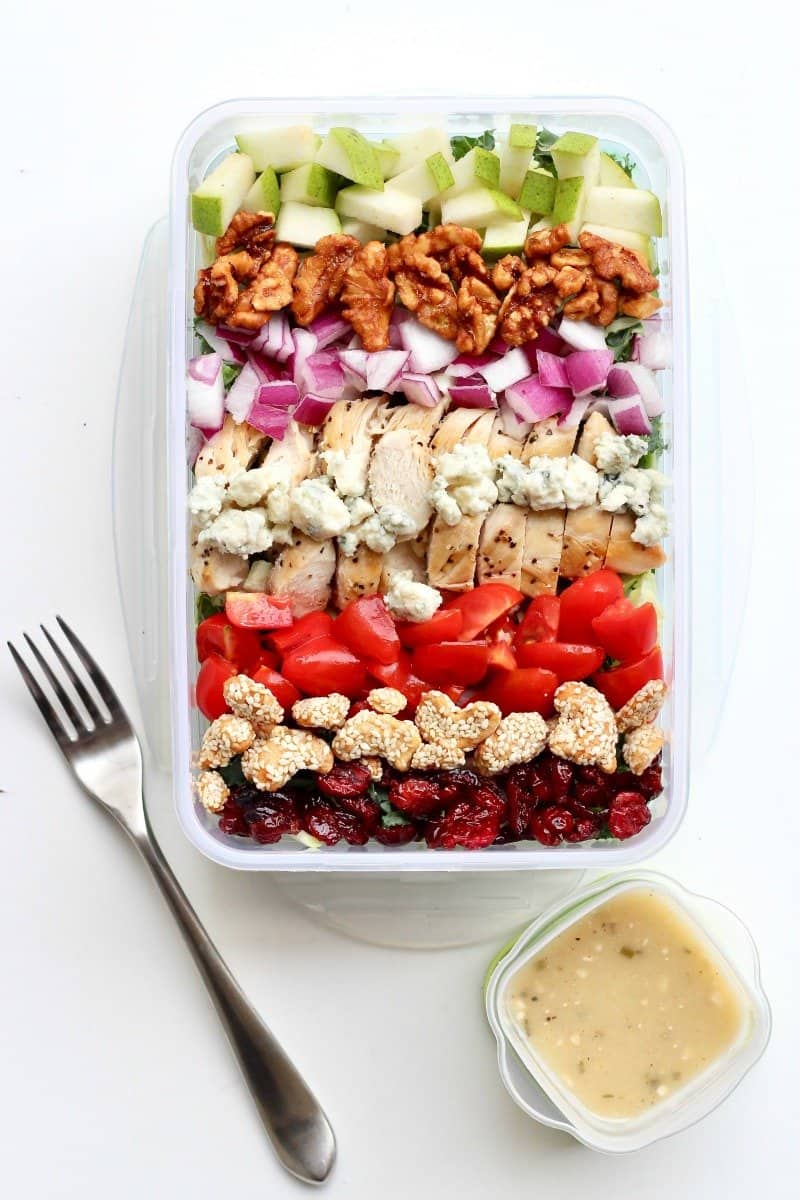
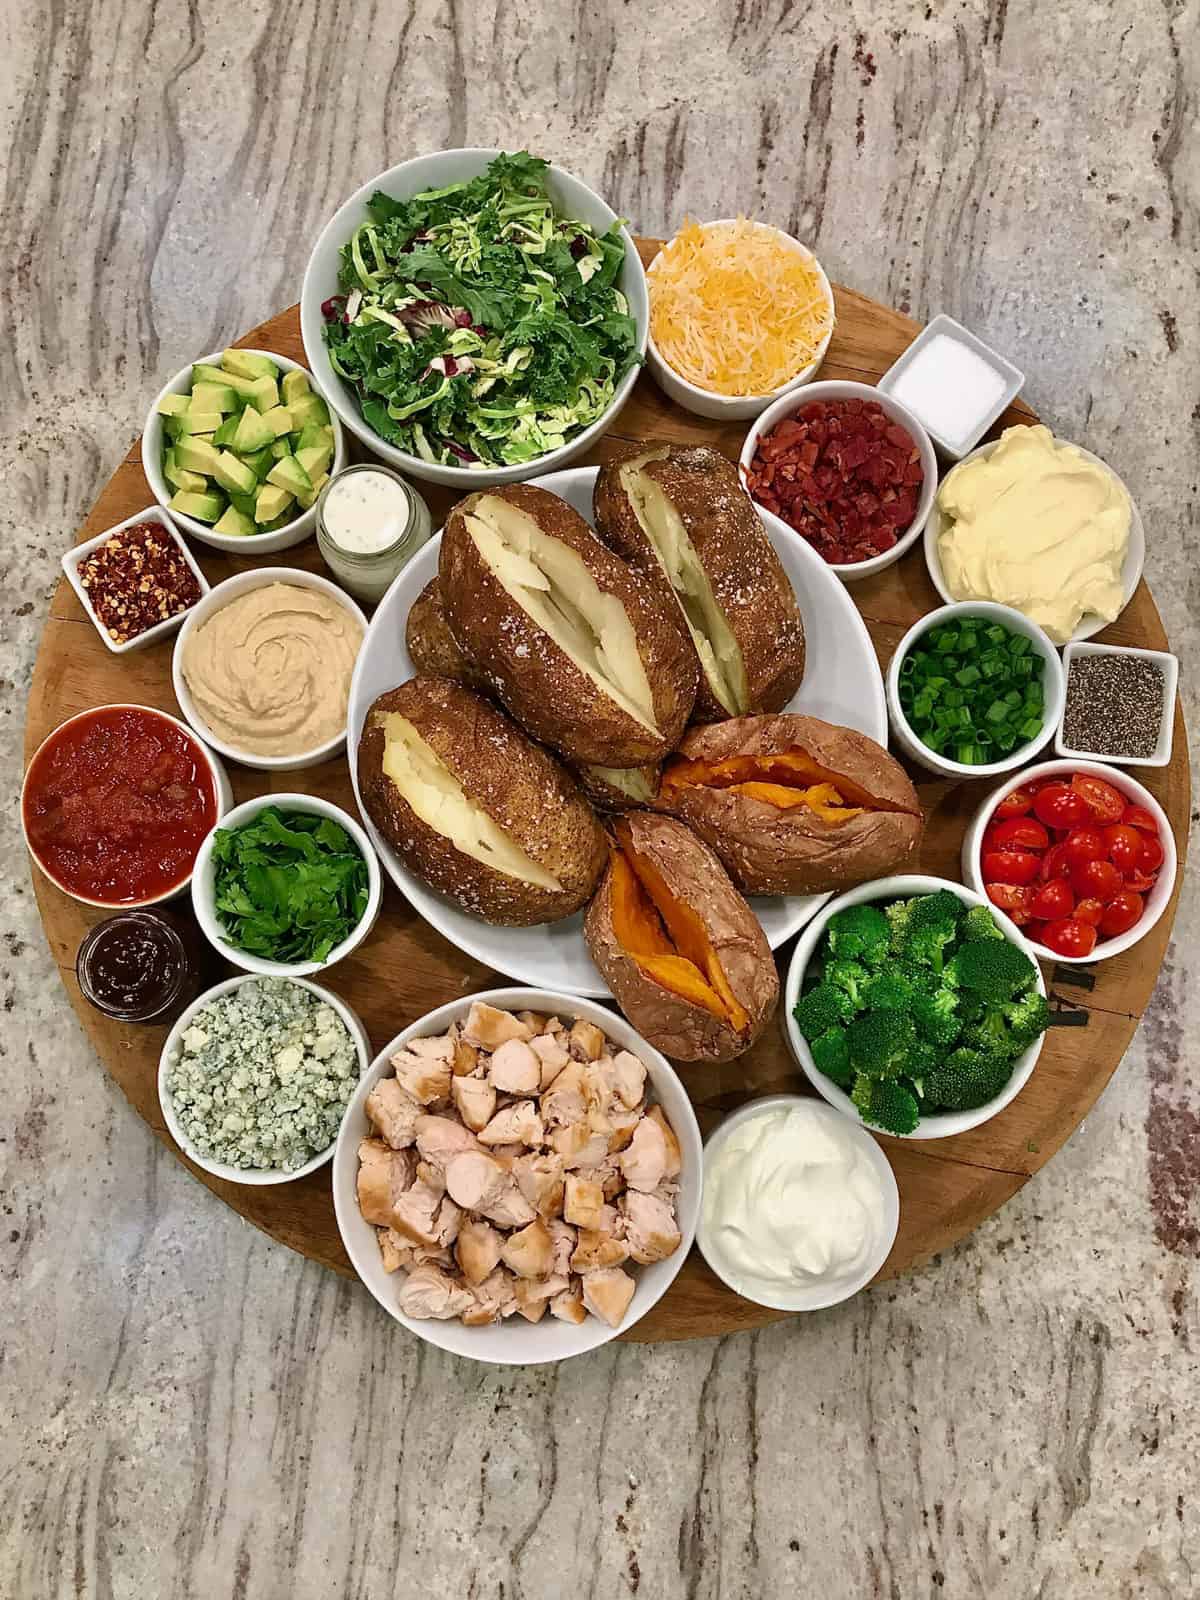
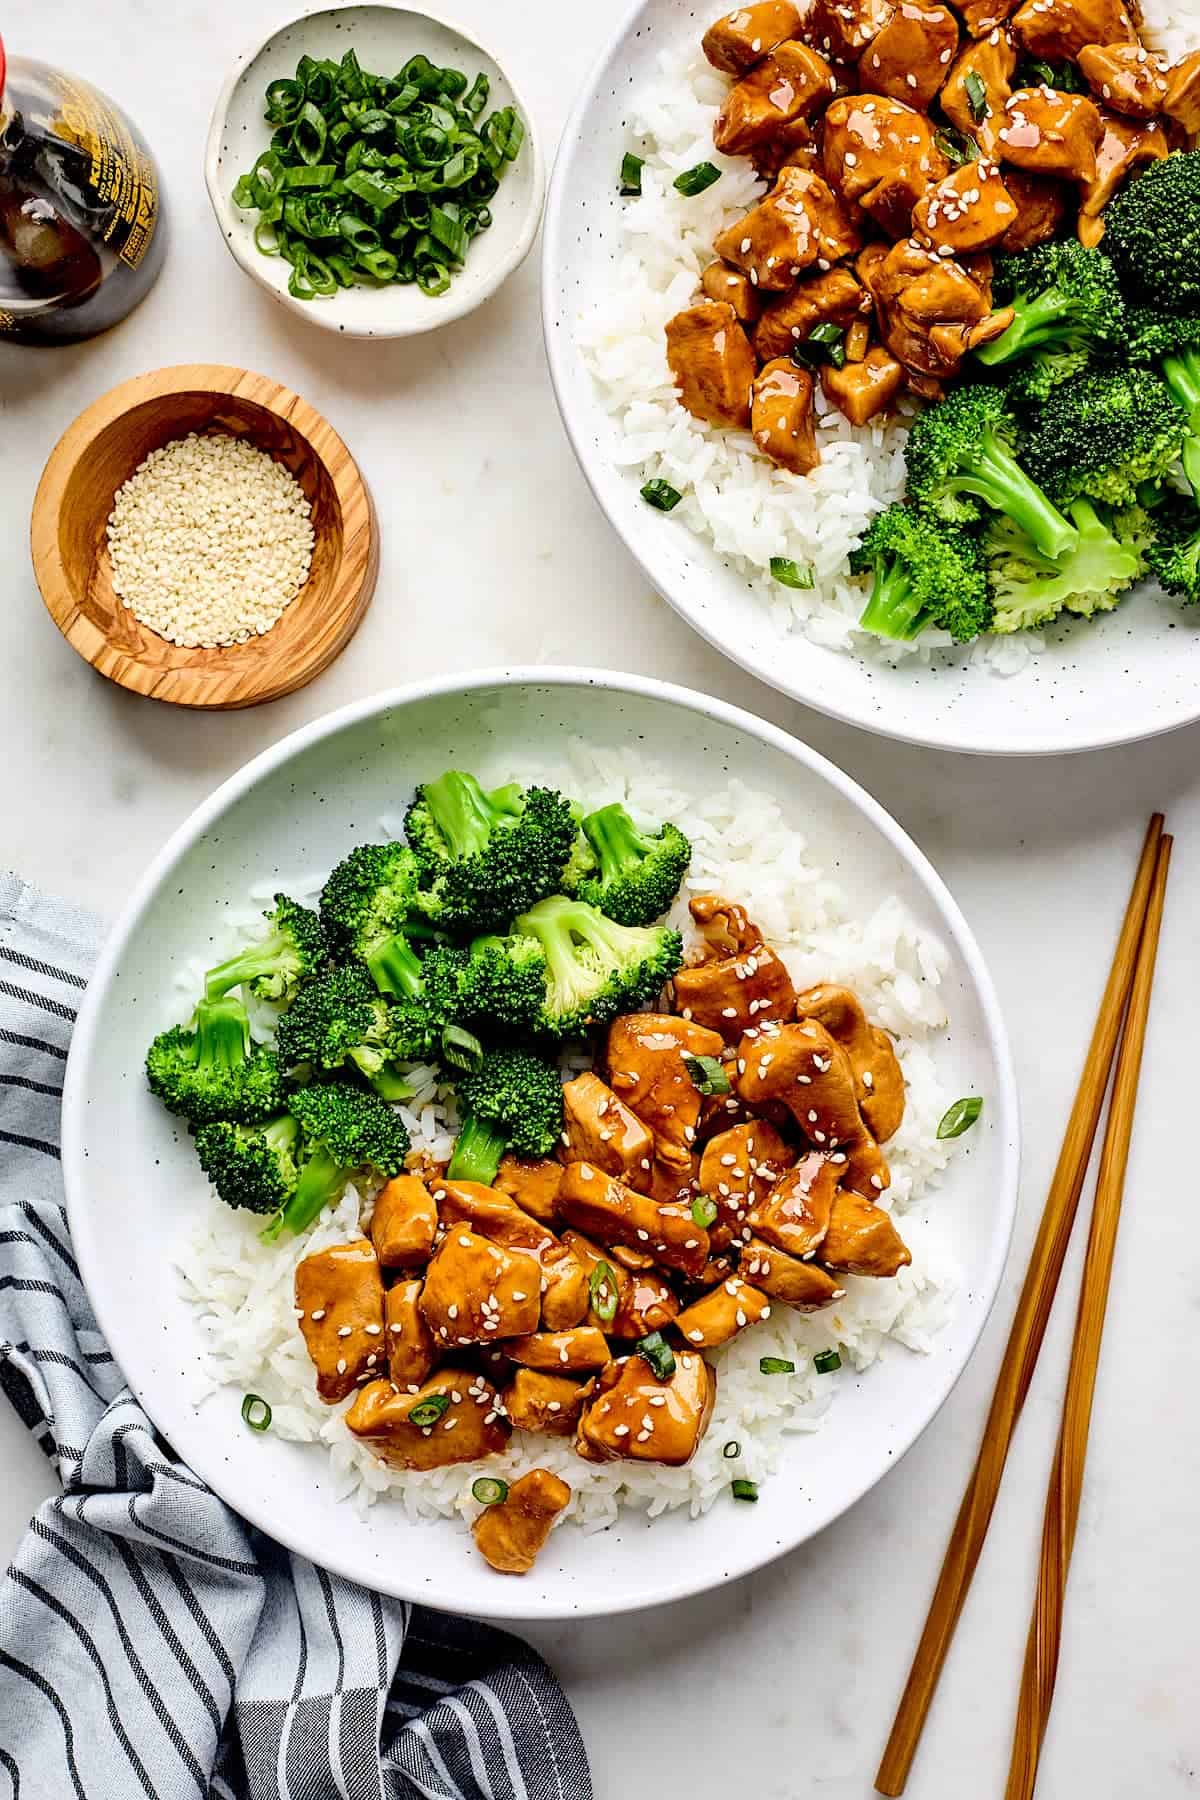
Now that you pan-sear chicken like a pro, let’s try some of my favorite recipes! My Cobb Salad Board makes a fresh and filling weeknight meal that turns even the pickiest kiddo into a salad-lover. My Favorite 5-Minute Lunch Salad takes your midday meal up a notch. And the Build-Your-Own Baked Potato Board is a DIY dinner dream. Enjoy!
I hope you find these simple basics helpful! When you make something with the help of my BakerMama’s Basics series, be sure to snap a picture and tag me on Instagram @thebakermama so I can see and others can be inspired!
xoxo,

Basics by The BakerMama: How to Pan-Sear Chicken Tenderloins
Prep Time: 2
Cook Time: 8
Total Time: 10 minutes
Description
Basic pan-seared chicken tenderloins is a staple for salads, casseroles, soups, and some of our favorite dinner boards.
Instructions
- Generously salt and pepper tops of the tenderloins
- Transfer them, seasoned side down, to a medium-heated skillet that’s been drizzled with a little olive oil.
- Season the other sides of the tenderloins with salt and pepper while the first sides sear.
- Sear for about 3 minutes or until nicely browned before flipping and searing for another 3 minutes on the other side.
- Cover the pan with a lid and let continue to cook for another 2 minutes to add steam/moisture and insure they’re cooked all the way through without drying out.
Notes
If you’re pan-searing larger chicken breasts it will take longer or thin-sliced chicken breast cutlets and chicken strips could take less time. You can test the internal temperature with a meat thermometer to ensure doneness. The thermometer should read 165˚F. If you don’t have a meat thermometer, slice into a few of the tenderloins to make sure they’re cooked all the way through with no pink in the middle.