This post may contain affiliate links. Please read my disclosure policy.
This ginger peach crisp recipe is made with a warm ginger-vanilla peach filling and topped with a crispy almond oat topping.

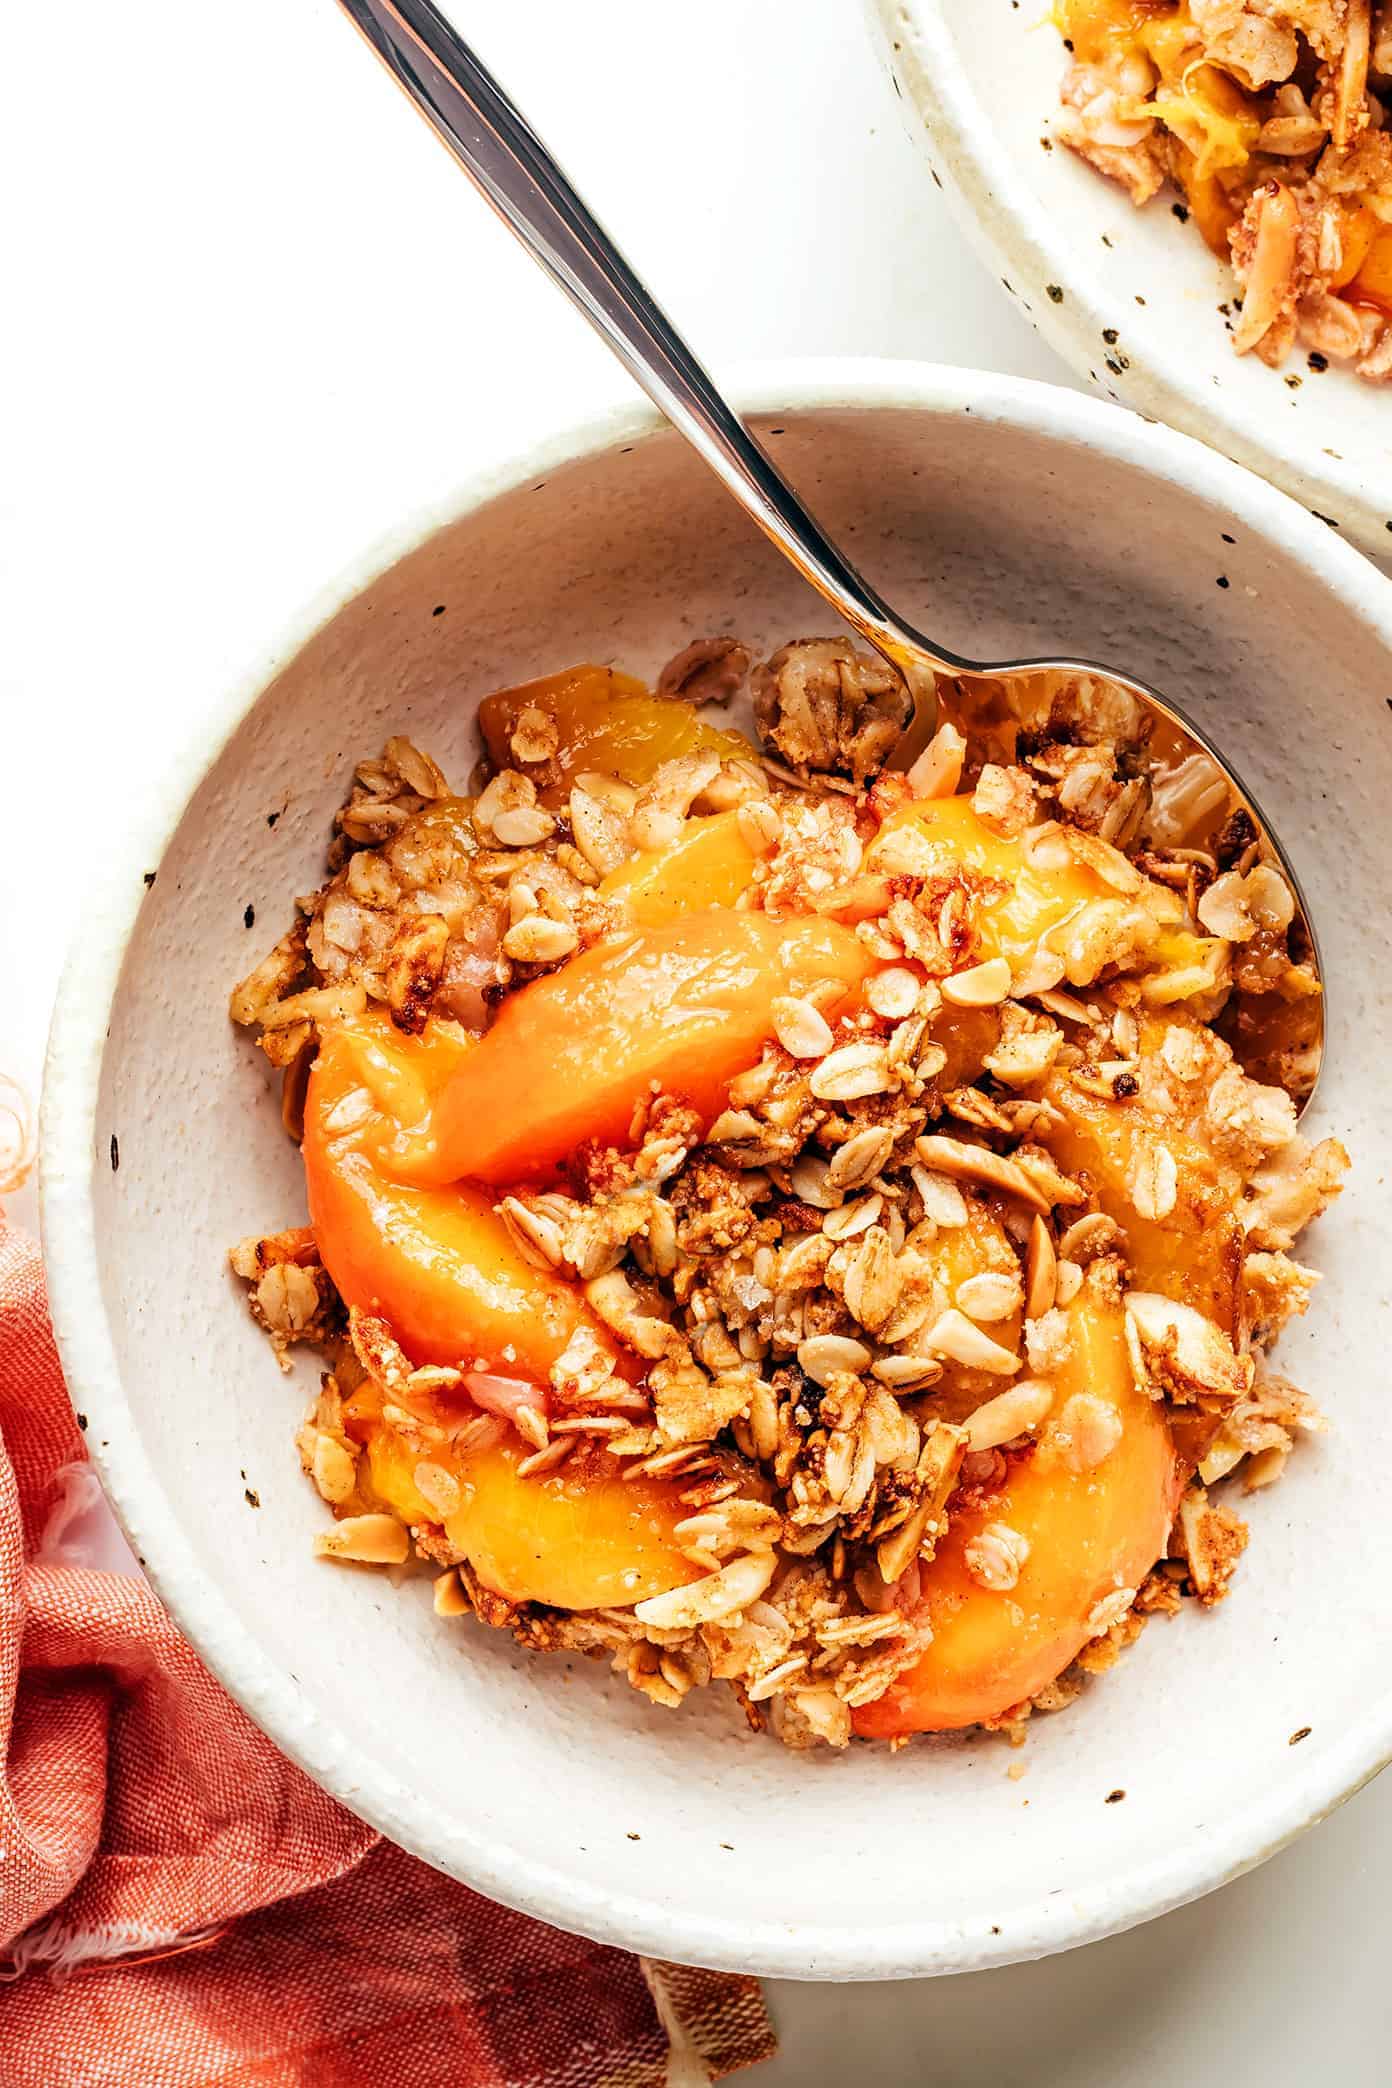
Does it get much better than a hot bowl of peach crisp and a melty scoop of cold vanilla ice cream on a summer day? ♡
My go-to ginger peach crisp recipe is one of those summertime faves I look forward to all year long. The moment that fresh, ripe, juicy peaches finally arrive on the scene, we turn on the oven (ever so briefly) to bake up a hot and bubbly pan to serve after dinner as the evening sunshine lingers. Then any leftovers are — of course — absolutely happening for breakfast the next morning. But once you finish up one pan, somehow another gathering always has a way of popping up that calls for one more batch, followed by more peachy breakfasts, followed by one more batch…and the delicious cycle keeps going. I mean, once you get going with this ginger peach crisp, why stop?
I’m especially partial to this particular recipe because it’s quick and easy to prep, it’s naturally gluten-free and vegan, and the addition of fresh ginger makes all of the flavors here absolutely shine. It’s also a very flexible recipe, so feel free to sub in different kinds of fruit, nuts or seasonings that you love best. And if you really want to go decadent, I also sometimes serve this peach crisp drizzled with my favorite bourbon caramel sauce, which our friends and family absolutely adore.
So round up a few pounds of peaches while they’re still in season, and let’s bake up a delicious crisp together tonight!

Peach Crisp Ingredients
Here are a few few quick notes about the ingredients you will need to make this easy peach crisp recipe:
- Ripe peaches: Fresh, ripe, juicy peaches are the stars of this recipe! It’s up to you whether or not you’d like to take the extra time to peel the peaches before mixing them with the other filling ingredients. Instructions are included below for how to peel peaches if you’d like.
- Fresh ginger: I love adding lots of freshly grated or minced ginger to this recipe, as its spicy-sweet flavor pairs so deliciously with the vanilla peach filling and cinnamon topping.
- Vanilla extract: We’ll also add a hint of vanilla extract to the filling.
- Lemon: And finally, we will use the zest and juice of one large fresh lemon as the final ingredient in the filling, which helps balance the sweetness of the peaches and add a zing of citrus.
- Old fashioned oats: You will need basic old-fashioned oats (also called rolled oats) for the topping. If making this recipe gluten-free, be sure to use a brand of oats that are labeled as certified gluten-free.
- Almond meal: I always love using almond meal as the “flour” in crisp toppings. It adds such delicious extra flavor and crunch, and also helps to keep the crisp topping gluten-free.
- Almonds: You’re welcome to use either sliced or slivered almonds in the crisp topping.
- Maple syrup: I prefer using maple syrup as the sweetener in the topping, but honey would work well here too.
- Coconut oil: You will need a few tablespoons of coconut oil or any other neutral-flavored oil to help the topping crisp up.
- Ground cinnamon: I also love adding a generous teaspoon of ground cinnamon to the topping.
- Sea salt: And finally, we will add a hint of fine sea salt to the topping to bring out the best of its flavors.

Tips for Making Peach Crisp
- Be sure to use ripe peaches: The peach filling in this recipe will only be as good as your peaches! So I highly recommend purchasing ready-to-go peaches or allowing peaches time to fully ripen at home before using them to make this recipe. To more quickly ripen peaches at home, place them in a basic paper bag, loosely roll the top closed, and leave at room temperature until ripe.
- Prep the crisp topping in advance: Feel free to mix up the crisp topping and refrigerate it in a sealed container for up to 24 hours before assembling the crisp. This way, you only have to mix the filling, add the crisp topping and bake!
- To peel or not to peel: The choice is up to you with your peaches! It’s really more of an aesthetic/texture thing. If you prefer peeled peaches, I’ve included instructions for how to quickly peel peaches below. If not, no presh, just skip that step and add the peach slices (skin-on) to the filling.
- Let the filling thicken: As tempting as it is to dig right in once the crisp emerges hot and bubbling from the oven, it’s worth it to wait at least 5-10 minutes so that the filling can thicken slightly as it cools.

Variations
Here are a few variations to this peach crisp recipe that you’re welcome to try:
- Combine different fruits: Combine any extra fresh fruit that you love with the fresh peaches (such as apricots, blueberries, blackberries, cherries, pears, pineapple, plums, strawberries, etc). Just be sure that the total amount of fruit totals to more or less around 3 pounds.
- Use canned peaches: This recipe can be made using canned peaches if needed. I just highly recommend purchasing canned peaches that have no sugar added so that the filling is not overly sweet.
- Use different nuts: Use different nuts (such as chopped walnuts or pecans) in place of the almonds.
- Use ground ginger: I strongly recommend using fresh ginger in this recipe. But if you don’t have the chance to pick some up, you could sub in 2 teaspoons ground ginger.

More Favorite Peach Recipes
Looking for more delicious peach recipes to try? Here are a few of my faves:

Description
This ginger peach crisp recipe is made with a warm ginger-vanilla peach filling and topped with a crispy oatmeal almond crumble. Highly recommend serving this crisp hot out of the oven with a cold scoop of vanilla ice cream!
Peach Filling:
- 3 pounds ripe peaches, pitted and sliced
- 3 tablespoons cornstarch
- 2 tablespoons grated fresh ginger
- 1 teaspoon vanilla extract
- zest and juice of 1 lemon (about 2 tablespoons juice)
Oatmeal Crisp Topping:
- 1 1/2 cups old fashioned oats
- 3/4 cup almond meal
- 1/2 cup sliced or slivered almonds
- 1/2 cup maple syrup
- 5 tablespoons melted coconut oil
- 1 teaspoon ground cinnamon
- 3/4 teaspoon fine sea salt
- Peel the peaches (optional step). Bring a large saucepan of water to a boil. Place 3-4 peaches in the pan at a time (or however many can be completely submerged at once) and boil for 45 seconds. Use tongs to carefully transfer the hot peaches immediately to a bowl of ice water and let them rest for at least 1 minute. Use a paring knife to slice open the skin, then peel it off with your fingers. Repeat with the remaining peaches, then remove their pits and cut them into slices.
- Prep oven and baking dish. Heat oven to 350°F. Lightly mist a 9 x 13-inch baking dish with cooking spray.
- Mix the filling. In a large mixing bowl, gently toss together the filling ingredients until evenly combined. Transfer the filling to the baking dish and spread it out in an even layer.
- Mix the oatmeal crisp. Briefly rinse out the mixing bowl. Add the oatmeal crisp ingredients and gently toss until evenly combined. Sprinkle the oatmeal crisp evenly over the peach filling.
- Bake. Bake the oatmeal crisp uncovered for about 40 to 45 minutes, or until the filling is bubbling all around the edges and the crisp is lightly browned. (If you notice midway through baking that the crisp is browning too much, gently lay a piece of aluminum foil on top of the crisp to prevent it from browning more.)
- Cool. Transfer the baking dish to a wire rack and let the crisp cool for at least 5 minutes.
- Serve. Serve warm with vanilla ice cream and enjoy!
Notes
Recipe edited slightly in August 2022.

