This post may contain affiliate links. Please read my disclosure policy.
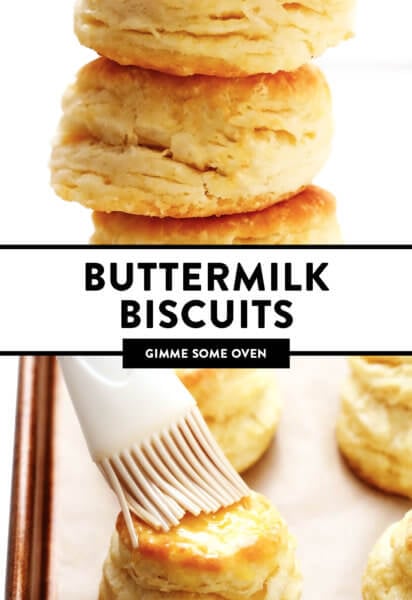
My favorite homemade buttermilk biscuit recipe — easy to make, perfectly soft and tall and flaky, and always SO buttery and delicious.

A few weeks ago when I happened to pass by our local KFC here in Barcelona, I suddenly found myself majorly craving some crispy chicken fingers and buttermilk biscuits. (Haven’t had either in years since we moved abroad!) I decided to indulge and popped in impulsively to place a quick order. But after scanning the menu again and again and again, I realized that — gasp — biscuits apparently aren’t available at KFC here in Spain!
When I mentioned my shock on Instagram, dozens of you from around the world replied that your international KFCs also do not offer biscuits on the menu. (Which, we’ve all agreed, feels like a majorly missed opportunity, KFC — who in the world wouldn’t love your soft and buttery buttermilk biscuits?!) Either way, though, I realized that day that if I wanted to satisfy my craving for biscuits, I was going to have to make them myself. So I picked up some buttermilk on my way home, pulled up the bookmark of my favorite recipe that I have turned to over the years, and baked up a quick batch from scratch. And wow, I had almost forgotten just how magical a fresh-outta-the-oven hot pan of buttermilk biscuits can be.
Nothing beats a good homemade biscuit. ♡
This particular recipe that I like to use is also incredibly easy to make by hand with basic ingredients that you likely already have in your kitchen, and comes together from start to finish in just over a half hour. And the combination of creamy butter and tangy buttermilk yields here yields the most delicious biscuits, especially when brushed with some extra melted butter hot out of the oven and sprinkled with a pinch of flaky sea salt (which I highly recommend). The simple folding technique used here also helps ensure that your biscuits will bake up soft and tall, and pull apart into flaky layers upon layers when you crack them open.
Bottom line, this recipe has never let me down when the biscuit cravings strike. It’s perfect for morning biscuits and gravy or biscuits with jam, works great as a side dish with dinner, or you can even be used to top your favorite chicken pot pie or other casseroles. It’s simple, classic and never lets me down. So if you are looking for a reliable homemade biscuit recipe to have in your repertoire, definitely bookmark this one and let’s bake a batch together!

Buttermilk Biscuit Ingredients:
Before we get to the full recipe below, here are a few quick notes about the ingredients you will need to make the best homemade biscuits:
- Flour: When making classic buttermilk biscuits, I opt for standard all-purpose flour and recommend weighing it so that you have the correct amount.
- Baking powder and baking soda: To help give these biscuits be extra-soft and rise nice and tall.
- Light brown sugar (optional): I like to add a tiny hint of sweetness to my biscuits (any kind of sugar or honey would work), but you are welcome to leave the sweetener out if you prefer.
- Salt: I wrote this recipe using fine sea salt in the biscuits, plus an extra optional sprinkle of flaky (or fine) sea salt on top of the biscuits before serving. If you do not have sea salt and are using iodized table salt, I recommend using half of the amount listed in the recipe.
- Butter: It’s extremely important that the butter be very, very cold for this recipe so that the biscuits can bake up to be tall and flaky. So be sure that it has been completely chilled in the fridge before dicing and adding it to the dough. (Or if you happen to have the time, I recommend popping your butter in the freezer for 30 minutes before using it to make it extra cold.) I also recommend brushing the baked biscuits with a bit of melted
- Buttermilk: The buttermilk in this recipe also needs to have been completely chilled in the fridge before adding it to the recipe. I used full-fat buttermilk here, which I highly recommend, but low-fat buttermilk or “homemade “buttermilk (made by mixing whole milk and lemon juice) would also work.
I also recommend the following equipment to make this easy biscuit recipe:
- Pastry cutter: You can either use a pastry cutter or two forks to cut the butter into the dry ingredients by hand. Or alternately, if you happen to own a food processor, you can use that to pulse the butter and dry ingredients.
- Biscuit cutter: I recommend a 2 to 2.5-inch round biscuit cutter for this recipe, preferably one with a handle so that you do not have to twist the biscuits to cut them out of the dough. That said, if you do not have a biscuit cutter, you can just roll the dough into a 9-inch rectangle and cut the dough into 9 even squares.
- Rolling pin: Using a rolling pin, versus patting the dough down with your (warm) hands, helps greatly to keep the dough nice and chilled.
- Pastry brush: If you would like to brush the biscuits with some warm melted butter once they come out of the oven.

7 Important Tips For How To Make The Best Biscuits:
Detailed instructions are included in the recipe below for how to make biscuits. But first, please take a moment to read the following tips so that your biscuits are sure to be perfectly soft, flaky, tall, and EPIC. ♡
- Keep your ingredients cold, cold, cold: In order for the butter to stay extra-cold and not melt while forming these biscuits — which will help them to rise in the oven to flaky perfection — it’s important that the butter and other ingredients in this recipe stay as cold as possible before baking. So be sure that your butter and buttermilk are completely chilled and stay in the fridge until you add them to the recipe. (Or better yet, pop the butter in the freezer for 30 minutes before adding it to the recipe.) Then try to work quickly once the butter has been added to the recipe, avoid touching the butter with your warm hands as much as possible, and let the formed biscuits chill in the fridge or freezer for 15 minutes before baking so that the butter can firm back up again. It sounds picky, but keeping your butter nice and cold will really make a difference in this recipe!
- Aim for pea-sized butter chunks: When cutting (mixing) the butter into the dry ingredients, aim for it to be broken up into pea-sized chunks. You don’t want the butter chunks to be too much smaller. Otherwise, the biscuits will be flatter and less flaky.
- Be gentle with the dough: When rolling and folding the dough, try to be fairly gentle with it and do not press the dough down extra-hard with your rolling pin.
- Don’t over-flour the dough between folds: Also try to avoid adding unnecessary amounts of flour to the dough while folding and rolling it out. You will, of course, need to sprinkle on a bit of extra flour throughout the process so that the dough doesn’t stick to the surface or the rolling pin. But too much extra flour will cause the layers to separate a bunch, and your flaky biscuit layers may topple over a bit in the oven. (Which isn’t a terrible thing — they will still be delicious!)
- Don’t twist the biscuit cutter: When cutting out the biscuits, try to avoid twisting the biscuit cutter. Doing so will “seal” the edges of the biscuits, which will prevent them from separating into flaky layers and rising as tall.
- Cut the biscuits into squares (if you don’t have a biscuit cutter): Alternately, if you do not own a round biscuit cutter, you can just roll out the dough into roughly a 9-inch square, and then cut the dough into 9 equally-sized (3-inch) biscuit squares.
- Consider your options for crispy or taller biscuits: If you prefer your biscuits to have crispy sides, like I do, space them evenly apart on the baking sheet. Or if you would prefer taller biscuits with softer sides, you can place them side-by-side so that they are touching on the baking sheet (or you could opt to bake them in a cast-iron pan or pie plate instead).

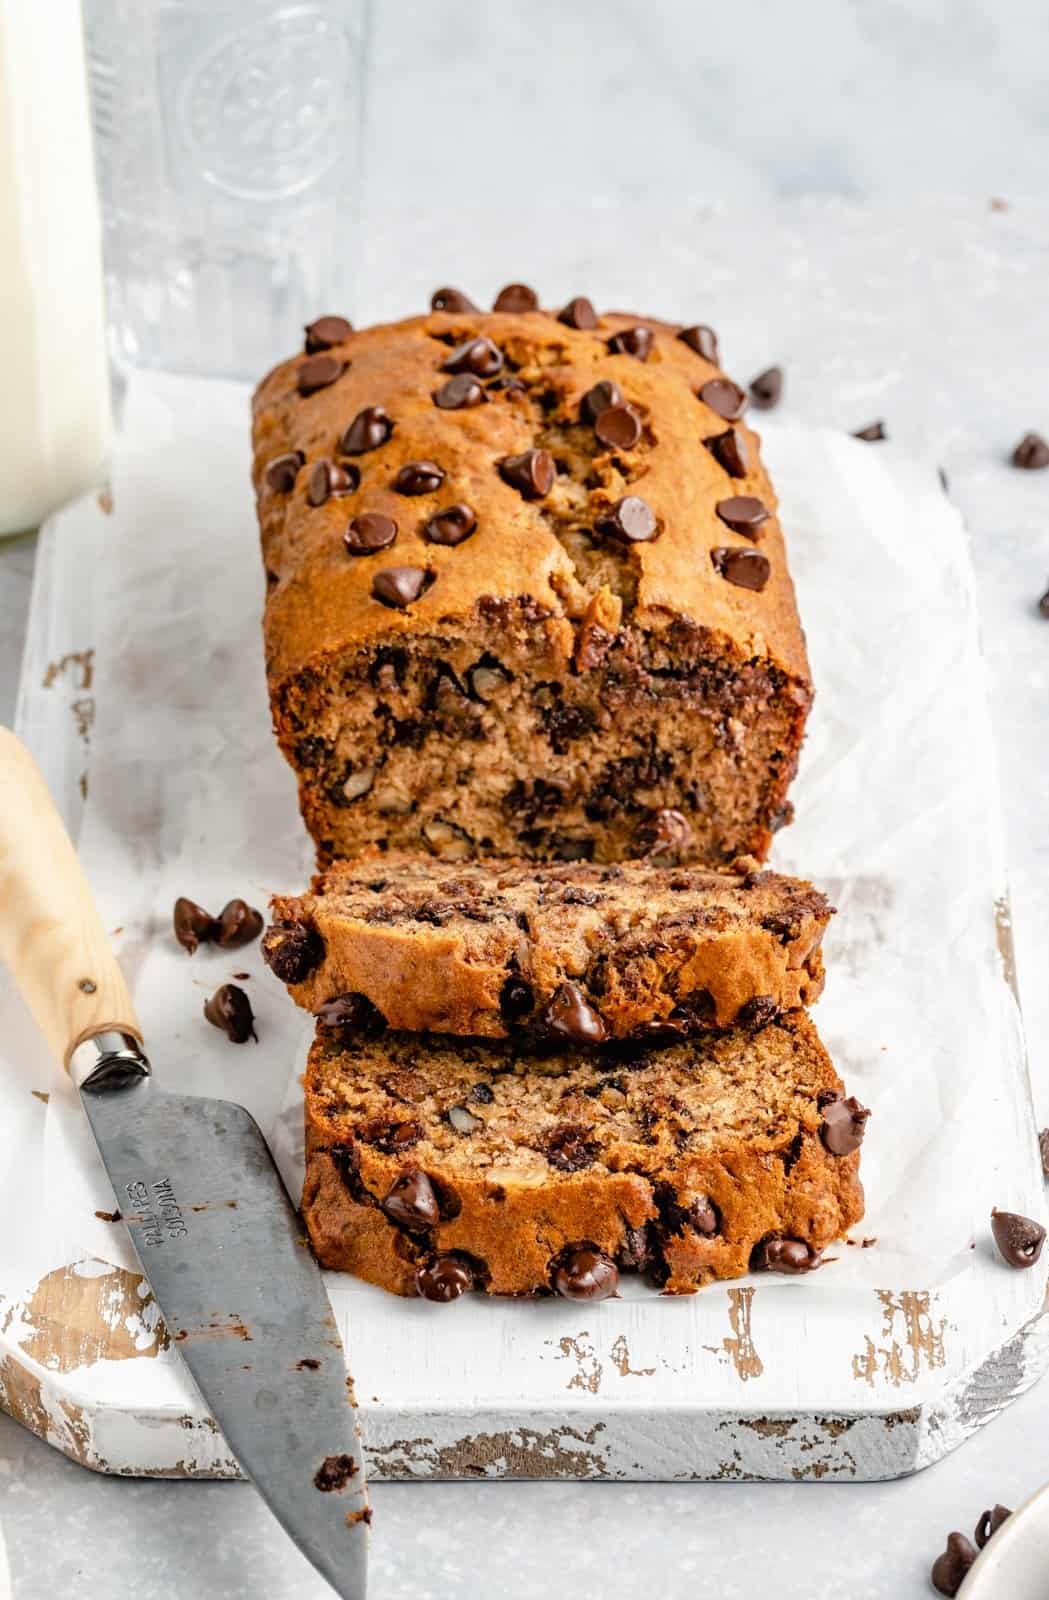
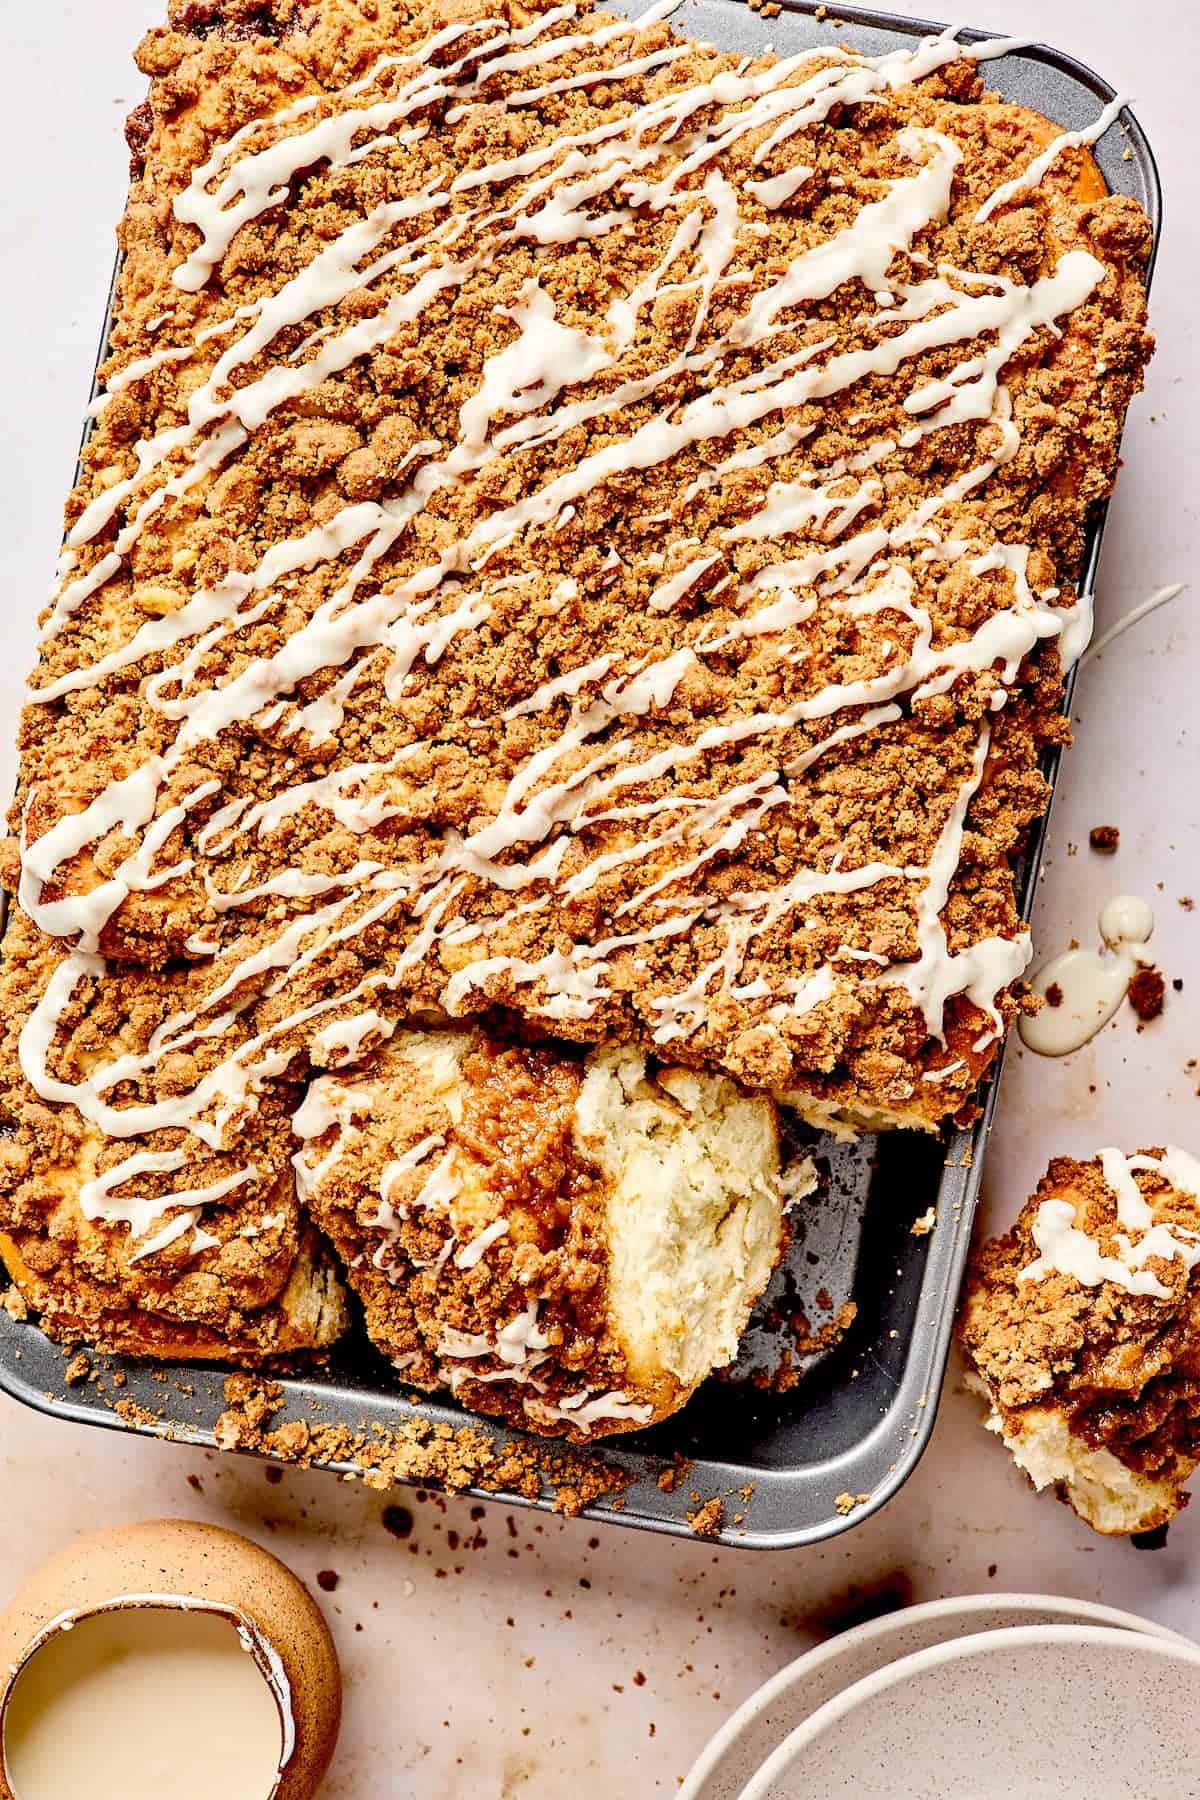
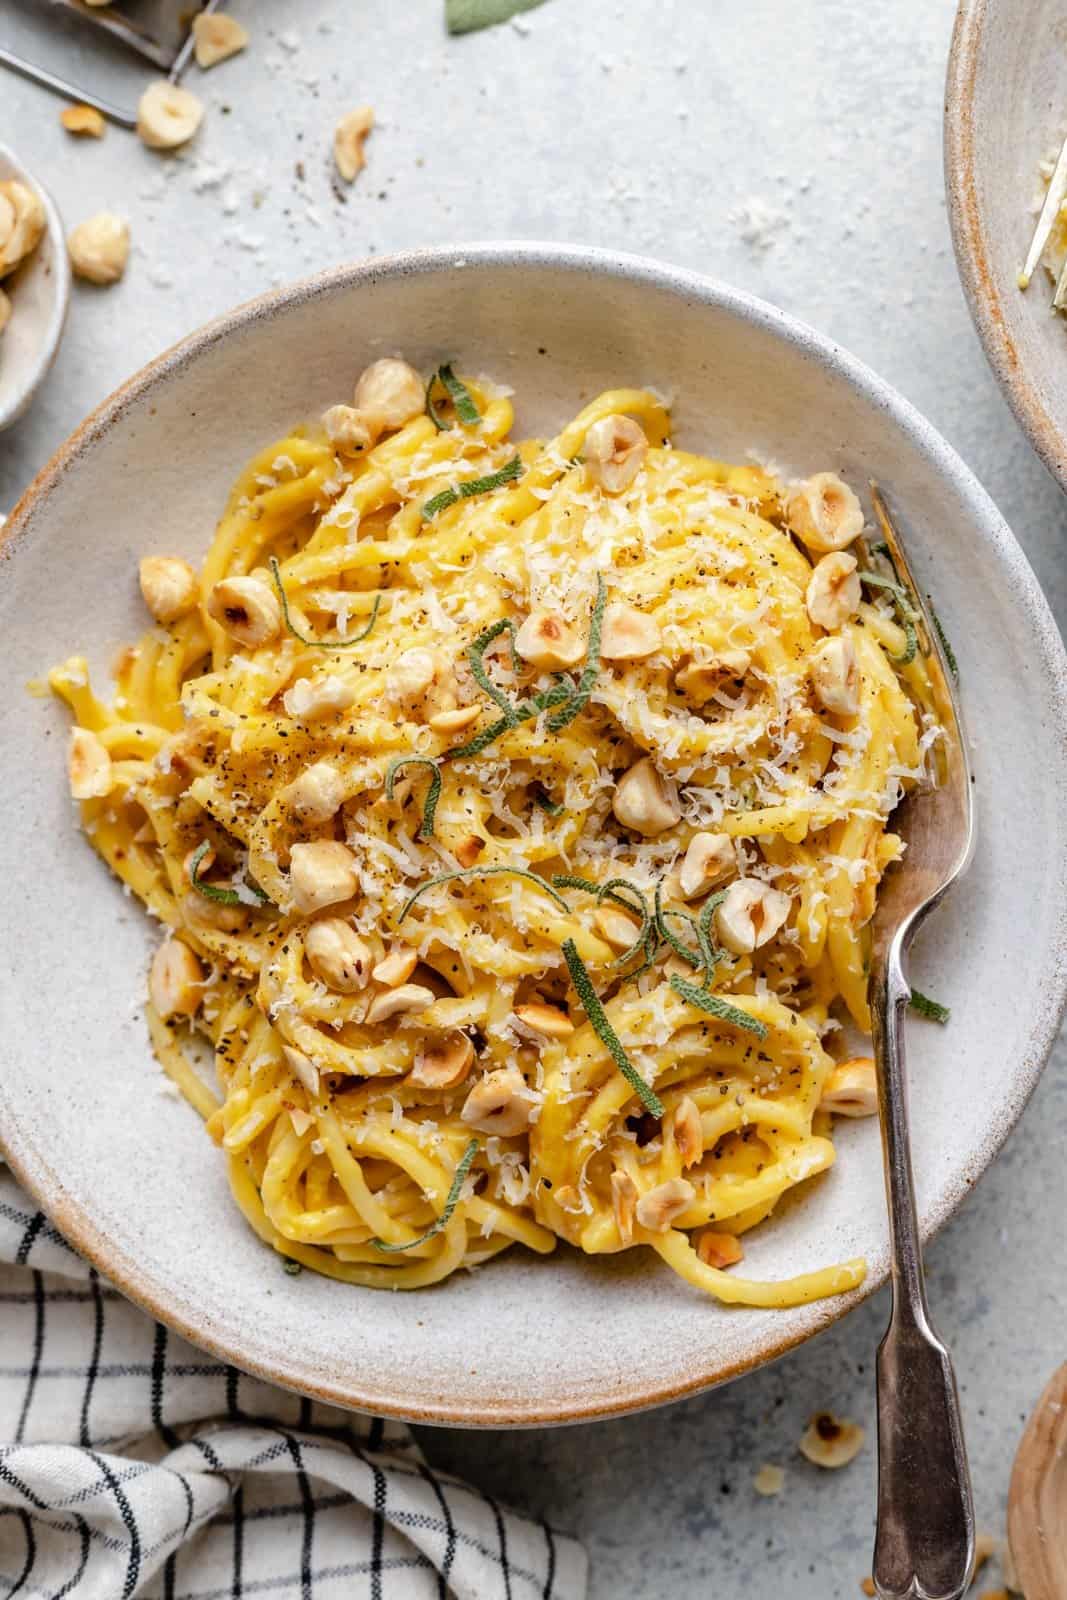
More Essential Bread Recipes:
Looking for more classic bread recipes to bookmark for your repertoire? Here are a few of my go-to favorites…

Description
My favorite homemade buttermilk biscuit recipe — easy to make, perfectly soft and tall and flaky, and always SO buttery and delicious.
Instructions
- Mix the dry ingredients: Combine the flour, baking powder, brown sugar, salt and baking soda in a large mixing bowl. Stir briefly to combine.
- Cut in the butter. Sprinkle the diced butter over the dry ingredient mixture. Use a pastry cutter or two forks (or a food processor*) to cut the butter into the dry ingredients until it is well-mixed and forms pea-sized chunks of butter.
- Add the buttermilk. Pour in the cold buttermilk and stir until the dough until it is just combined. (Try to avoid over-mixing the dough.)
- Form the dough. Turn the dough out onto a floured work surface. Use your hands to quickly shape the dough into a small rectangle. Use a rolling pin to roll the dough out evenly until it is about 1/2-inch thick.
- Fold the dough. Then fold the dough on top of itself into thirds (like you are folding an envelope, see image above). Rotate the dough 90 degrees. Then repeat the folding process a second time, rotate, repeat the folding process a third time, rotate.
- Cut the dough. Roll the dough out once more into a roughly 10 x 5-inch rectangle. Then use a 2 to 2.5-inch biscuit cutter to firmly cut the dough into 8 circles, taking care not to twist the biscuit cutter at all when cutting the dough, and arrange the biscuits evenly on the prepared baking sheet.* If you would like, re-roll the remaining dough scraps and cut out 1 or 2 more biscuits.
- Heat the oven. Heat the oven to 450°F (232°C). And transfer the biscuits to your freezer or refrigerator for 15 minutes as the oven heats.
- Bake. Once the oven is ready to go, bake the biscuits for 10-12 minutes, or until they achieve your desired level of browning on top. Transfer the baking sheet to a wire rack. Then, if you would like, brush the tops of the biscuits with some melted butter and sprinkle with a pinch of flaky sea salt.
- Serve. Serve warm and enjoy!
Notes
Chilling the butter: If you have the extra time, I recommend chilling your butter in the freezer for 30 minutes before adding it to the recipe so that it can be extra cold. (I also recommend chilling the flour too!)
Alternate food processor shortcut: Alternately, if you happen to own a food processor, you can add the dry ingredients (flour, baking powder, light brown sugar, salt and baking soda) to the food processor and pulse a few times to combine. Sprinkle the cubed butter on top of the dry ingredients and pulse a few more times until it forms pea-sized clumps. Then transfer the mixture to a large mixing bowl, stir in the buttermilk, and continue on with the recipe as directed.
Arranging the biscuits on the baking sheet: If you prefer your biscuits to have crispy sides, like I do, you can space them evenly apart on the baking sheet. Or if you would prefer taller biscuits with softer sides, you can place them side-by-side so that they are touching on the baking sheet (or you could opt to bake them in a cast-iron pan or pie plate instead).
Source: Recipe very slightly adapted from Food.com.
