
Preheat your oven for a classic recipe for Slice-and-Bake Butter Cookies rolled in rainbow sprinkles.
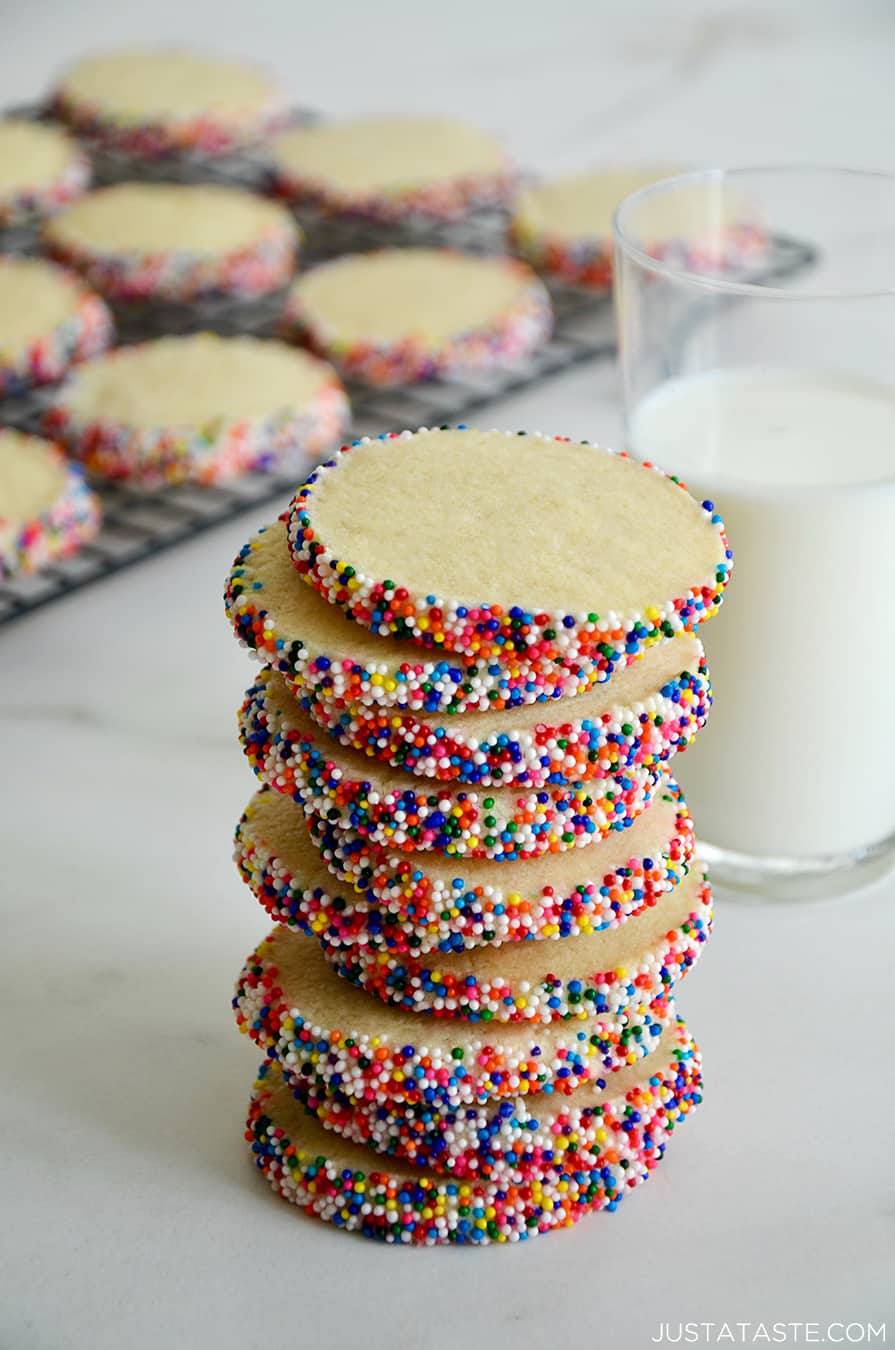
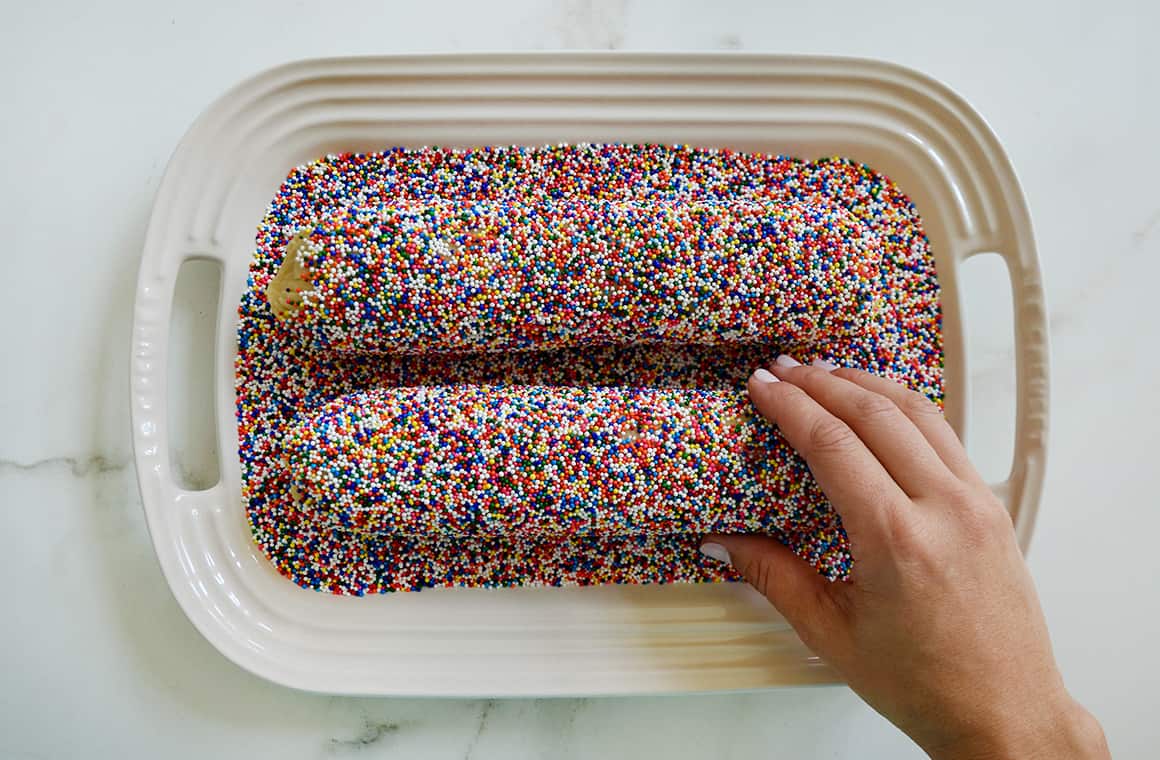
There’s just something about the process of rolling a log of butter cookie dough in a giant plate of sprinkles and then slicing the log into rounds. I feel like more of an artist than a chef, and just look at those results!
If you’re looking for the iconic butter cookie, but with a bit of rainbow sprinkle pizzaz, you’ve come to the right place!
Do You Use Salted or Unsalted Butter for Cookies?
It’s the most common question when it comes to this classic recipe, precisely because the star ingredient is in the title itself: butter!
So which type should you use when it comes to baking? The general rule is that you should always use unsalted butter so that you can control the amount of salt. It’s an obvious but important point that it’s always easier to add salt than to take it away. When in doubt, use unsalted butter!
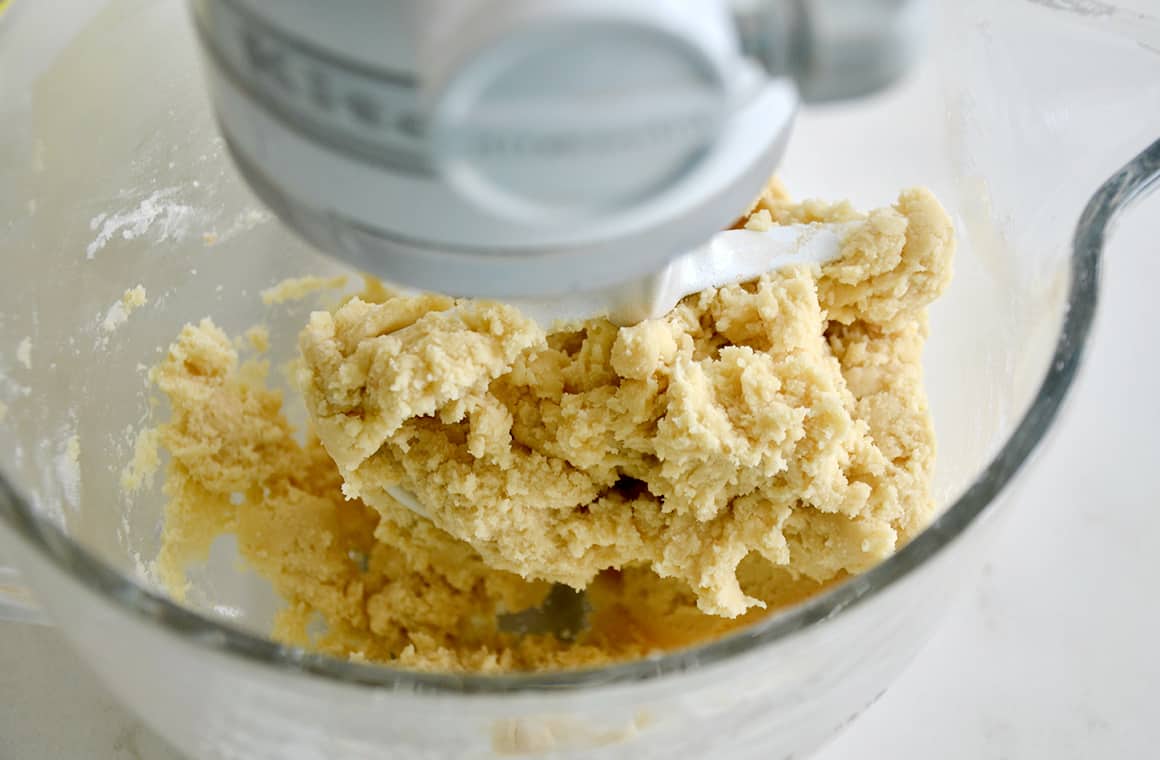
How Long Should You Cream Butter and Sugar?
Creaming the butter and sugar to the point where it’s light and fluffy is the key to the most tender, chewy butter cookies. I aim for about 2 minutes of beating in a stand mixer at medium speed. Whether you’re using a stand mixer or a hand mixer, the visual clue is that the mixture will look almost aerated as the sugar dissolves within the butter and fluffs up.
How Long Does Cookie Dough Last In the Fridge?
If wrapped securely in plastic wrap, homemade cookie dough of any variety should last up to 3 days. Now the freezer is a whole other story! If your dough is packaged in a way that prevents air from getting to it, you’ll have good quality cookie dough for months.
How to Cleanly Slice Butter Cookies
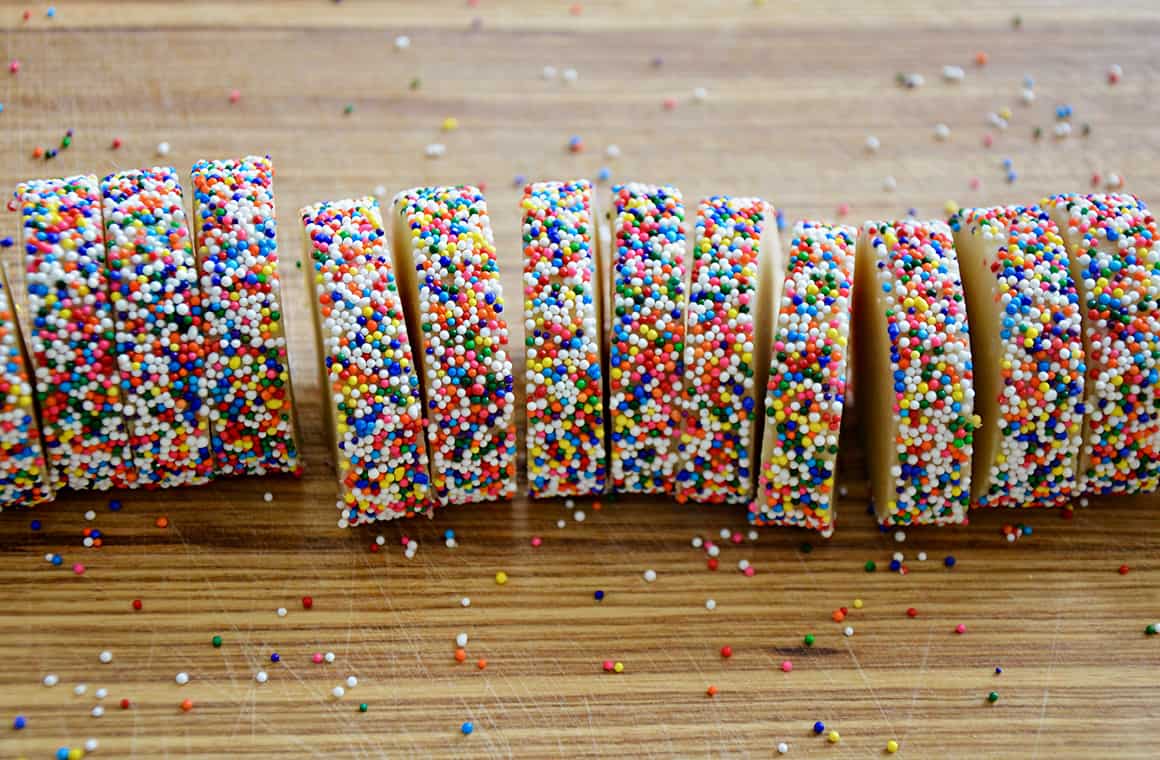
This cookie is very butter-centered, which means the warmer the dough gets, the harder it will be to slice. In order to get nice clean rounds like the ones pictured below, chill your sprinkle-studded dough in the fridge or freezer until it is completely firm throughout.
With your dough sufficiently chilled, it’s then time to grab your sharpest (non-serrated) chef’s knife and let the slicing begin!
How to Bake Cookies So They Are Soft
I am Team Soft and Chewy when it comes to all types of cookies (chocolate chip in particular!). In order to achieve this texture and steer clear of all things crispy, it’s important to understand the importance of underbaking your cookies. I repeat: Underbaking!
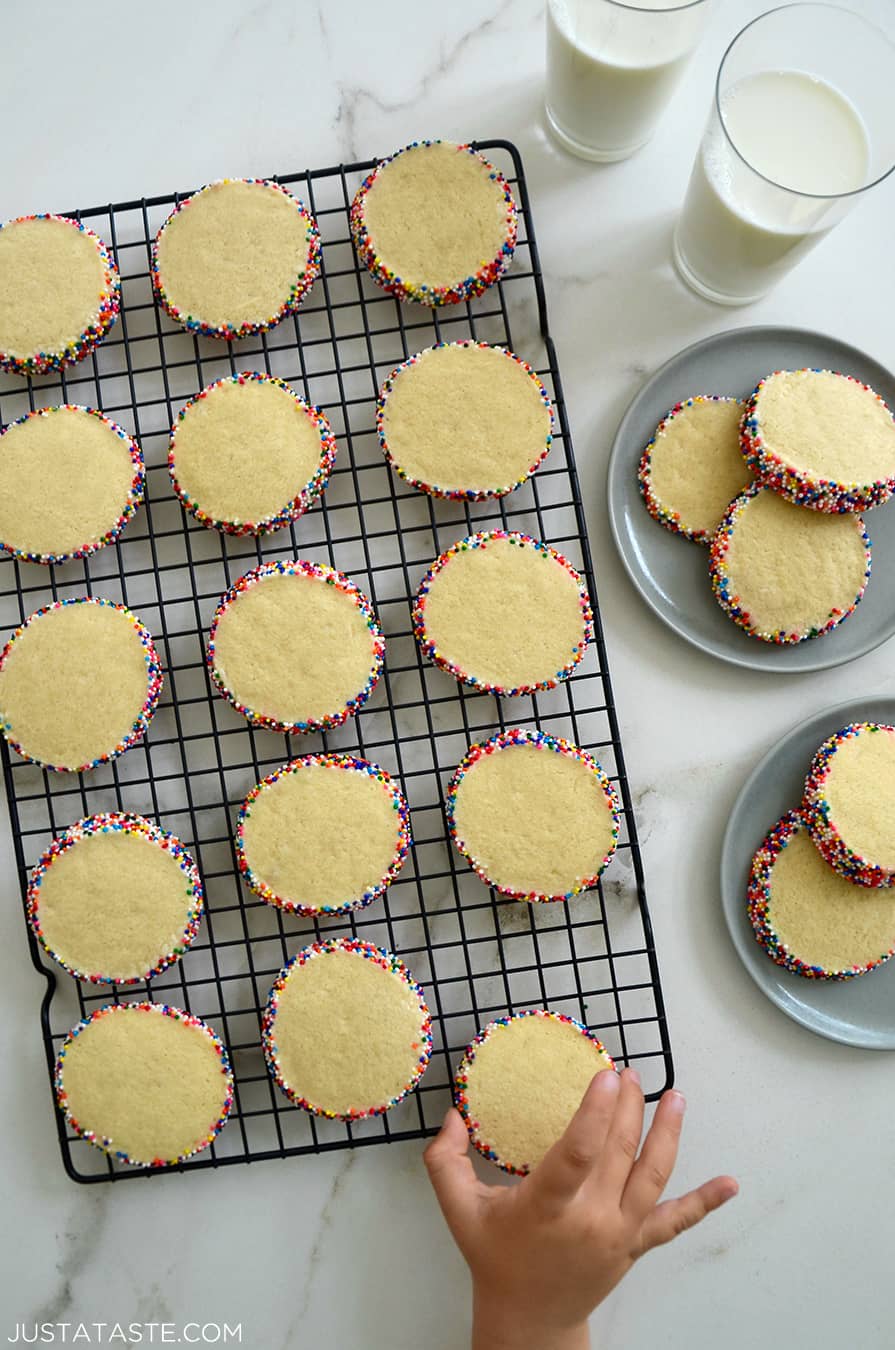
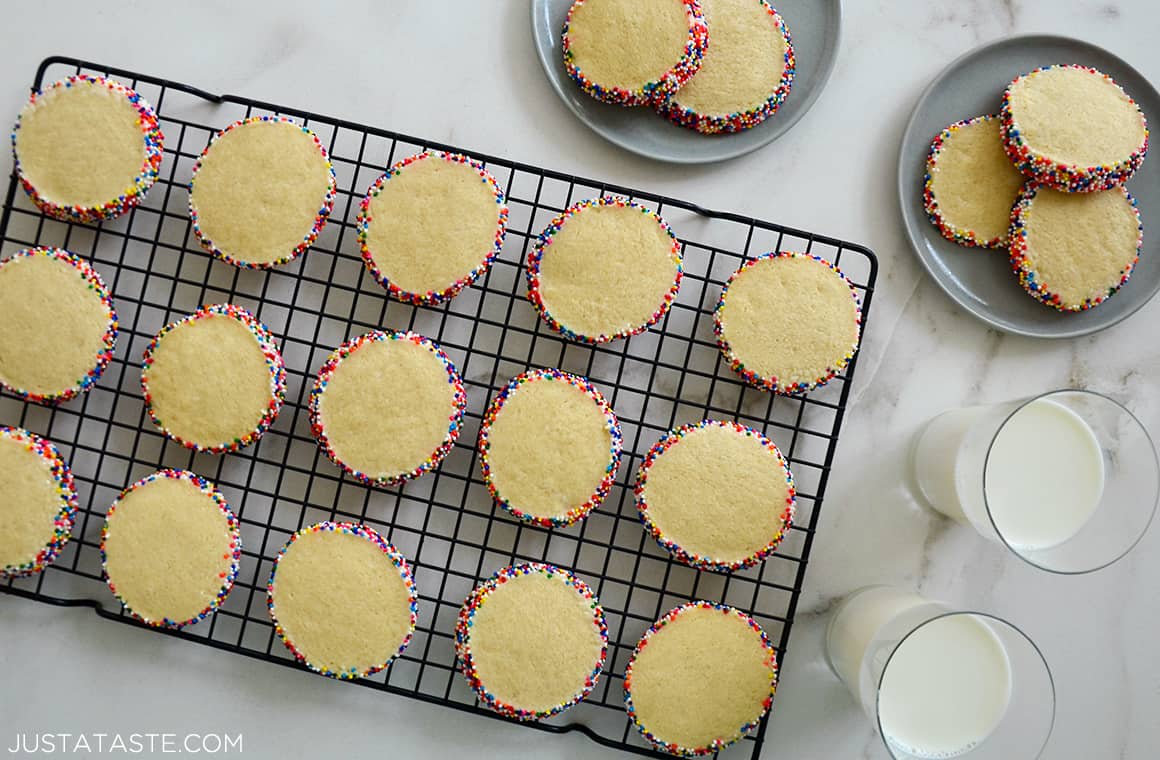
I pull my cookies from the oven when the centers are just barely set and they still appear partially unbaked. I then let them cool completely (this is the most important part!) on the piping hot baking sheets outside the oven. This method of underbaking and then letting the cookies rest on the hot baking sheets will ensure you have soft and chewy Slice-and-Bake Butter Cookies every single time!
Craving more? Subscribe to Just a Taste to get new recipes, meal plans and a newsletter delivered straight to your inbox! And stay in touch on Facebook, Twitter, Pinterest and Instagram for all of the latest updates.
-
In a medium bowl, sift together the flour, baking powder and salt.
-
In the bowl of a stand mixer fitted with the paddle attachment, beat the butter until smooth, about 2 minutes. Add the sugar and continue beating until the mixture is light and fluffy, about 3 minutes. Add the eggs one at a time, beating between each addition, then add the vanilla.
-
Turn the mixer off. Add the flour and then beat just until combined.
-
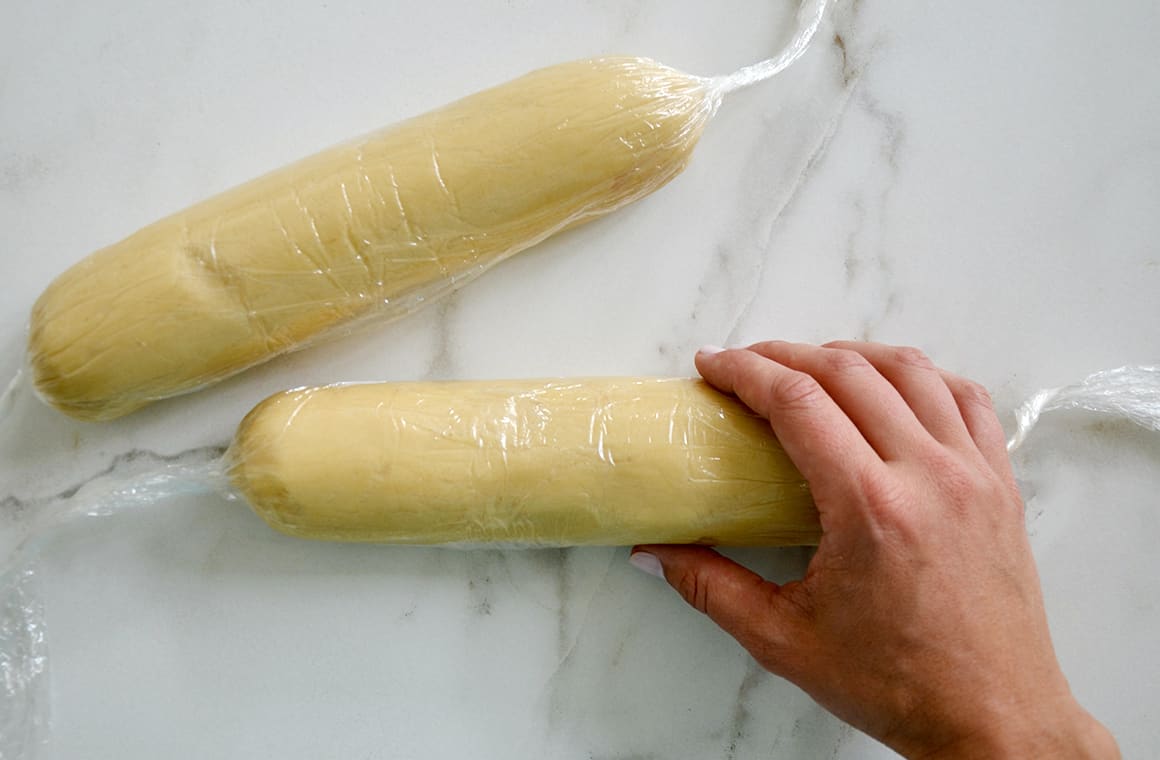
Divide the dough in half then shape each piece of dough into a log. Wrap each dough log securely in plastic wrap and refrigerate them for a minimum of 1 hour and up to a week. (See Kelly’s Notes.)
-
Remove the dough from the fridge, then roll each log in sprinkles (optional).
-
Preheat the oven to 350ºF and line two baking sheets with parchment paper.
-
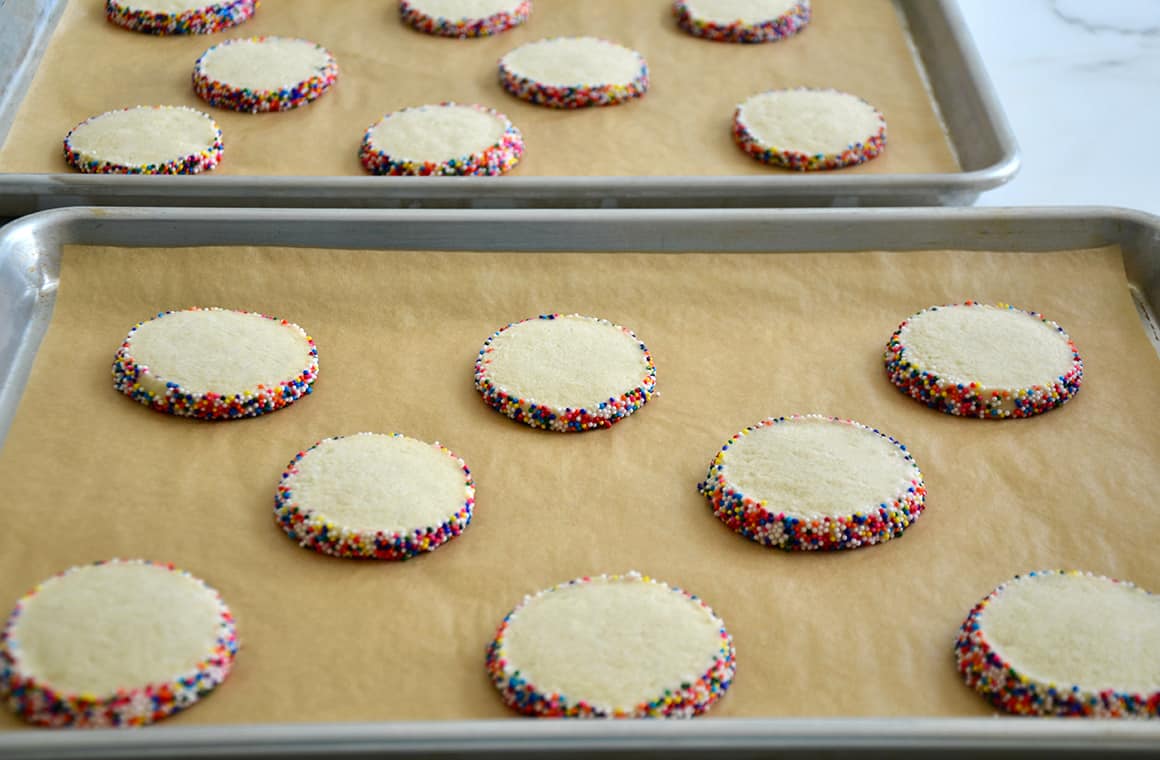
Working with one log at a time, slice it into 1/4-inch rounds. Arrange the cookies on the prepared baking sheets, spacing them 1 inch apart. Freeze the cookies for 10 minutes.
-
Bake the cookies for 12 to 15 minutes until set. (See Kelly’s Notes.) Remove the cookies from the oven and let them cool for 5 minutes on the baking sheet before transferring them to a wire rack to cool completely. Repeat the slicing and baking process with the second log of dough.
Kelly’s Note:
-
The dough can be stored securely in plastic wrap in the fridge for up to 1 week or in the freezer (in a sealable plastic bag) for up to 2 months.
-
The cookies should not get golden brown. In order to keep them soft and chewy, bake them just until set. They will continue baking on the hot baking sheet once they’re removed from the oven, so when in doubt, underbake them.
-
★ Did you make this recipe? Don’t forget to give it a star rating below!


