Whip up a bakery-worthy recipe for the best Soft M&M Cookies with all of my tips and tricks for guaranteeing confection perfection!

Some days you really need a chewy cookie, specifically one that’s soft, rich and studded with a rainbow of M&Ms. So on the days a crispy, crunchy cookie just won’t do, this right here is the cookie for you.
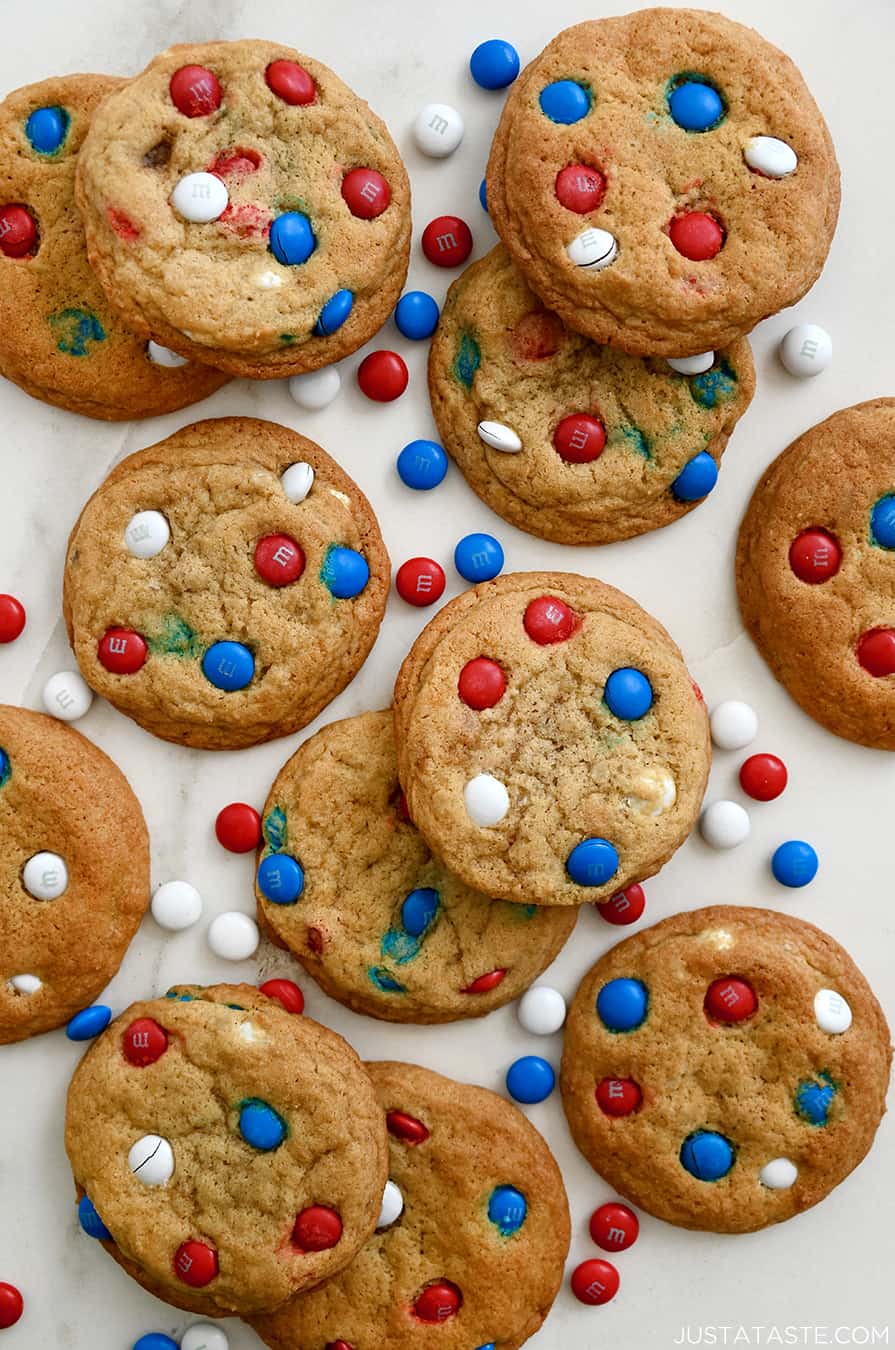
Baking is a science, after all, but creating the perfect soft and chewy cookie doesn’t need to require a degree in chemistry. I’ve done all the testing for you, from balancing out the perfect ratio of white and brown sugars, to deciphering the perfect bake time. Read on for the best M&M cookie recipe that’s ready and waiting for you to customize with your candy-coated chocolates of choice, from rainbow to Christmas to Fourth of July!
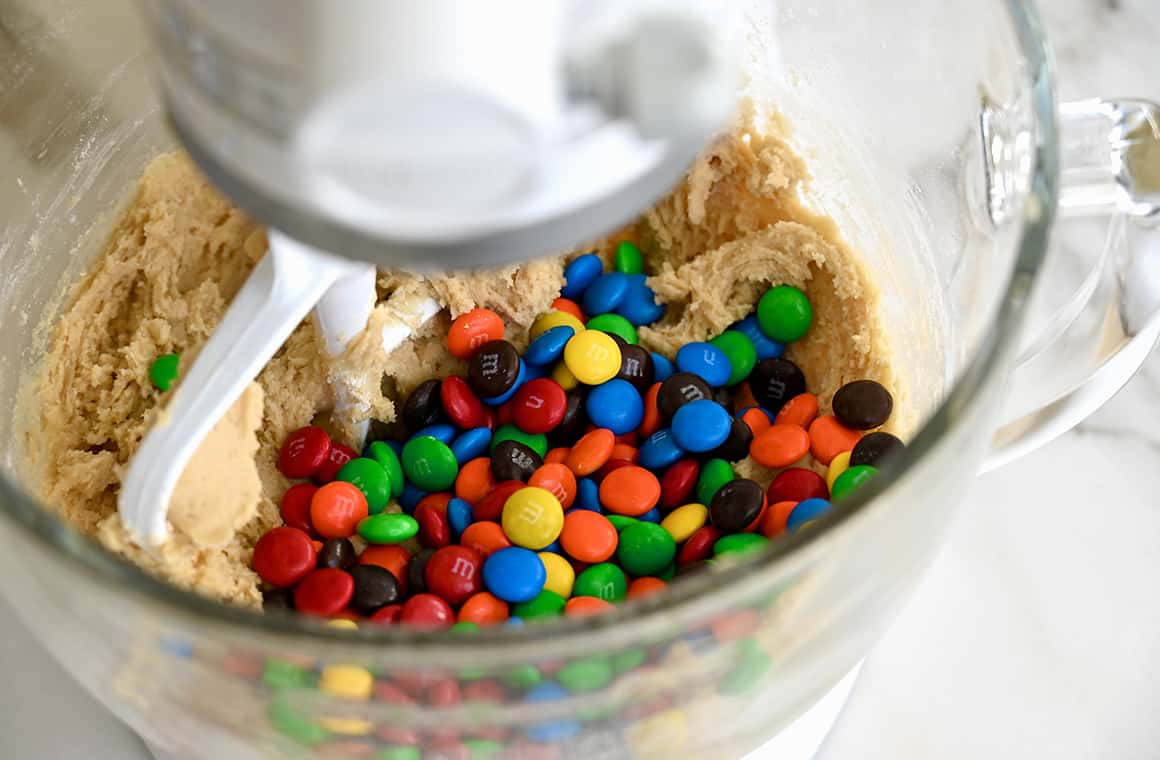
How to Make M&M Cookies
Once your wet and dry ingredients are beaten together in your stand mixer, you’ll be able to gradually fold in the M&Ms at the last moment to make sure these don’t turn into more of a funfetti effect.
One of my favorite ways to make baking easier is to scoop cookies onto a baking sheet before chilling them. When you scoop right after mixing, the dough is at its softest and most pliable state, making scooping beautiful, uniform cookies easy and effortless.

How to Make Soft and Chewy Cookies
There are almost too many bits of advice on creating soft and chewy cookies. It really does feel like chemistry and physics homework when bakers bring up how altitude, flour density and temperature can affect a cookie’s texture, which is true. But creating soft, chewy cookies couldn’t be simpler.
All you have to do is, wait for it, underbake the cookies slightly. Remove them from the oven when they are barely set in the center and then allow them to continue baking on the hot baking sheets outside the oven for 5 minutes. That’s it. That’s the tip!

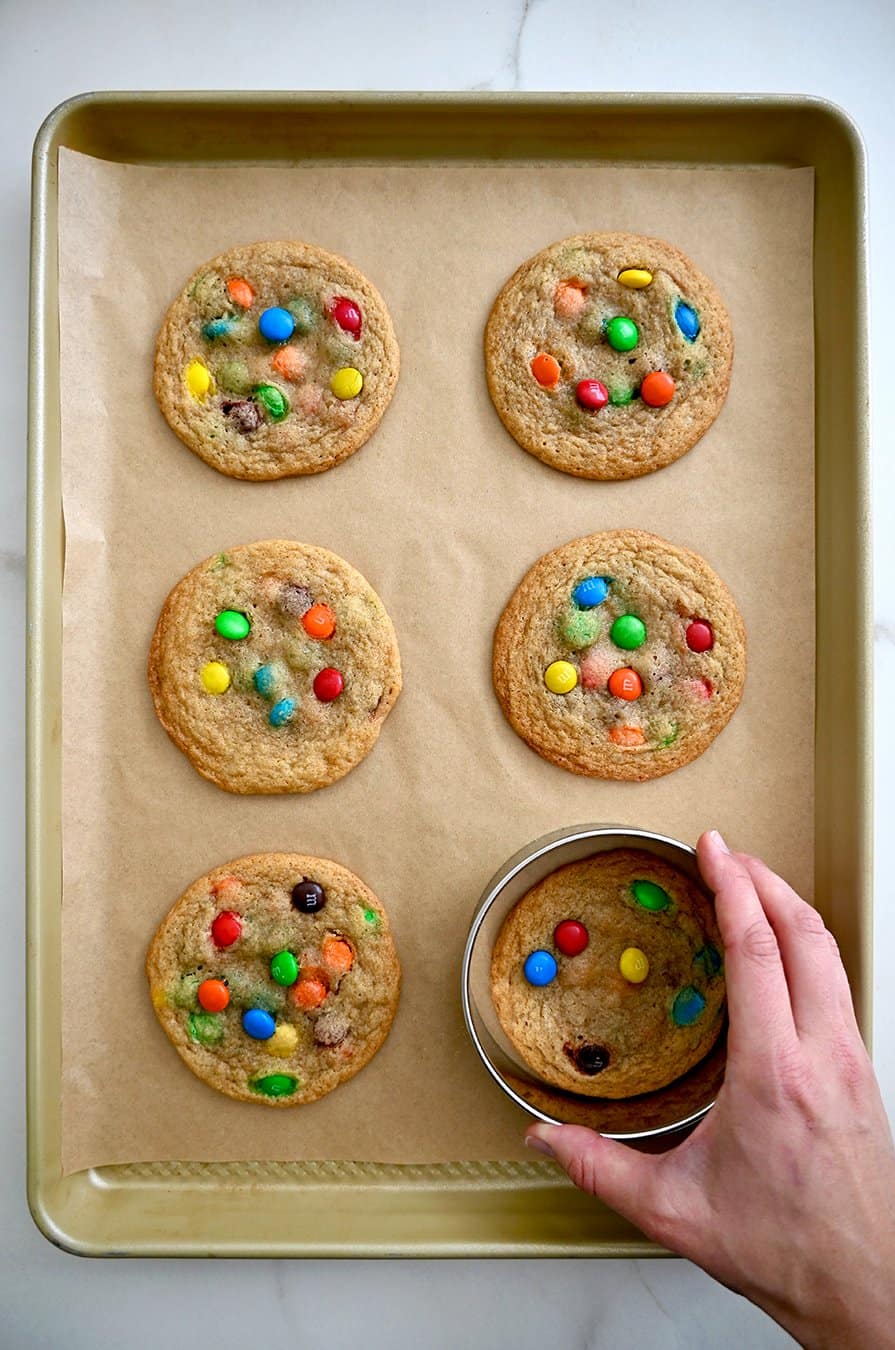
Want more uniformly-shaped cookies? No problem! Right after removing the cookies from the oven, use a large circular ring (or glass) to place on top of each cookie then rotate it in a circular motion so that the edges of the cookie hit the sides of the ring, making each cookie perfectly circular in shape.
Can You Freeze M&M Cookies?
You can (and absolutely should!) freeze your M&M cookie dough. If you find yourself with plenty of dough and want to have on-demand cookies, simply transfer your covered baking sheet of scooped dough to your freezer until the cookies are solid. Once frozen, you can transfer the cookies to a sealed plastic bag to chill in your freezer for 2 to 3 months. They will need a bit of thawing time once your cookie craving strikes again, so you can thaw overnight or add a few more minutes of baking time if you do bake from frozen.

Freezing cookie dough for later is always a great idea. What’s an even better idea? Taking two of your freshly baked cookies and making maybe the best ice cream sandwich of your life. The softness of these cookies makes them the ideal option for freezing, as they’ll retain their chewiness even in a frozen state.

Now all that’s left to do is decide which color M&Ms you’ll be mixing into your dough. Any color scheme is welcome here, from red and green for Christmas to black and orange for Halloween. Grab the candy and let the baking begin!
Craving more? Subscribe to Just a Taste to get new recipes, meal plans and a newsletter delivered straight to your inbox! And stay in touch on Facebook, Twitter, Pinterest and Instagram for all of the latest updates.
-
In a medium bowl, whisk together the flour, baking soda and salt.
-
In the bowl of a stand mixer fitted with the paddle attachment, cream together the butter, brown sugar, white sugar and vanilla extract until light and fluffy, about 2 minutes, scraping down the sides as needed. Add the eggs, one at a time, beating well after each addition. Add the flour mixture, beating to combine, then stir in the M&Ms.
-
Cover the bowl with plastic wrap and refrigerate the dough for a minimum of 2 hours and up to 3 days. (See Kelly’s Notes.)
-
When ready to bake, preheat the oven to 375°F and line two baking sheets with parchment paper.
-
Drop 2- to 3-tablespoon mounds of dough onto the baking sheets, spacing the mounds at least 2 inches apart.
-
Bake the cookies for 9 to 12 minutes, rotating the baking sheets halfway through, until the cookies are golden brown and barely set in the centers. Cool the cookies on the baking sheets for 5 minutes then transfer them to a wire rack to cool completely. (See Kelly’s Note.)
Kelly’s Notes:
-
I prefer to scoop my dough onto a lined baking sheet right after mixing it and then cover it with plastic and refrigerate it. Scooping the dough right after it has been mixed means it’ll be much softer (read: easier to scoop!) than in its’ chilled stage.
-
The number 1 tip to ensuring your cookies are soft and chewy (rather than crispy) is to underbake them. Remove them from the oven when they are barely set in the center and then allow them to continue baking on the hot baking sheets outside the oven for 5 minutes.
-
Cookies not uniformly circle in shape after baking? Five minutes after removing the cookies from the oven, use a large circular ring (or glass) to place on top of each cookie then rotate it in a circular motion so that the edges of the cookie hit the sides of the ring, making each cookie perfectly circular in shape.
-
★ Did you make this recipe? Don’t forget to give it a star rating below!


