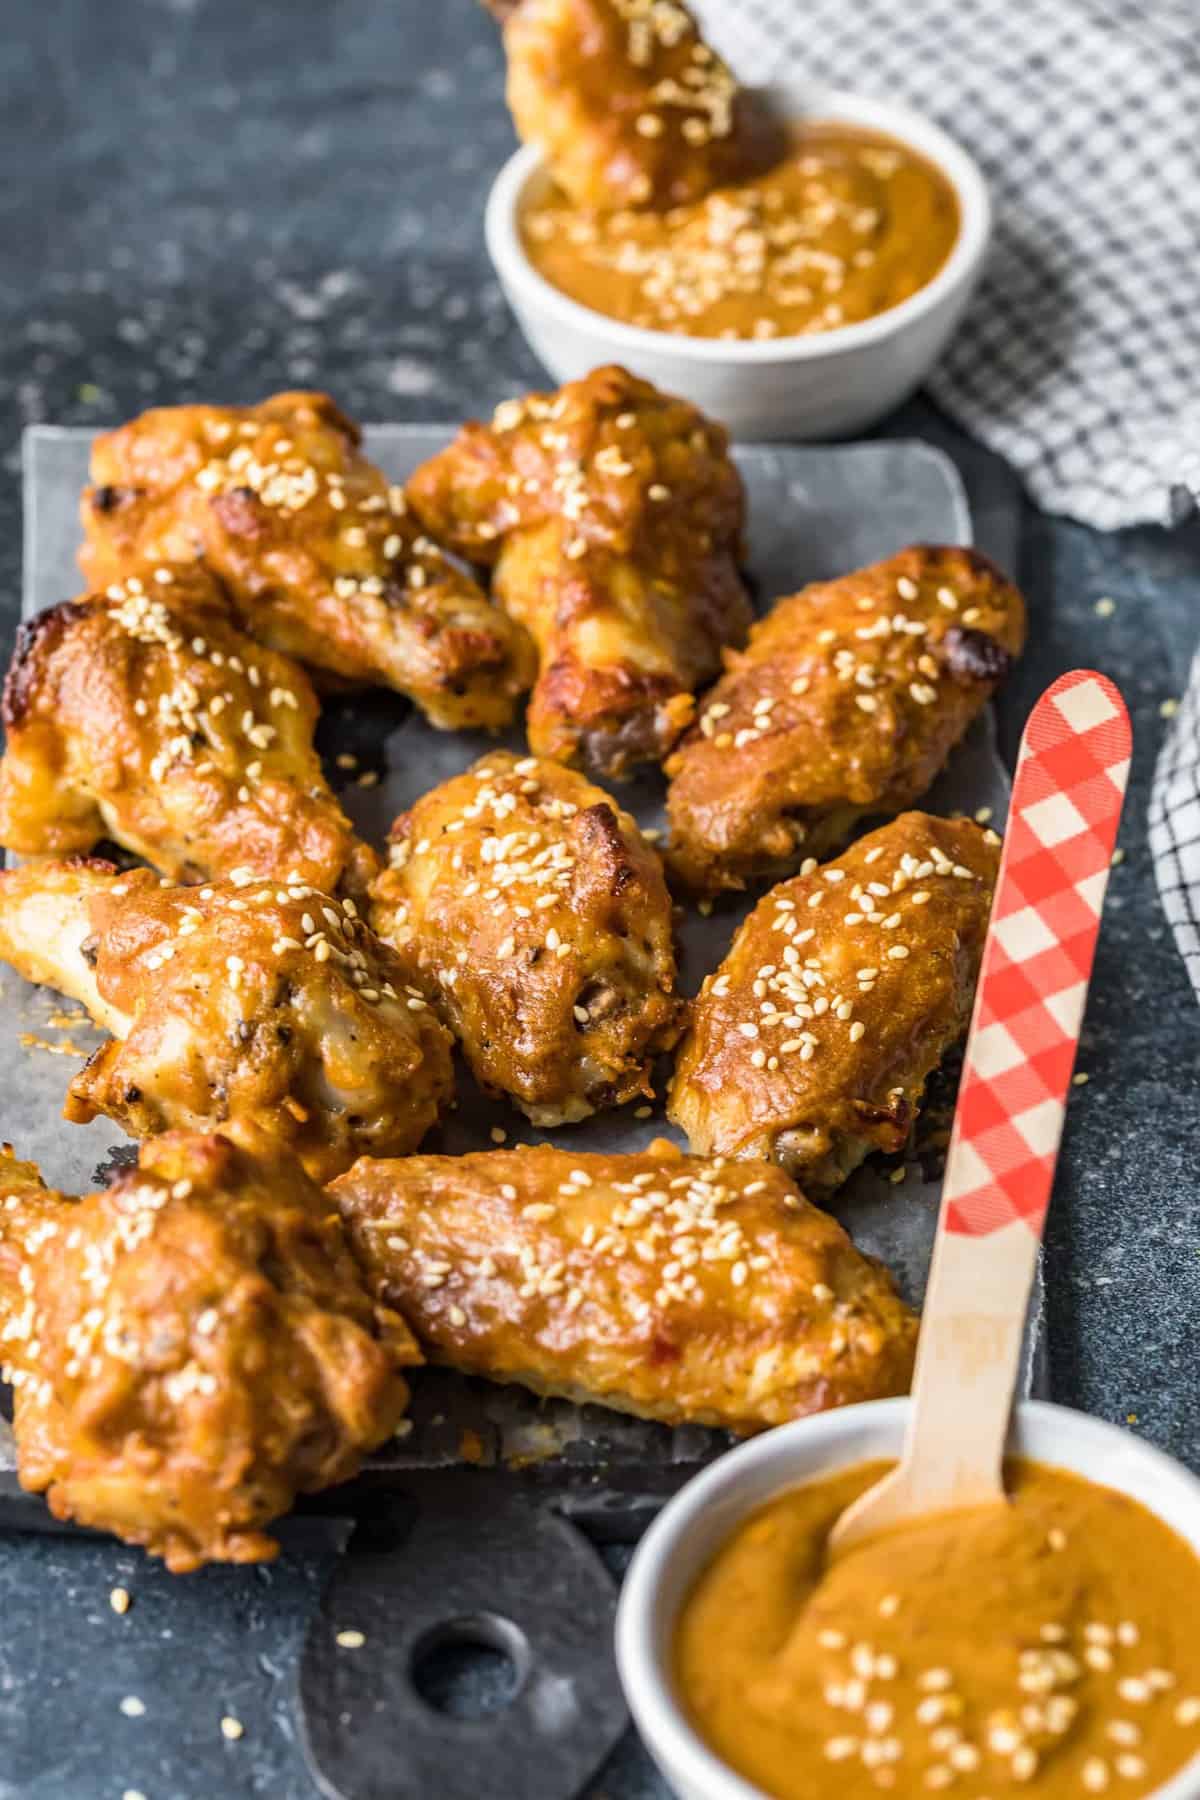
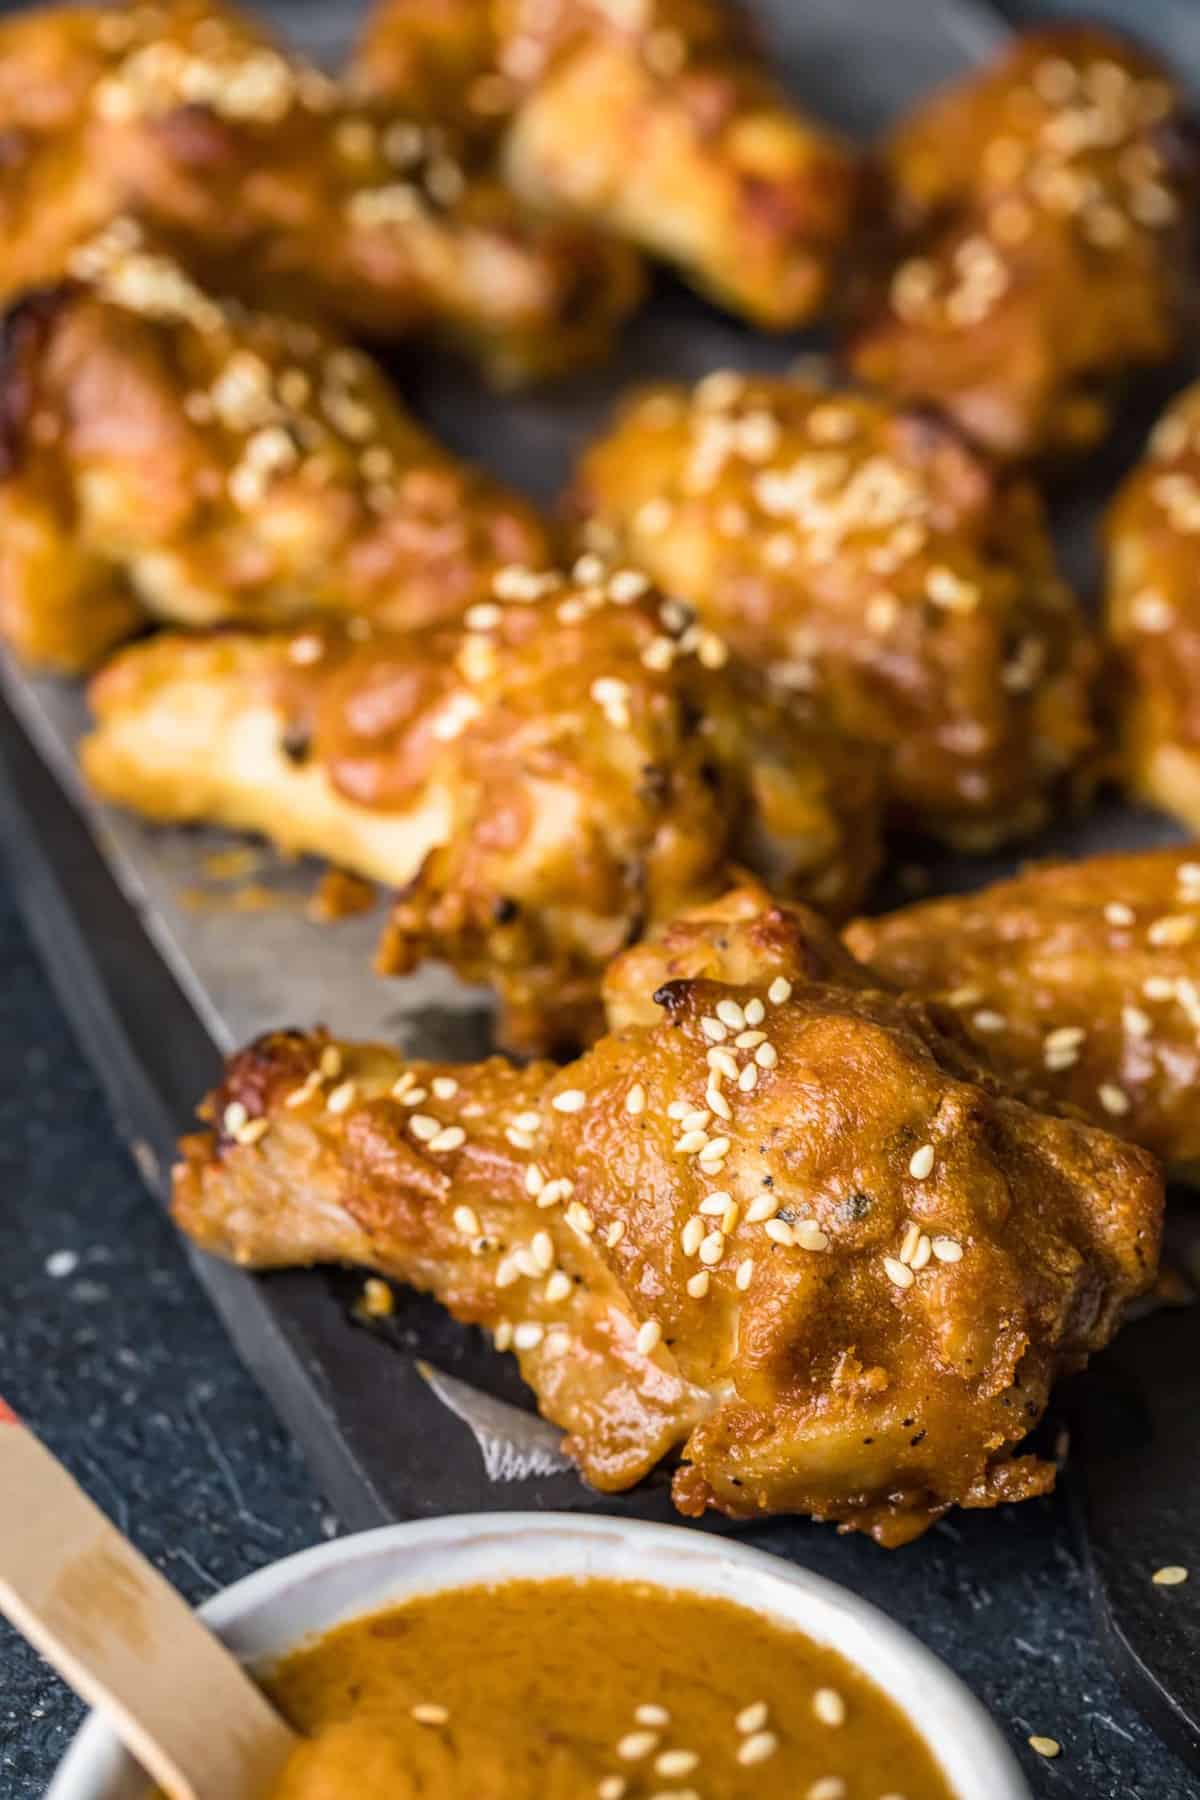
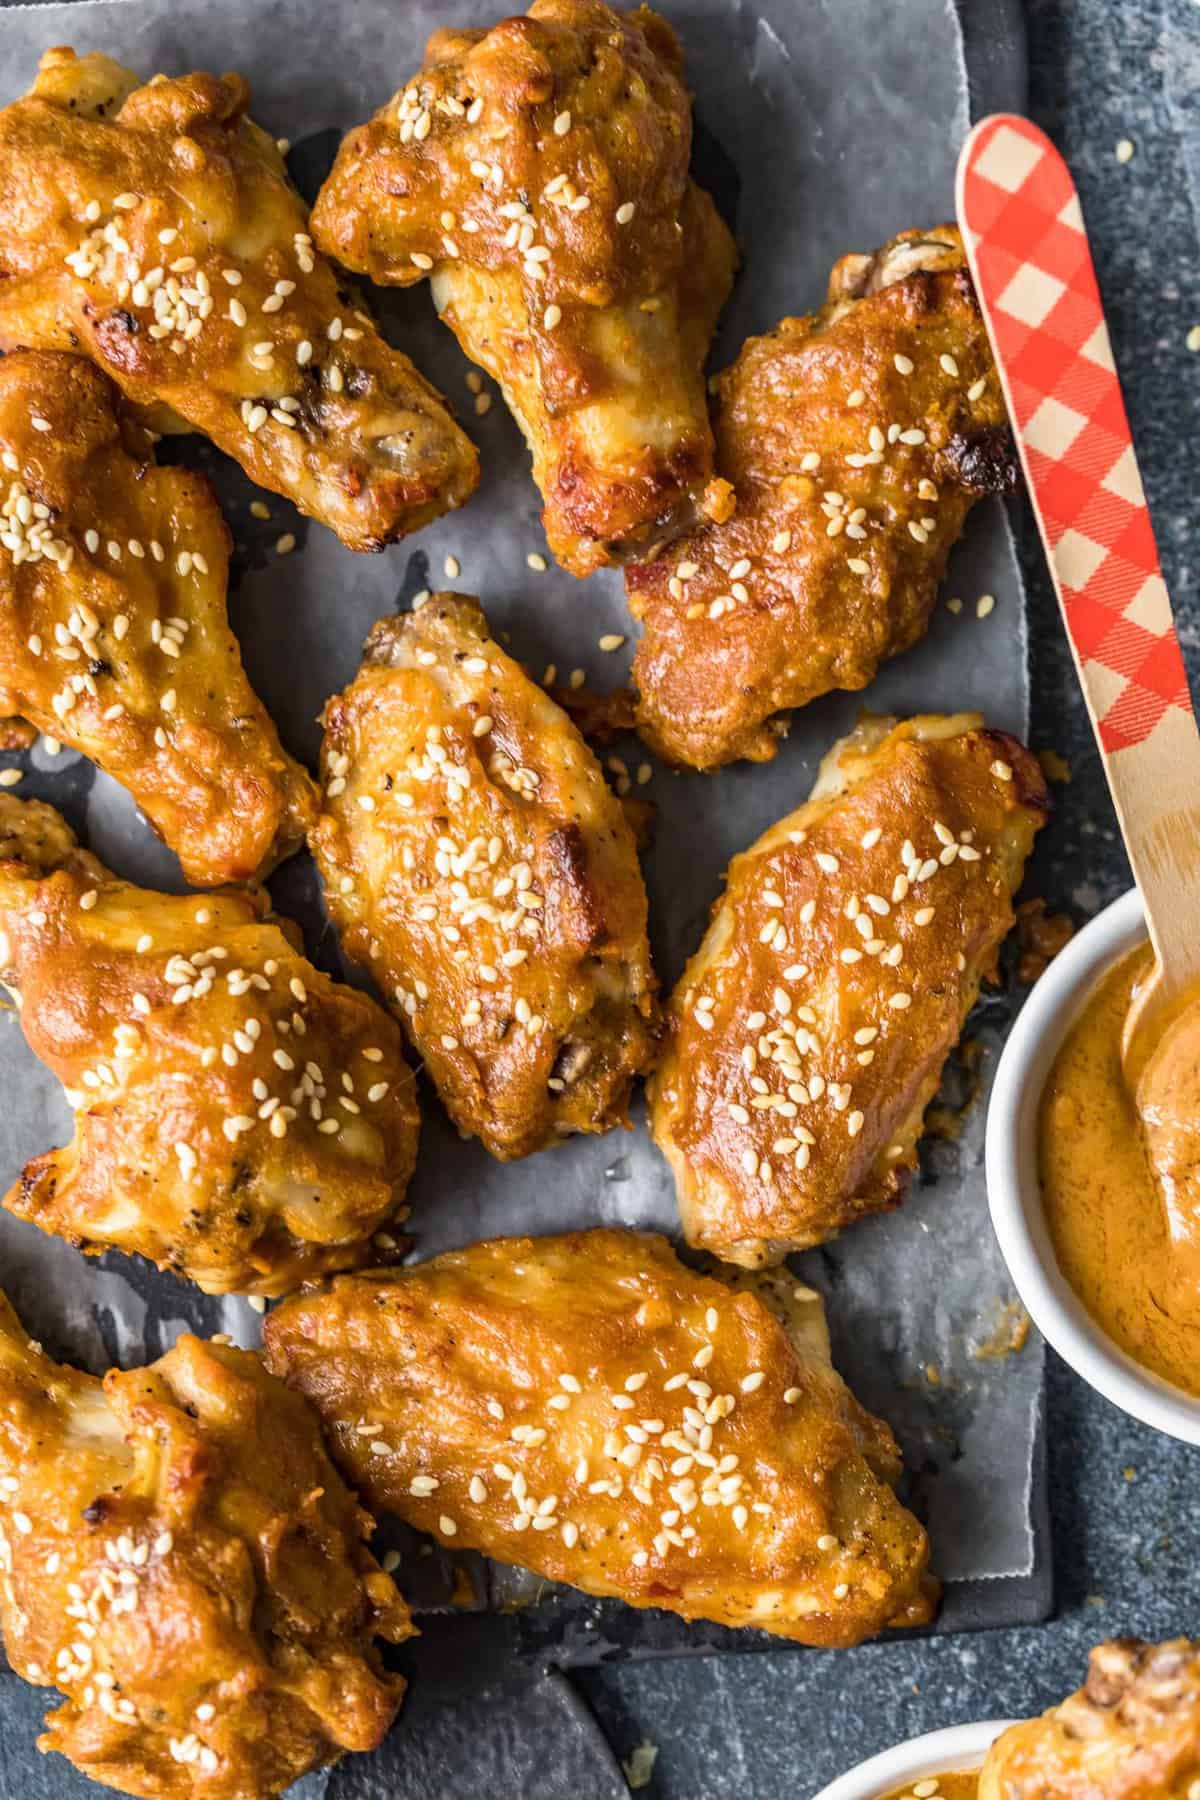
These Thai chicken wings are coated and served with a spicy peanut sauce for a delicious appetizer that’s a real crowd pleaser. These baked wings are easy to make and are a tasty alternative to your buffalo wings.

Wings are a must have when it comes to game day entertaining or feeding a crowd. It’s no secret I love wings, and for those that have already tried my Honey Glazed Chicken Wings, Garlic Parmesan Chicken Wings Recipe or The BEST Fried Buffalo Wings then I’ve got just the thing for you to mix it up on your next wings night!
How to Make Thai Chicken Wings with Spicy Peanut Sauce
FOR CHICKEN MARINADE:
-
Liberally salt and pepper the chicken. Combine the yogurt and chopped jalapeno pepper in a large bowl or zipper-style plastic bag. Add the chicken and mix well – being sure to coat all chicken pieces. Refrigerate, covered, up to 24 hours.
-
For the Thai Peanut Sauce:
-
Whisk together water, peanut butter, soy sauce, sesame oil, molasses, vinegar, chili sauce, lemongrass paste, garlic, red pepper flakes and cilantro; set aside in the fridge until ready to serve.
FOR COOKING THE CHICKEN:
-
Remove the chicken 20-30 minutes before ready to cook.
-
Heat oven to 425°F and adjust oven rack to middle position. Line a large, rimmed baking sheet with foil and spray a metal baking rack with nonstick spray. Set the rack in/over the baking sheet.
-
Remove Peanut Sauce from the fridge and reserve half for serving alongside the chicken. If the sauce has thickened while refrigerated, thin with 1-2 tablespoons of water until desired thickness.
-
Transfer chicken to the prepared baking rack/pan (shake off excess yogurt marinade as you work). Leave space between chicken pieces to facilitate even baking.
-
Bake the chicken at 425°F for 30 minutes. Remove the chicken from the oven.
-
Use tongs to dip each piece of chicken in the peanut sauce (again shaking off extra sauce), and return the chicken to the baking rack/sheet the opposite-side-up.
-
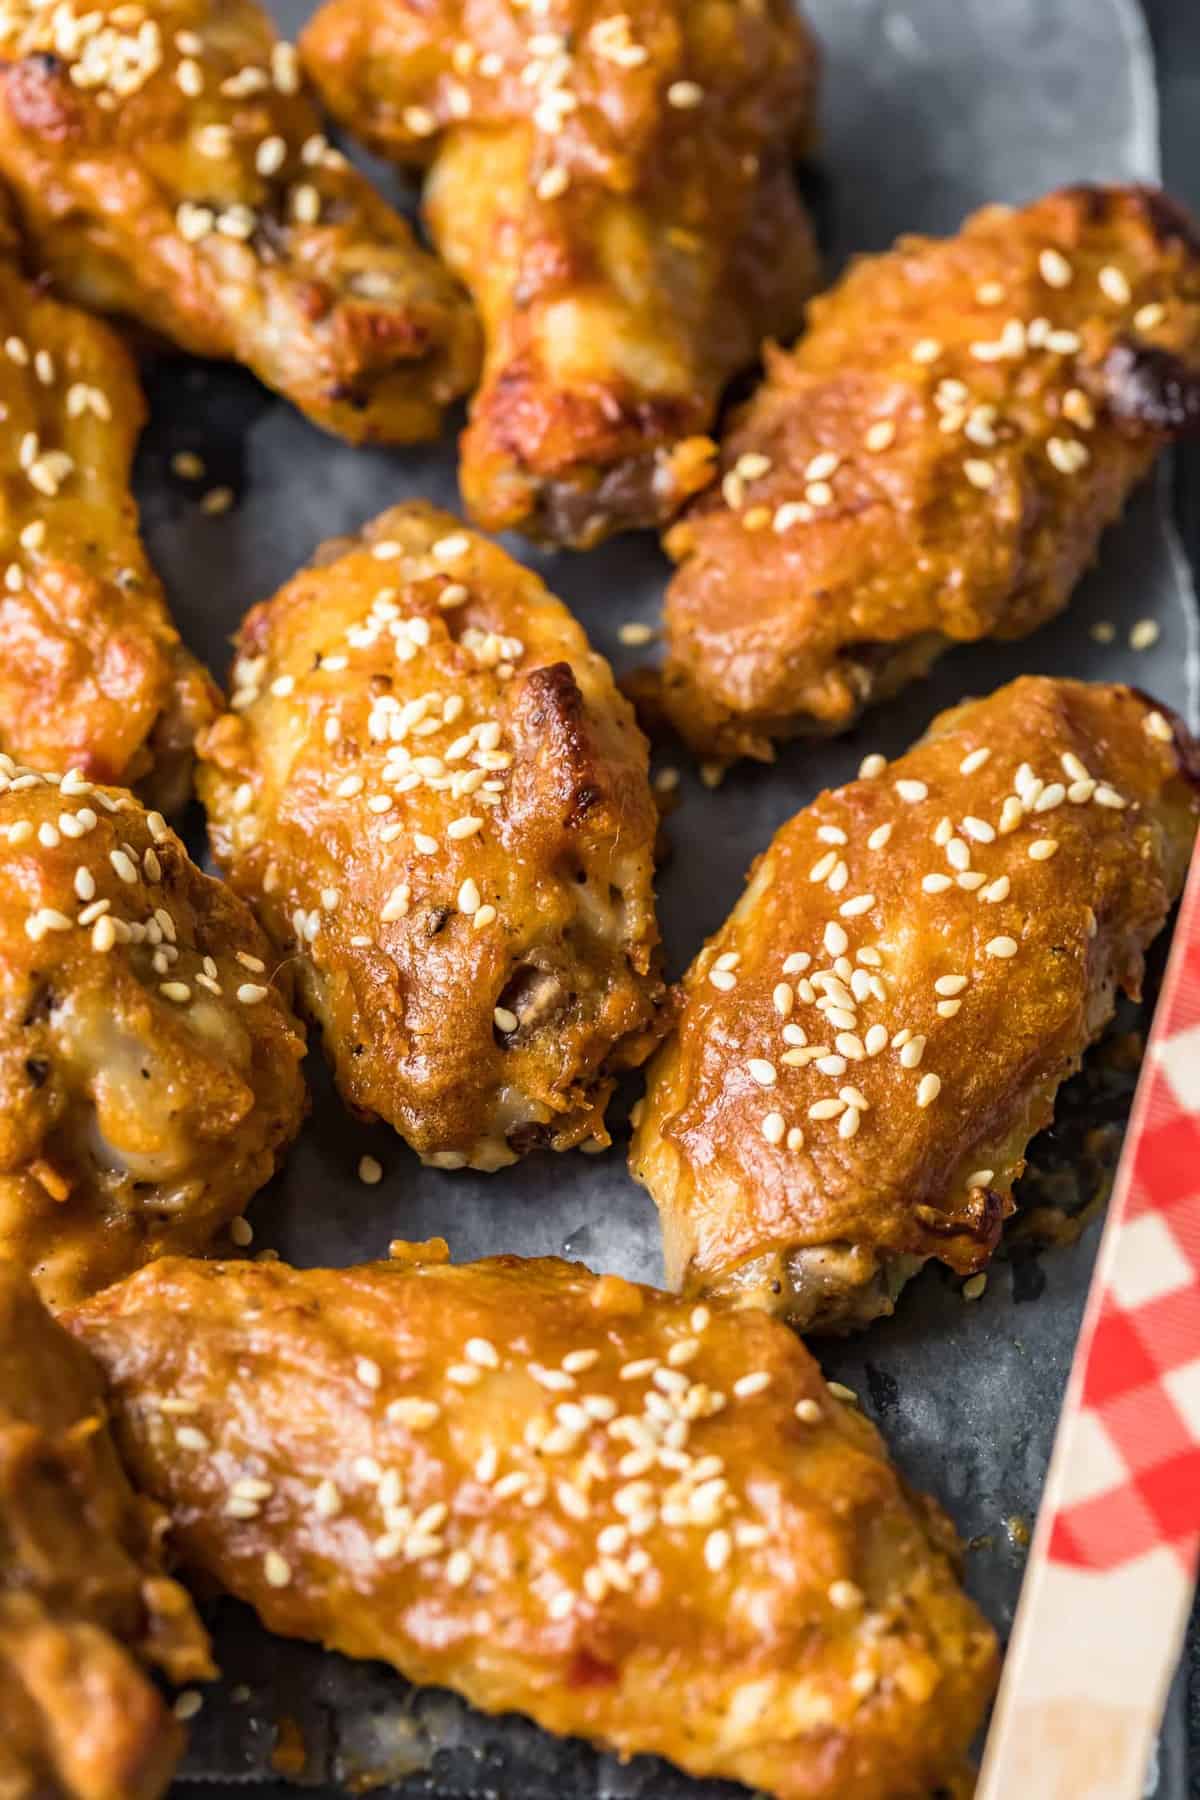
Sprinkle the chicken with toasted sesame seeds.
-
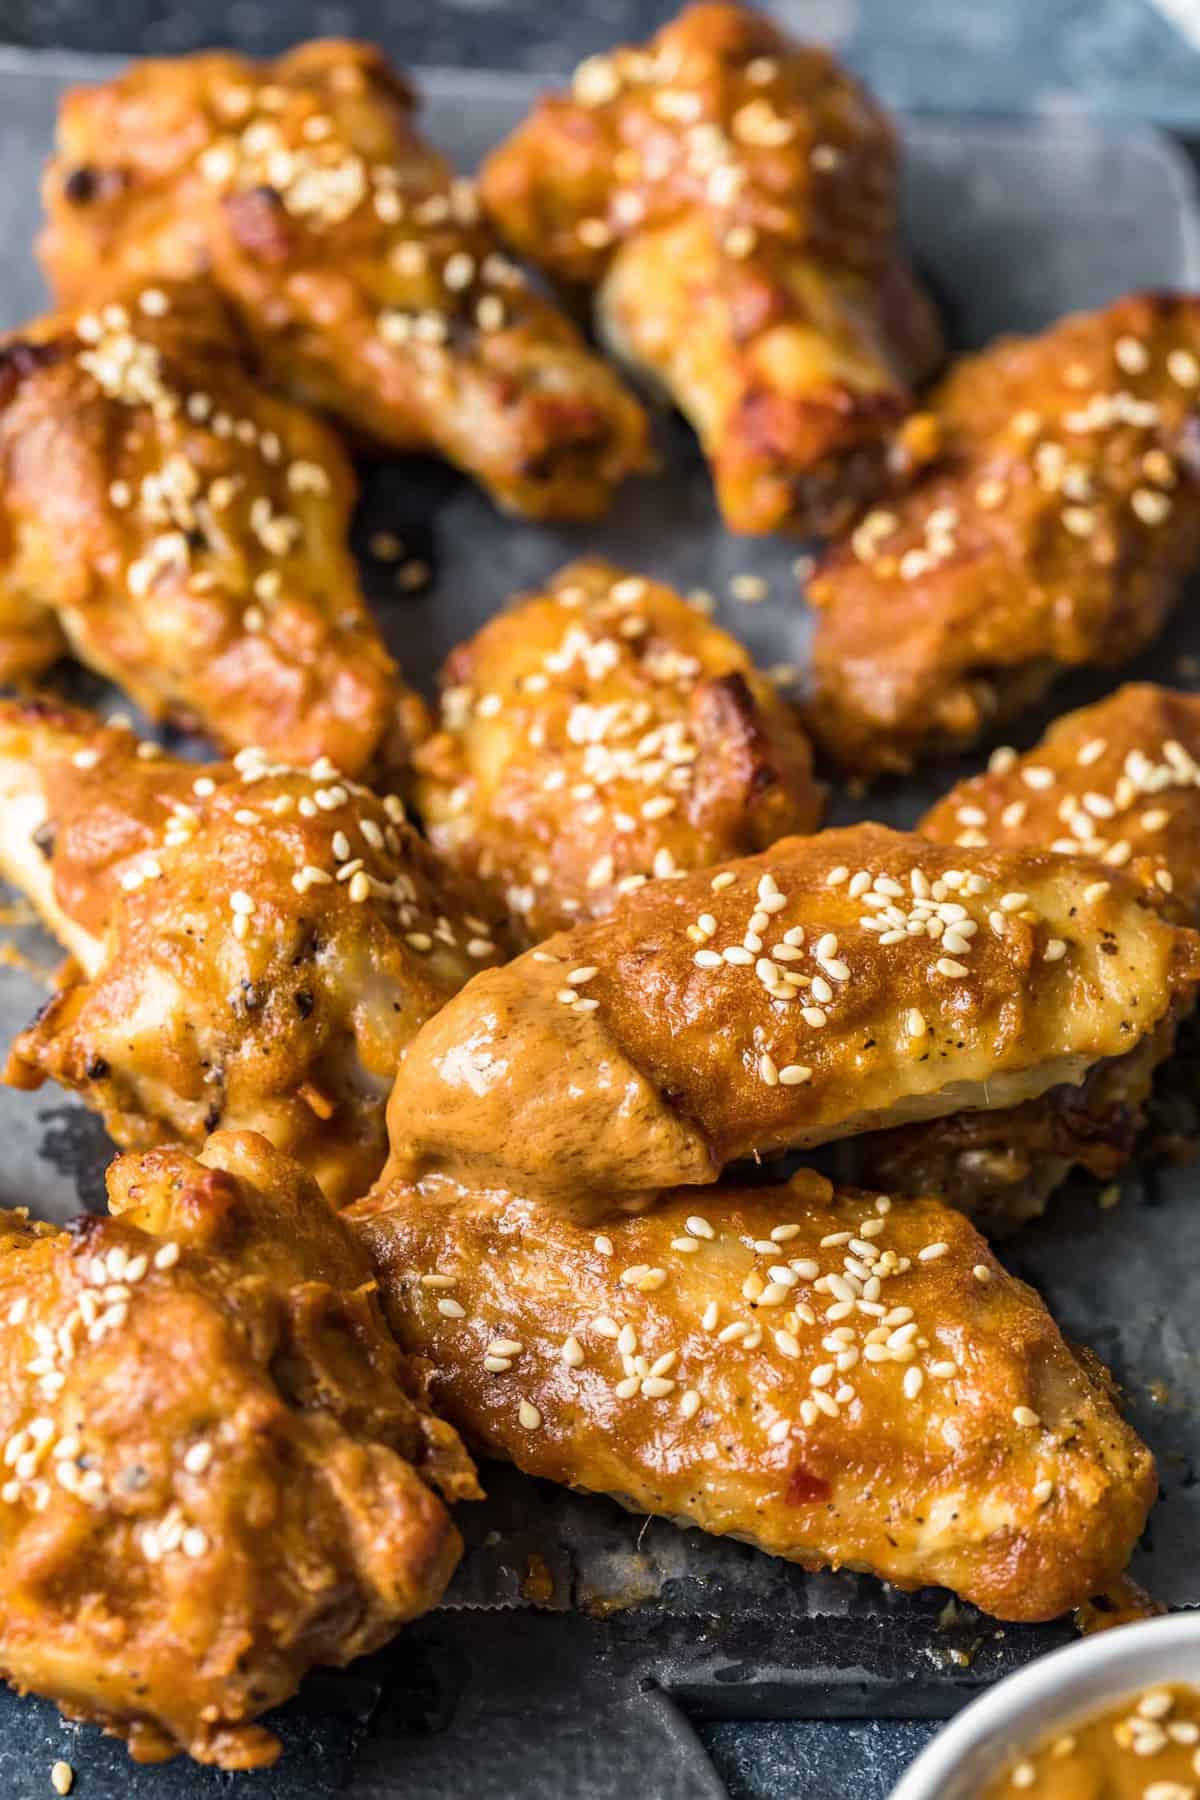
Reduce heat to 400°F and bake an additional 20-25 minutes or until the chicken is tender throughout and the sauce has caramelized.
-
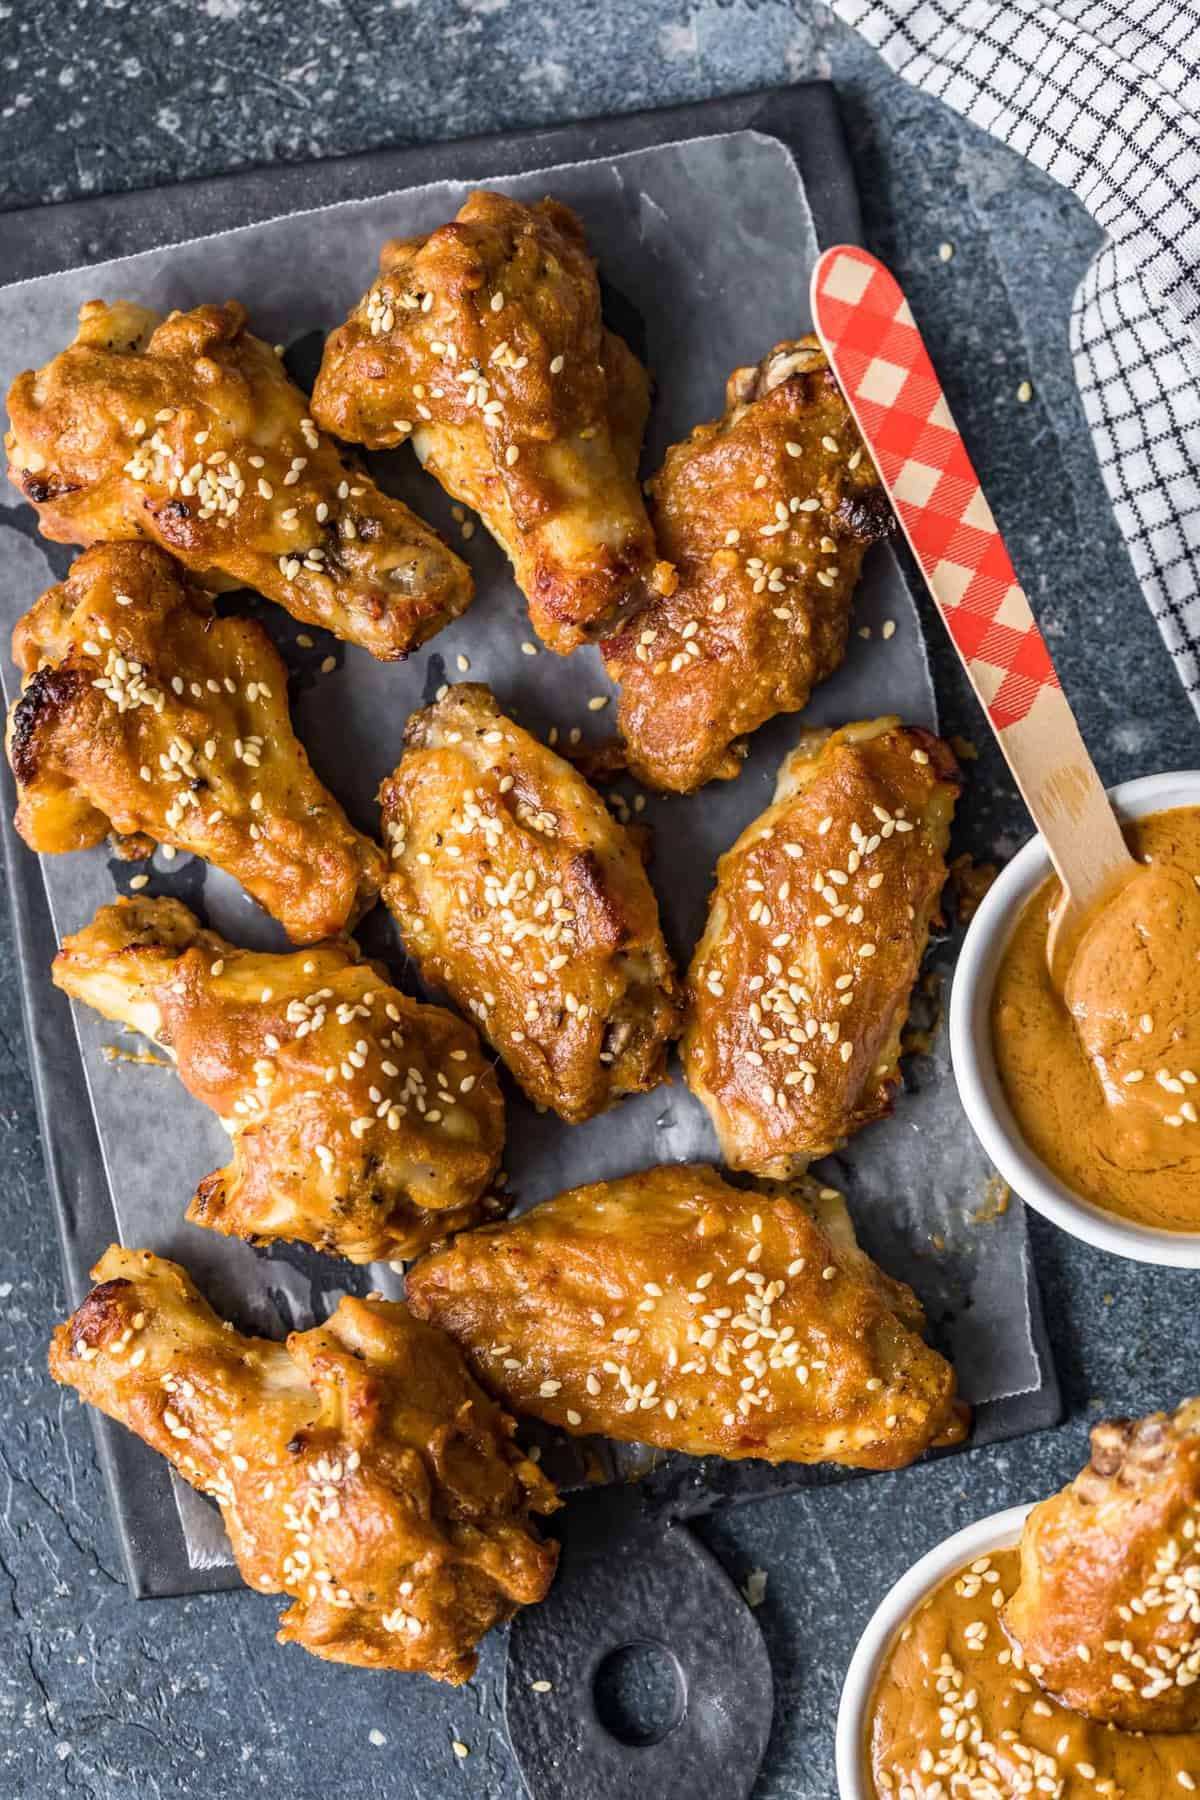
Serve the Thai chicken wings immediately with the reserved sauce.
-
Enjoy!
Juicy Marinated Chicken Wings
One of the tricks to making these wings succulent and tender is to marinade them with Greek yogurt. You want to ideally marinade the wings for at least 2 hours and up to 24. The Greek yogurt truly tenderizes the meat as it is mildly acidic and it also adds flavor and moisture.
What are the flavors in these Thai Chicken Wings?
These wings contain several ingredients that are synonymous with Thai cuisine:
- Soy sauce
- Sesame oil
- Sweet chili sauce
- Lemongrass
- Red pepper flakes
These ingredients when combined with the peanut butter make for a flavorsome peanut dipping sauce with just the right amount of heat.

Are Baked Chicken Wings Better Than Fried?
Don’t get me wrong, there’s a place for a fried chicken wing, but I often don’t make them at home. They can be a bit too much of a faff, not to mention all that hot oil! I love baking wings, a lot of the time is hands off and because the chicken is marinated it doesn’t dry out. Baking wings is a great alternative to fried, it’s even slightly healthier!
Top Tips To Make This Recipe
- ¼-½ cup Hoisin Sauce can be substituted for the soy sauce, sesame oil, molasses, vinegar, sweet chili sauce and lemongrass paste.
- Marinate the wings for at least two hours but no longer than 24.
- Leave space between each wing when placing them on the rack.
- Serve the baked Thai chicken wings immediately.
For more tasty appetizer recipes:

Prep Time: 15 minutes
Cook Time: 55 minutes
Total Time: 1 hour 10 minutes
Servings: 6 people
Calories: 349.51kcal
These Thai chicken wings are coated and served with a spicy peanut sauce for a delicious appetizer that’s a real crowd pleaser. These baked wings are easy to make and are a tasty alternative to your buffalo wings.
For the Marinade:
- 2 pounds chicken wingettes and/or drumettes
- Kosher salt & freshly ground black pepper
- ½ cup Greek yogurt
- 1 jalapeno pepper chopped; stem removed
For the Thai-Style Peanut Sauce:
- ½ cup warm water
- ½ cup creamy peanut butter
- 4 tablespoons soy sauce
- ½ teaspoon sesame oil
- 2 teaspoons mild molasses
- 1 teaspoon rice wine vinegar
- 2 tablespoons Sweet Chili Sauce
- 1 tablespoon lemongrass paste; optional
- 2 garlic cloves minced
- 1-2 teaspoons red pepper flakes
- ¼ cup chopped fresh cilantro leaves
For Baking the Chicken:
- 2 tablespoons toasted sesame seeds
For Chicken Marinade:
-
Liberally salt and pepper the chicken. Combine the yogurt and chopped jalapeno pepper in a large bowl or zipper-style plastic bag. Add the chicken and mix well – being sure to coat all chicken pieces. Refrigerate, covered, up to 24 hours.
-
For the Thai Peanut Sauce:
-
Whisk together water, peanut butter, soy sauce, sesame oil, molasses, vinegar, chili sauce, lemongrass paste, garlic, red pepper flakes and cilantro; set aside in the fridge until ready to serve.
For Cooking the Chicken:
-
Remove the chicken 20-30 minutes before ready to cook.
-
Heat oven to 425°F and adjust oven rack to middle position. Line a large, rimmed baking sheet with foil and spray a metal baking rack with nonstick spray. Set the rack in/over the baking sheet.
-
Remove Peanut Sauce from the fridge and reserve half for serving alongside the chicken. If the sauce has thickened while refrigerated, thin with 1-2 tablespoons of water until desired thickness.
-
Transfer chicken to the prepared baking rack/pan (shake off excess yogurt marinade as you work). Leave space between chicken pieces to facilitate even baking.
-
Bake the chicken at 425°F for 30 minutes. Remove the chicken from the oven.
-
Use tongs to dip each piece of chicken in the peanut sauce (again shaking off extra sauce), and return the chicken to the baking rack/sheet the opposite-side-up.
-
Sprinkle the chicken with toasted sesame seeds.
-
Reduce heat to 400°F and bake an additional 20-25 minutes or until the chicken is tender throughout and the sauce has caramelized.
-
Serve with the reserved sauce.
-
Enjoy!
Note: ¼-½ cup Hoisin Sauce can be substituted for the soy sauce, sesame oil, molasses, vinegar, sweet chili sauce and lemongrass paste.
Calories: 349.51kcal | Carbohydrates: 10.69g | Protein: 23.51g | Fat: 24.38g | Saturated Fat: 6g | Cholesterol: 63.7mg | Sodium: 899.21mg | Potassium: 356.5mg | Fiber: 1.57g | Sugar: 7.31g | Vitamin A: 288.99IU | Vitamin C: 3.83mg | Calcium: 46.37mg | Iron: 1.63mg
Did you make this recipe?
Use the tag #thecookierookie when posting a photo of your recipe, and make sure to follow The Cookie Rookie on Instagram!
Meet The Author: Becky Hardin
Becky woke up on her 30th birthday and realized she didn’t know how to cook, ANYTHING! She started The Cookie Rookie as a way to document her journey to learn how to cook, one recipe at a time! The Cookie Rookie is a place to find easy recipes that anyone can make, and everyone will love!